How to Install a Lace Frontal: A Step-by-Step Guide for a Natural Look
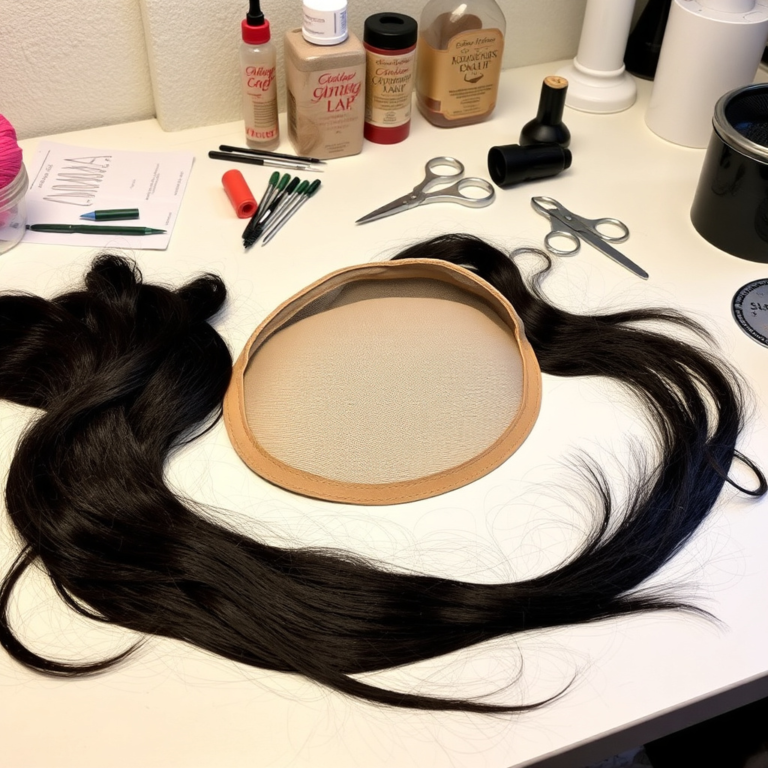
Installing a lace frontal can be straightforward when following the right steps to achieve a seamless, natural finish. The process begins by preparing your natural hair, securing the frontal, and carefully blending it along the hairline. This method ensures the lace lays flat and the hairline appears realistic without visible edges.
Lace frontals are popular for their ability to create versatile hairstyles while protecting natural hair. Knowing how to properly install a lace frontal helps extend the life of the frontal and maintains the health of your scalp. A well-installed frontal also enhances overall confidence by delivering a flawless look.
This article will walk you through key steps such as hair preparation, frontal placement, securing techniques, styling tips, and maintenance practices. You'll gain a detailed understanding of lace frontal application techniques to achieve salon-quality results at home.
Preparing Your Hair for Lace Frontal Installation

Cleaning and Moisturizing Your Scalp
Before installation, ensure your scalp and natural hair are clean and moisturized. Use a gentle shampoo to remove oils and product buildup, then seal moisture with a light leave-in conditioner. This creates a healthy base and prevents scalp irritation under the lace frontal.
A moisturized scalp reduces itching during wear and keeps your natural hair flexible beneath the lace frontal, which helps maintain comfort and prolongs the frontal’s fit.
- Use sulfate-free shampoo
- Apply light leave-in conditioner
- Avoid heavy oils that can break lace adhesion
Braiding Your Natural Hair
Create flat cornrows or a similar protective style that lays your hair down evenly. The braids should be tight but not painful to create a smooth surface for the lace frontal to sit on. This ensures even contact between the face and the lace for a more natural appearance.
Avoid bulky braids, especially around the hairline, to prevent noticeable bumps under the lace frontal. A neat, low-profile braid pattern also prolongs the life of the lace frontal by minimizing friction.
- Use a rattail comb for precise parts
- Braid hair close to scalp
- Keep braids uniform in size
Lace Frontal Application Techniques

Positioning the Lace Frontal
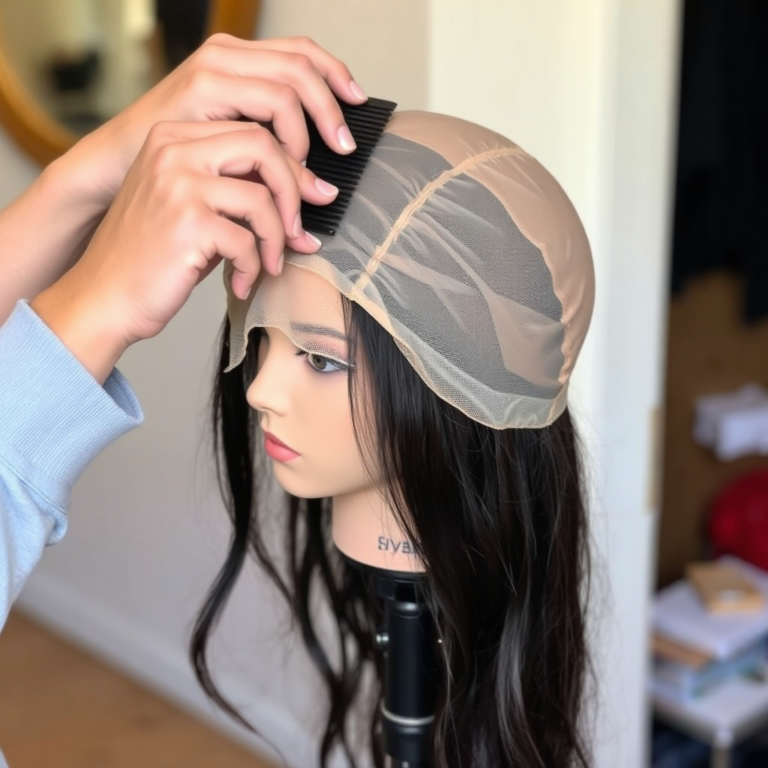
Place the lace frontal carefully on your head, aligning it with your natural hairline. Make minor adjustments so the lace covers the forehead area exactly as you'd want your natural hairline to appear. This correct placement is vital for a realistic look.
After placement, secure the frontal temporarily with clips or pins before applying adhesive. This allows you to check symmetry and hairline shape before committing to glue or tape.
- Align lace with natural hairline
- Slice off excess lace with sharp scissors
- Double-check front and sides before gluing
Securing the Lace with Adhesive
Use lace adhesive products designed specifically for lace frontals, such as glue or tape, ensuring they are safe for your skin. Apply a thin, even layer along your hairline, let it become tacky, then gently press the lace down on the adhesive.
Work slowly to avoid bubbles or wrinkles in the lace, and use a comb or edge brush to press the lace firmly for good bond and natural blending. Avoid excessive glue to prevent buildup and make frontal removal easier.
- Choose skin-safe lace glue or tape
- Work in small sections for better adhesion
- Use alcohol wipes to prep skin before application
Styling Your Lace Frontal for a Natural Finish

Plucking and Tinting the Hairline
To mimic the appearance of natural hair growth, slightly pluck strands along the frontal hairline to reduce density. Tinting the lace with foundation or lace tint products that match your scalp color also helps blend the lace invisibly with your skin tone.
This customization increases realism by softening any harsh lines and creating the illusion that hair is emerging directly from your scalp.
- Use tweezers carefully on lace edges
- Apply lace tint or foundation on lace
- Do not overpluck to avoid patchiness
For more on this, see our related guide: Frontal vs. Closure: Which Is Better?.
Blending Edges and Baby Hairs
Create baby hairs by trimming small strands around the perimeter of the lace frontal and styling them with gel or edge control. These delicate hairs frame the face naturally and mask the lace edges.
Use a soft brush or toothbrush to lay the baby hairs gently along your forehead, offering a seamless transition from lace to skin.
- Trim small baby hairs carefully
- Use edge control to lay hairs flat
- Avoid heavy product buildup
Maintaining Your Lace Frontal

Daily Care and Cleaning
Clean your lace frontal regularly to prevent product buildup and maintain hair quality. Use sulfate-free shampoos and avoid rough brushing. Proper cleaning extends longevity and keeps the lace looking fresh.
Handle the lace gently during washing to keep it from stretching or tearing. Let air dry on a wig stand or mannequin head to maintain shape.
- Wash weekly or after heavy product use
- Use wide-tooth combs for detangling
- Avoid direct heat on lace area
Removing and Reapplying the Frontal
Remove your lace frontal carefully using adhesive remover to dissolve glue or tape bonds without pulling on the lace or your natural hair. After removal, clean residual glue from both the lace and scalp.
Plan to reinstall the frontal every 1-2 weeks depending on wear and care. Frequent, gentle reapplication prevents damage and helps maintain your scalp’s health.
- Use professional adhesive remover
- Patience is key to avoid damage
- Clean lace thoroughly before reapplication
Troubleshooting Common Lace Frontal Issues

Dealing with Lace Lifting
Lifting occurs when the adhesive bond weakens due to oil, sweat, or improper application. Address lifting by cleaning the area and reapplying adhesive, ensuring the scalp is dry and free of residue before securing the lace again.
Using a setting spray or glue designed for long wear can prevent lifting in humid or active environments.
- Clean scalp with alcohol wipes before glue
- Avoid excess oils near hairline
- Use stronger adhesive if needed
For more on this, see our related guide: HD Lace Frontal: A Complete Buying Guide.
Managing Itching and Irritation
Itching under the frontal is often caused by buildup or sensitivity to adhesive products. Regular cleaning and switching to hypoallergenic adhesives help soothe scalp discomfort.
If itching persists, allow breaks between wear and consult a dermatologist for scalp care guidance.
- Use gentle cleansing routines
- Apply soothing scalp oils sparingly
- Avoid over-tight braiding under frontal
Styling Versatility with Lace Frontals
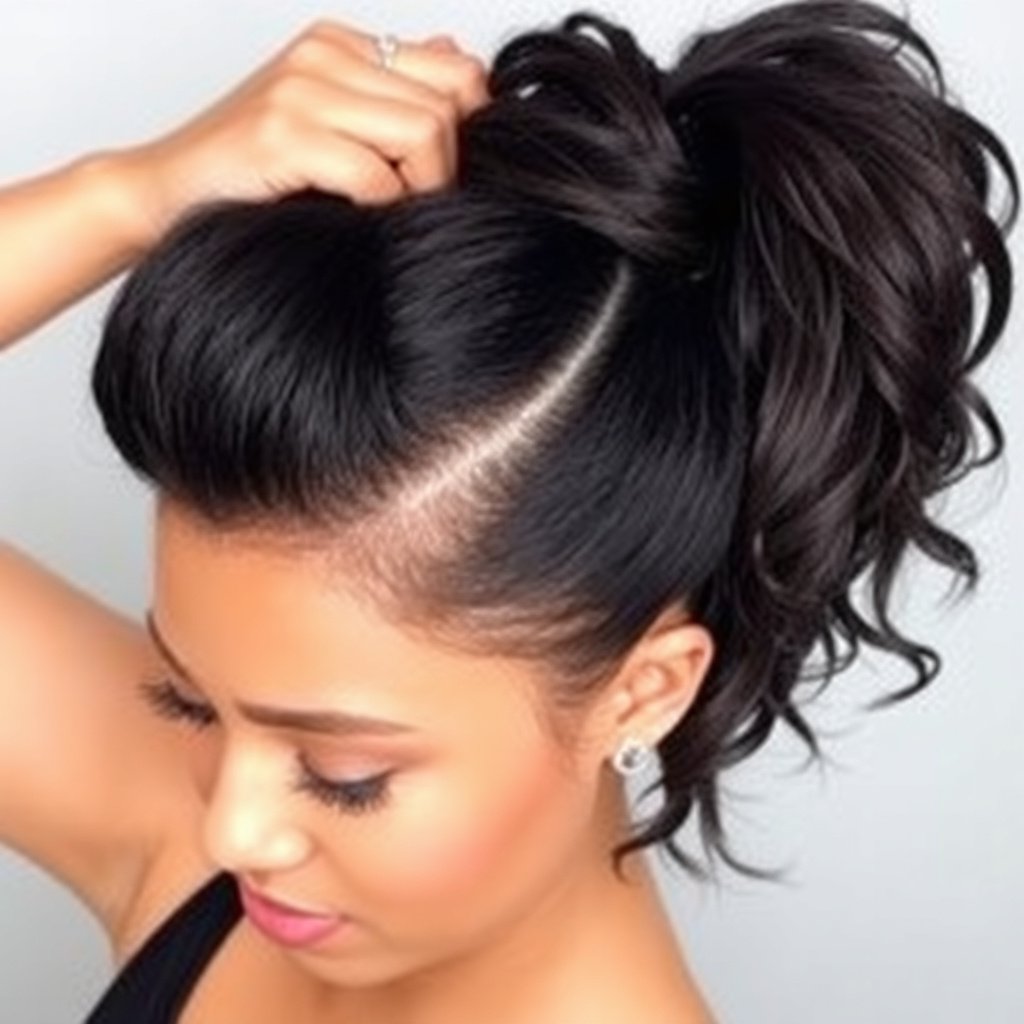
Creating Different Hairstyles
Lace frontals allow wearers to style hair in various ways including parting in the middle, side parts, and pulling hair back into ponytails or updos, all while maintaining a natural hairline.
Knowing how to safely manipulate and style your frontal maximizes versatility without damaging the lace or your natural hair beneath.
- Use low-heat styling tools to prevent damage
- Choose hairstyles that protect frontal edges
- Experiment with different parting styles
For additional background on hairpieces and lace frontals, check out the lace frontal information on Wikipedia. lace frontal information on Wikipedia.
Coloring and Heat Treatments
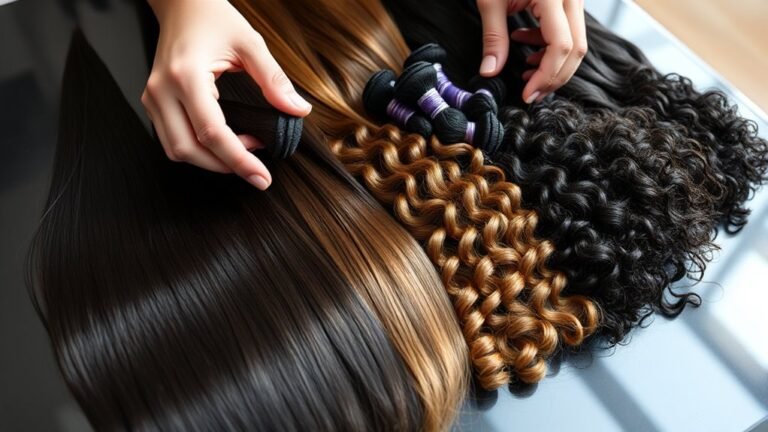
Many lace frontals can be dyed or heat-styled, but it is vital to check the frontal hair type (e.g., human hair vs. synthetic) to avoid damage. Human hair frontals support light coloring and heat application, but synthetic ones require caution.
Use low temperature settings and professional-grade products to maintain frontal quality during styling and coloring.
- Conduct strand tests before full dye
- Keep heat tools below 350°F
- Condition regularly to maintain softness
Types of Lace Frontals Compared
Here’s a quick comparison of popular lace frontal types by material, cost, durability, and styling flexibility to help you choose the best option.
| Type | Material | Typical Cost | Durability | Styling Versatility |
|---|---|---|---|---|
| Swiss Lace | Fine Swiss lace | $60 – $150 | 3-4 weeks | High |
| French Lace | Thicker French lace | $50 – $120 | 4-6 weeks | Moderate |
| HD Lace | Thin transparent lace | $100 – $200 | 2-3 weeks | Very High |
| Elastic Lace | Stretchy lace material | $40 – $100 | 3-4 weeks | High |
| Synthetic Lace | Polyester blend | $30 – $80 | 1-2 weeks | Low |
Frequently Asked Questions
How long does a lace frontal installation last?
Depending on care and adhesive used, a lace frontal installation can last from one to two weeks before needing reapplication or adjustment.
Can I install a lace frontal myself at home?
Yes, with proper preparation and application techniques, many people successfully install lace frontals at home using tutorials and attention to detail.
Do I need a professional to pluck and tint the lace frontal?
While DIY plucking and tinting are possible with practice, professional services deliver the most natural and customized hairline results.
How do I prevent my lace frontal from lifting?
Keep your scalp clean, apply adhesive correctly, avoid oil-based products near the hairline, and use setting sprays to help keep the lace securely in place.
Can I swim or exercise while wearing a lace frontal?
You should avoid swimming and excessive sweating during frontal wear, as water and sweat can weaken adhesive bonds and shorten wear time.
Key Takeaways
- Proper hair preparation and braiding foundation are essential for secure lace frontal installation.
- Correct positioning and adhesive use ensure a natural and long-lasting hairline.
- Plucking, tinting, and baby hairs help blend the lace seamlessly with your skin.
- Regular maintenance and gentle removal preserve frontal quality and scalp health.
Conclusion
Understanding how to install a lace frontal involves mastering several detailed steps—from preparing your natural hair and choosing the right lace type to applying adhesive and styling the hairline. A methodical approach to each phase will significantly influence the naturalness and durability of your frontal installation. Attention to hair health beneath the lace and careful adhesive application help protect your scalp and optimize the frontal’s look and longevity.
For those seeking flexibility in styling, HD lace frontals offer superior invisibility and natural finish but require more delicate maintenance, while French lace frontals provide durability suited for beginners or active lifestyles. Whether you're opting for a Swiss lace with moderate cost and versatility or an elastic lace for comfortable fit, matching the frontal to your lifestyle and skill level is critical. Maintenance practices such as gentle cleaning, reapplication, and careful troubleshooting of common issues will keep your lace frontal looking fresh and realistic for weeks.
If you’re ready to try installing a lace frontal, start by practicing the preparation and positioning steps on days when you don’t need to wear the frontal long-term. Gradually experiment with plucking and baby hair styling to find what best flatters your features. Equipped with the knowledge and techniques discussed here, you can confidently achieve a seamless and natural-looking lace frontal that enhances your personal style and protects your natural hair.