How to Make a Wig at Home: A Step-by-Step Guide for Beginners
You can make a wig at home by gathering the right materials such as a wig cap, hair wefts or bundles, wig glue or thread, and tools like needles and scissors. The process involves constructing a base, attaching hair carefully, and styling to your preference. Beginners can achieve good results with patience and basic crafting skills.
Creating wigs at home allows you to customize hair color, length, and style to fit your exact needs or fashion goals. It’s a practical skill that saves money, offers creative freedom, and can even be a rewarding hobby or small business venture. Knowing how to make a wig opens doors to endless hairstyle possibilities without salon visits.
This article will explore the essentials of wig construction, from preparing a mannequin head to attaching hair strands or wefts, plus tips on styling and maintenance. We’ll also compare different wig bases and methods so you can select the approach that fits your skill level and desired look.
Gathering Materials for Wig Making at Home

Selecting the Right Hair for Your Wig
Choosing hair is foundational to a successful homemade wig. Options include synthetic fibers, human hair bundles, or a mix. Human hair offers a natural appearance and heat styling options but costs more. Synthetic hair is affordable and pre-styled but less versatile for restyling.
Consider hair texture and color that match your personal preference or intended look. Remy hair, where cuticles are intact and aligned, provides better durability and less tangling than non-Remy hair. Purchasing quality hair upfront will improve the final wig’s lifespan.
- Human hair: natural look and styling flexibility
- Synthetic hair: cost-effective and low maintenance
- Remy hair: aligned cuticles for longevity
- Mixed blends: balance of price and quality
Tools and Accessories Needed
Basic tools include a wig head or mannequin for building the wig, sewing needles, strong thread, scissors, and wig glue or tape, depending on the attachment method. Clips or pins help secure hair during styling.
Additional helpers like a comb for parting hair, a ventilating needle for lace wig making, and elastic bands for adjustable fitting may also be useful. Having all necessary supplies on hand before starting streamlines the process.
- Wig head or mannequin
- Sewing needles and thread
- Scissors and comb
- Wig glue or double-sided tape
- Clips and pins
- Ventilating needle (optional)
Constructing the Wig Base and Cap
Preparing the Wig Cap
Start by selecting an appropriate wig cap that fits snugly over your mannequin head or directly on your own head if making a custom fit. Caps come in mesh, lace, or nylon, each offering different breathability and durability.
Stretch the cap evenly over the head form and secure it using pins or clips. Mark hairline areas with a washable marker if desired for accuracy during hair attachment. This foundation supports hair placement and final comfort.
Types of Wig Bases and Their Uses
Wig bases vary from simple stocking caps to lace fronts and monofilament tops. Lace fronts allow a natural hairline that blends with skin, ideal for realistic styling. Monofilament tops simulate scalp appearance and allow multi-directional parting.
Choosing a base depends on your skill, desired look, and budget. Beginners often find basic cap wigs easier to attach hair to, while advanced crafters prefer lace for customization. Hybrid caps balance affordability and natural appearance.
Attaching Hair to the Wig Cap

Sewing Hair Wefts
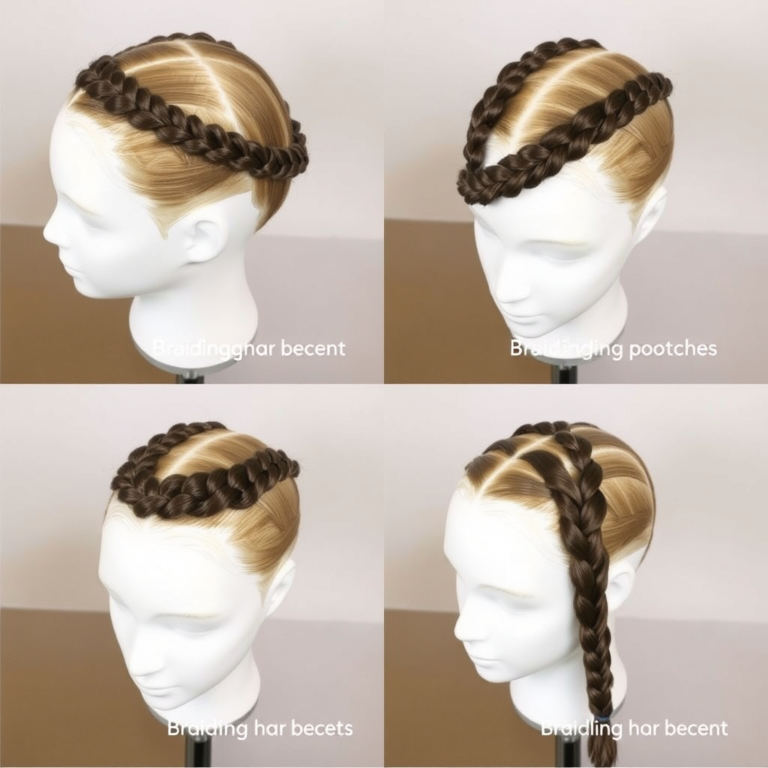
Sewing hair wefts involves stitching strips of hair onto the wig cap in horizontal rows, starting from the nape and moving upwards. Use sturdy thread and knot each end securely to avoid shedding.
Place each weft close to the previous one without overlapping excessively to ensure fullness while maintaining a natural lay. This method works well for thicker wigs and provides strength for daily wear.
- Start at the bottom edge
- Use even stitching and secure knots
- Align hair direction for natural flow
- Avoid gaps for fullness
For more on this, see our related guide: Is Human Hair Wig Worth It? The Complete Answer.
Ventilating Hair for Lace Fronts
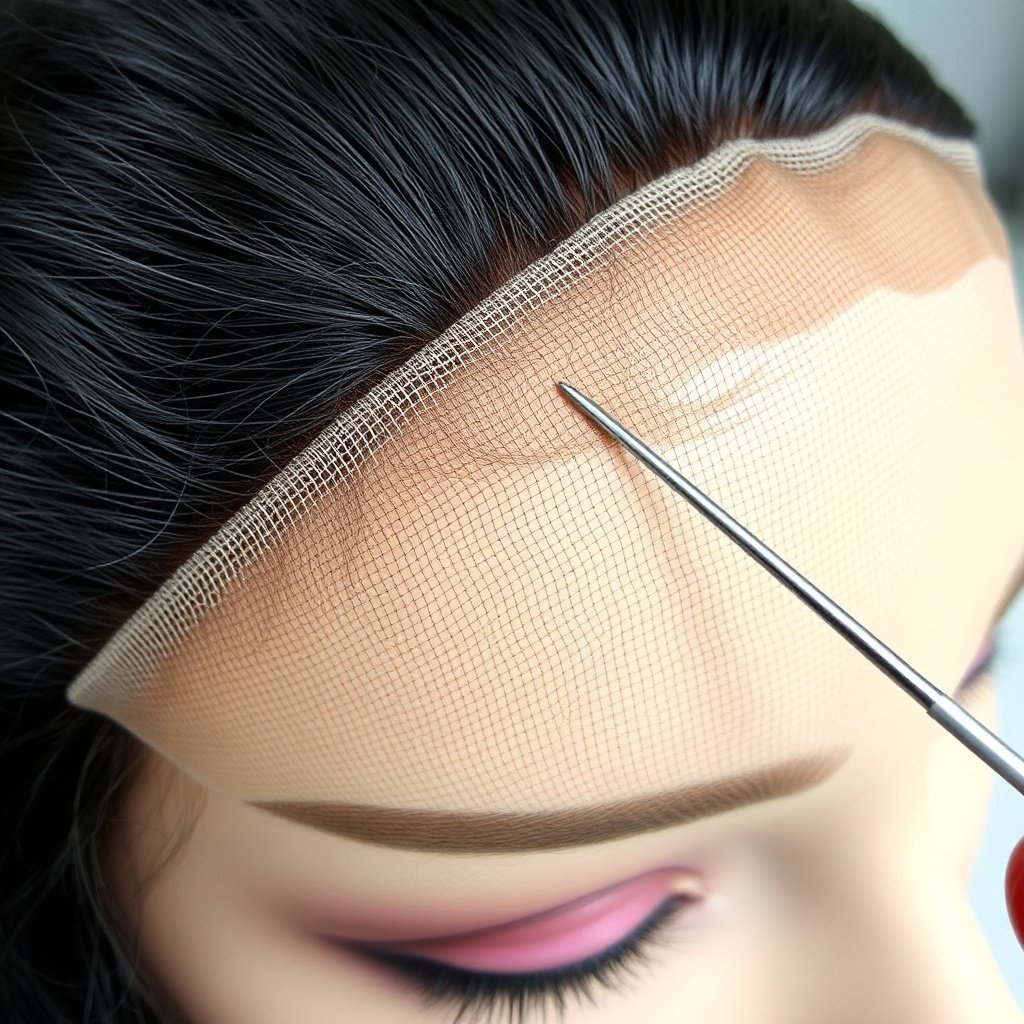
Ventilating is the technique of knotting individual hair strands onto lace mesh by hand using a specialized needle. This creates a natural, breathable hairline and parting area that mimics hair growth from the scalp.
Though time-consuming, ventilating allows detailed customization of density and direction. Beginners can practice on small sections before attempting a full lace wig. Patience and consistent technique yield the most realistic results.
Styling and Finishing Your Homemade Wig

Cutting and Shaping the Wig
After securing the hair, trim the wig to your preferred length and style using sharp hair scissors. Layering and thinning techniques enhance volume and natural movement.
Use reference photos or consult with a stylist if uncertain. Taking small incremental cuts prevents mistakes and allows adjustments to taste during the process.
Wig Maintenance and Longevity Tips
Proper care extends your wig’s life. Use wig-specific shampoos and conditioners, avoid excessive heat on synthetic fibers, and store the wig on a stand to maintain shape.
Routine detangling and minimal styling product use keep hair looking fresh. Periodically checking stitching and reinforcing loose areas prevent shedding.
- Wash with gentle, wig-safe products
- Store on a wig stand
- Avoid heat on synthetic wigs
- Regularly check and repair stitching
Common Challenges in DIY Wig Making and How to Overcome Them

Dealing with Shedding and Loose Hair
Shedding often results from weak knots or poor-quality hair. Reinforce knots during sewing and consider double knotting in vulnerable areas to reduce hair loss.
Using premium Remy hair or pre-tied wefts decreases the frequency of shedding. Regular maintenance helps catch and fix issues early.
- Double knot stitching
- Use pre-tied wefts
- Opt for Remy hair
- Routine maintenance
For more on this, see our related guide: Best Wigs for Hair Loss: Top Picks and Buying Tips.
Achieving Natural Hairlines
Natural-looking hairlines are key in wig realism. Ventilating single strands on lace fronts or plucking excess hairs along the hairline creates gradual density.
Use foundation powder or makeup on lace to mimic scalp tone. Practice patience during hairline customization for the most convincing effect.
- Ventilate lace fronts
- Pluck hairline gently
- Apply foundation on lace
- Gradual density layering
Advanced Techniques for Homemade Wig Makers
Creating Lace Front Wigs
Lace front wigs require attaching a fine lace mesh at the front to simulate a hairline. This involves careful hand-knotting and blending lace edges with your skin using makeup or concealers.
Though challenging for beginners, mastering lace fronts yields highly realistic wigs and flexibility in styling away from the face without revealing the cap edge.
For further general information about wigs and their history, see this detailed wig making overview on Wikipedia. Wig making overview on Wikipedia.
Incorporating Highlights and Color
Adding highlights or subtle color variations can be done by selecting mixed color hair bundles or dyeing human hair wigs post-construction. Synthetic fibers, however, resist most dyes.
Color blending enhances depth and dimension, making wigs appear more lifelike. Use professional-grade hair dyes and test small strands before applying broadly.
- Choose mixed color bundles
- Use professional dyes on human hair
- Test dye on a strand first
- Avoid dye on synthetic fibers
Wig Cap Types Comparison
Here's a comparison of popular wig cap types to help you choose the right base for your wig making project.
| Cap Type | Breathability | Realism | Ease of Use | Cost |
|---|---|---|---|---|
| Basic Stocking Cap | High | Low | Very Easy | Low |
| Lace Front Cap | Medium | High | Moderate | Medium |
| Monofilament Cap | High | Very High | Difficult | High |
| Hand-Tied Cap | High | Very High | Difficult | Very High |
| Hybrid Cap | Medium | High | Moderate | Medium |
Frequently Asked Questions
Can I use synthetic hair to make a wig at home?
Yes, synthetic hair can be used for wig making at home and is more affordable, but it is less heat-resistant than human hair and may not last as long.
How long does it take to make a wig from scratch?
Making a wig can take anywhere from a few hours to several days depending on the complexity, such as hand-ventilated lace fronts, which require more time.
Is it necessary to have professional tools to make a wig?
Basic tools like needles, thread, and scissors suffice for most DIY wigs. Specialized tools help with advanced techniques like ventilating but aren’t essential for beginners.
How do I care for my homemade wig to make it last?
Wash wigs gently with wig-specific shampoos, avoid heat styling on synthetic hair, store wigs on stands, and fix loose hairs regularly for longer lifespan.
Can I customize a wig to fit my head size?
Yes, wig caps are flexible and can be pinned or sewn for a snug fit. Elastic bands or adjustable straps also help customize sizing comfortably.
Key Takeaways
- Gather quality hair and tools before starting your wig project.
- Choose a wig base that fits your skill level and desired realism.
- Sewing and ventilating hair require patience but yield custom results.
- Proper styling and maintenance extend your homemade wig’s life.
Conclusion
Making a wig at home combines creativity and craftsmanship requiring attention to detail, especially in choosing hair type, wig cap, and attachment methods. A well-crafted wig not only looks natural but fits comfortably and can be styled in many ways. Balancing preparation and technique determines your overall success and satisfaction.
For those new to DIY wig making, starting with a basic stocking cap and sewing in hair wefts is practical and less time-intensive. More experienced makers interested in natural hairlines might explore lace front or monofilament bases and try ventilating individual hairs. Selecting human hair bundles over synthetic can enhance appearance and styling versatility but involves more care.
If you want to begin your wig-making journey, gather the right supplies, follow detailed steps patiently, and don’t hesitate to experiment with styles. Practice builds skill and confidence, turning wig making into a rewarding hobby or personalized fashion statement. Your next step could be trying a simple sew-in wig to gain familiarity and grow towards advanced techniques.