How to Install a Lace Closure: A Step-by-Step Guide for a Flawless Finish
Installing a lace closure involves preparing your natural hair, securing the closure correctly, and blending it seamlessly for a natural look. Start by braiding your natural hair into flat cornrows, ensuring a smooth base. Then, position the lace closure over your braids, align it properly with your hairline, and sew or glue it down firmly with care.
This method protects your natural hair while giving you styling versatility and a natural scalp appearance. Lace closures help achieve a polished finish without exposing your natural hair to harsh styling or heat damage. Getting it right can prolong the life of the closure and maintain your hair’s health underneath.
Throughout this article, you'll find detailed steps on how to install a lace closure, tips to avoid common pitfalls, maintenance strategies, and product recommendations. Whether you’re a beginner or have some experience, this guide will help you perfect your closure installation for a flawless finish.
Preparing Your Natural Hair for a Lace Closure Installation

Braiding and Securing Your Natural Hair
Your hair should be clean, detangled, and thoroughly dry before starting. Braiding your natural hair into flat cornrows creates a smooth surface and helps protect your hair underneath. Avoid braiding too tightly to reduce scalp tension and discomfort during wear.
The braids should run back from the hairline to the nape, laying flat against the scalp. Use a soft elastic band or thread to keep each braid secure, ensuring no loose strands will interfere with the closure application.
- Wash and condition hair before braiding
- Detangle thoroughly
- Avoid overly tight braids
Preparing the Scalp and Closure Base
Clean your scalp with an alcohol-free cleanser to remove oils and buildup. This helps adhesives or sewing threads adhere better and reduces the risk of irritation. Applying a light moisturizer can prevent dryness but avoid heavy oils near the hairline.
Trim the lace of your closure carefully to fit your hairline shape, leaving about a quarter inch of lace as a margin. Customize the lace for a natural look and prevent excess lace from peeking out after installation.
- Use gentle scalp cleanser
- Trim lace closure carefully
- Avoid heavy oils near hairline
Techniques for Installing a Lace Closure

Sew-In Method for Durable Installation
The sew-in method involves using a curved needle and weaving thread to stitch the lace closure directly onto your braided base. Start at one side near the temple, securing the thread with a knot before stitching carefully around the perimeter to avoid puckering.
Space your stitches evenly about a quarter inch apart, keeping the lace taut but not overly stretched. Once fully sewn, knot the thread securely and cut off excess thread. This method provides a long-lasting, secure fit ideal for extended wear.
- Use curved sewing needle
- Stitch lace closure perimeter evenly
- Tie off thread securely
Glue/Adhesive Method for Quick Application
Using lace adhesives offers a faster way to install closures, especially for temporary or weekend styles. Apply a thin layer of glue or tape along your hairline and allow it to become tacky before pressing the lace closure down carefully.
Press gently to secure and use a blow dryer on low heat to help the adhesive set. Avoid using excessive glue to prevent buildup or scalp irritation. This method requires regular touch-ups and careful removal to protect both the lace and underlying hair.
- Apply adhesive sparingly
- Allow glue to get tacky before application
- Use blow dryer to set adhesive
Blending and Styling Your Lace Closure Installation

Creating a Natural Hairline and Baby Hairs
To disguise the lace and blend with your skin, gently pluck a few hairs along the front of the closure to create a realistic scalp transition. Use tweezers carefully, spacing the plucking evenly to avoid over-thinning.
Baby hairs along the hairline can be styled with edge control gels and a small toothbrush or edge brush. This adds realism and helps the closure look like your natural hairline.
- Pluck selectively for realistic hairline
- Use edge control to style baby hairs
For more on this, see our related guide: Frontal vs. Closure: Which Is Better?.
Color and Texture Matching Tips
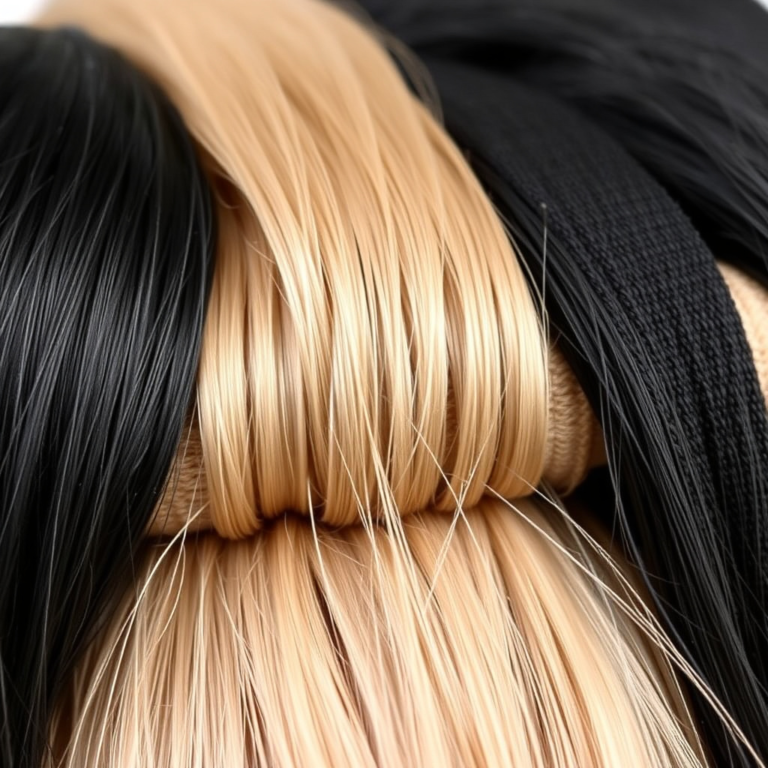
Match the closure’s hair texture and color closely to your natural hair or weave to maintain a cohesive look. Some closures can be dyed or bleached, but exercise caution to avoid damaging the lace or hair.
If your closure is a different texture, braiding or curling techniques can help blend it visually with your natural or extended hair.
- Choose closures matching texture and color
- Use heat styling carefully on lace closure
Maintaining and Caring for Your Lace Closure Installation
Cleaning and Preserving Lace Closures
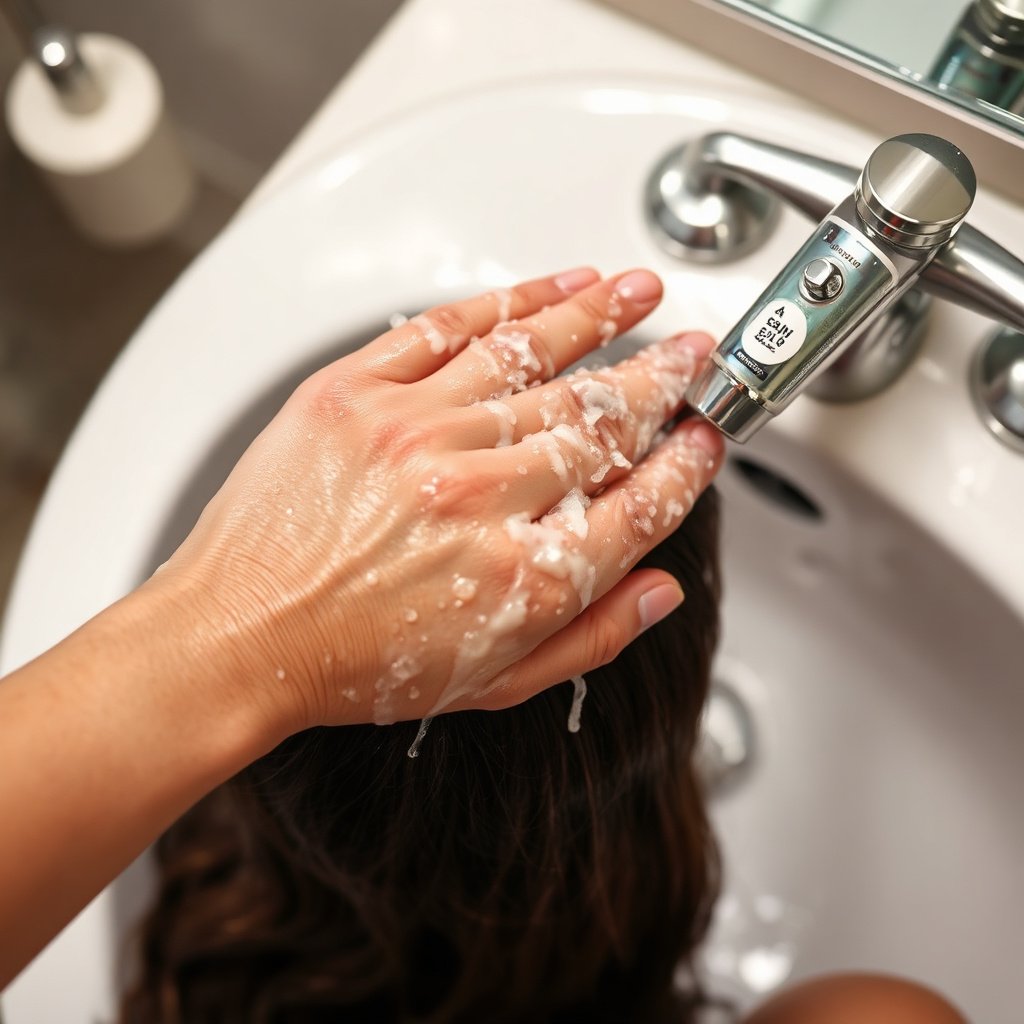
Wash your lace closure gently with sulfate-free shampoo and lukewarm water to avoid loosening knots or damaging lace. Avoid excessive scrubbing and pat dry with a towel or air dry on a wig stand.
Store your closure properly when not attached to maintain its shape and prevent tangling. Regular moisturizing prevents dryness and brittleness of the closure hair.
- Use gentle shampoo
- Air dry on wig stand
- Moisturize closure hair regularly
Avoiding Damage to Natural Hair and Scalp
Take breaks between installations to let your natural hair and scalp breathe and recover. Avoid heavy adhesives directly on your scalp and clean residual glue thoroughly during removal.
Massage your scalp regularly and maintain a healthy hair care routine to reduce tension and inflammation caused by closures and braids.
- Limit continuous wear time
- Clean adhesive residue carefully
- Keep scalp moisturized
Common Mistakes to Avoid When Installing a Lace Closure

Overstretching the Lace or Braids
Pulling the lace closure too tight can cause discomfort, breakage, or an unnatural hairline appearance. Similarly, braids that are too tight can lead to scalp pain and hair damage.
Maintain gentle tension to secure the closure without compromising comfort or hair health. Adjust stitching or adhesive areas if the lace puckers or gaps appear.
- Avoid excessive tension
- Check for lace gaps or puckering
For more on this, see our related guide: 2X6 Closure: A Complete Buying Guide.
Ignoring Proper Scalp Hygiene
Failing to clean the scalp and hair before installation increases risk of irritation and reduces adhesive effectiveness. Residues from oils or products can cause slippage or infection.
Incorporate regular scalp cleansing and moisturizing into your routine to support a healthy environment under your closure.
- Clean scalp before installation
- Avoid heavy product buildup
Advanced Tips for Professional-Looking Lace Closure Installation

Using Makeup and Powders for a Scalp-Like Finish
Applying foundation, concealer, or color-correcting powders to the lace and exposed scalp areas can further camouflage the lace. Choose a shade that matches your natural skin tone.
Use a light hand and blend well to avoid cakiness or visible lines. This trick enhances the illusion of scalp beneath the closure for a flawless finish.
- Match makeup to skin tone
- Apply lightly and blend thoroughly
For more detailed background on lace closures and hair weaving, visit the lace closure information on Wikipedia. lace closure information on Wikipedia.
Customizing Closure Shape and Density
Some advanced users thin out areas of the closure hair to mimic natural density variations. Tweezing and trimming can create a softer, less uniform look that mimics natural hair growth patterns.
If density is too thick for your style, carefully remove some hairs with tweezers and style accordingly to maintain a natural appearance.
- Pluck to customize density
- Trim closure hair as needed
Lace Closure Installation Methods Comparison
This table compares popular lace closure installation methods to help you choose the best option based on durability, ease, and comfort.
| Method | Durability | Application Time | Comfort Level | Cost |
|---|---|---|---|---|
| Sew-In | High (4-8 weeks) | 1-2 hours | High comfort | Low to moderate |
| Glue/Adhesive | Medium (1-2 weeks) | 30-60 minutes | Variable, potential irritation | Moderate |
| Tape | Medium (1-3 weeks) | 30-45 minutes | Moderate comfort | Moderate |
| Clip-In | Low (daily wear) | Less than 10 minutes | High comfort | Low |
Frequently Asked Questions
Can I install a lace closure myself at home?
Yes, with the right tools and patience, a lace closure can be installed at home using either sew-in or glue methods. Practice and attention to detail are important for a natural look and secure fit.
How often should I remove and reinstall my lace closure?
It depends on the method used. Sew-in closures can last up to 8 weeks, while glue-installed closures typically need reinstallation every 1-2 weeks to maintain freshness and avoid buildup.
What is the best way to care for my lace closure after installation?
Clean it gently with mild shampoo, avoid heavy products, and moisturize regularly. Remove buildup carefully and store the closure on a wig stand when not in use to retain its shape.
Will installing a lace closure damage my natural hair?
Proper installation minimizes damage, especially when braids are not too tight and adhesives are used carefully. Giving your hair breaks between styles helps maintain scalp health.
How do I blend the lace closure with my natural hairline?
Pluck the edges carefully to create a realistic hairline, style baby hairs with edge control, and consider using makeup to camouflage the lace for a seamless transition.
Key Takeaways
- Flat braids provide a protective and smooth base for lace closure installation.
- Sew-in and glue methods suit different needs for durability and speed.
- Plucking edges and styling baby hairs help the closure look natural.
- Proper maintenance extends the life and appearance of your closure.
Conclusion
Installing a lace closure can dramatically enhance your hairstyle's natural appearance while protecting your own hair. By carefully preparing your natural hair, choosing the right installation method, and blending the closure seamlessly, you achieve a polished look that balances durability and comfort. Understanding your hair’s needs and your lifestyle will guide you to the best method and care routine.
For those seeking long-lasting wear, the sew-in method offers a secure, maintenance-friendly option perfect for multi-week styles. If you prefer quicker application for temporary looks, adhesives or tape provide versatile choices that allow frequent style changes. Remember to match your closure's texture and color closely for a cohesive finish and apply baby hairs with styling gels for realism.
Once installed, regular gentle cleansing, moisturizing, and protective practices maintain both the closure and your natural hair health. If you’re new to closures, start with the sew-in method for reliability, gradually exploring adhesive methods as you become more confident. With this knowledge, you’re ready to create a natural, flawless hairstyle using a lace closure.