
How to Do Goddess Braids: Step-by-Step Guide for Stunning Styles
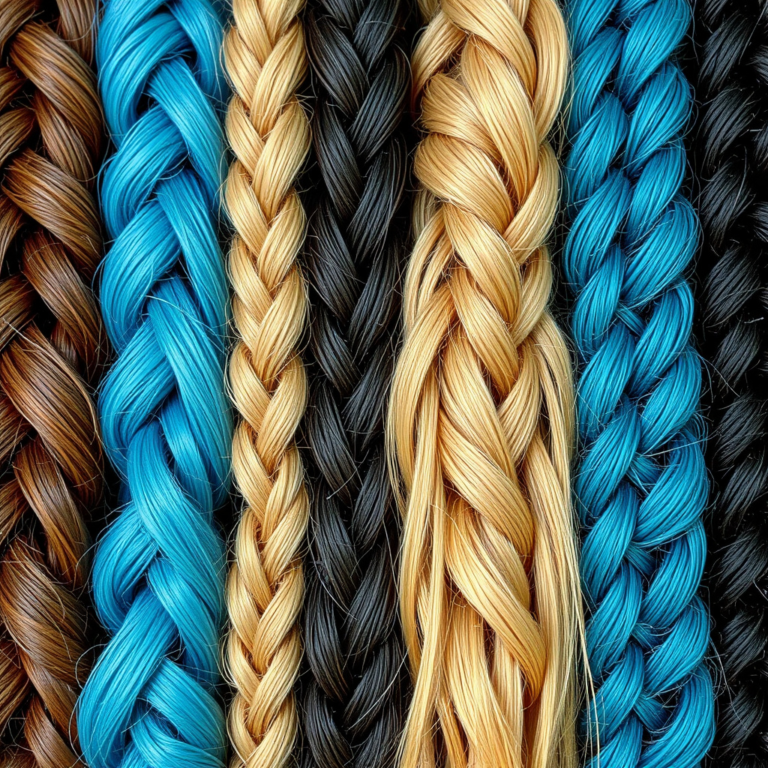
Goddess braids are a type of thick, protective cornrow braid that lay flat against the scalp and stand out for their size and sculptural beauty. To do goddess braids, you’ll start by sectioning your hair into large parts, then carefully braid the hair close to the scalp in a neat cornrow pattern using a three-strand technique. The braids are typically larger and chunkier than regular cornrows, giving a bold yet elegant look.
These braids not only provide a striking style but also protect natural hair by reducing manipulation and breakage. Goddess braids have gained popularity for their versatility and bold appearance, making them suitable for both casual wear and special events. Knowing how to create these braids yourself saves money and allows you to customize the design to your personal taste.
In this guide, we will cover essential preparation steps, the best braiding techniques for goddess braids, tips on maintaining the style, recommended hair products, and troubleshooting common issues. Whether you’re a beginner or have some braiding experience, you’ll find actionable advice to achieve flawless goddess braids.
Preparing Your Hair for Goddess Braids
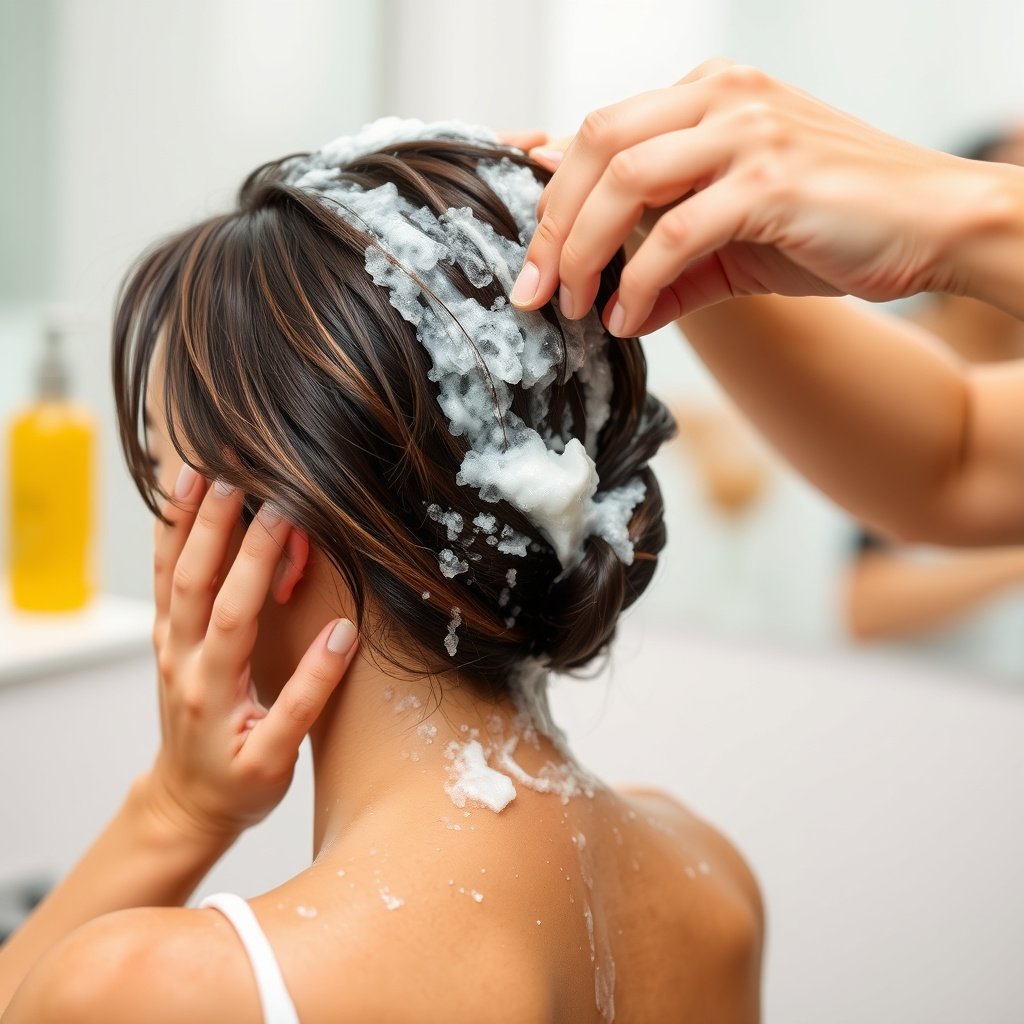
Cleansing and Conditioning
Start with clean, moisturized hair to prevent dryness and breakage during the braiding process. Use a sulfate-free shampoo to gently cleanse the scalp without stripping natural oils, followed by a deep conditioner to soften strands for easier braiding.
Apply a leave-in conditioner or moisturizing cream afterward to keep hair pliable. Proper hydration helps manage frizz and makes the braids smoother and shinier, which is crucial when working with goddess braids since the style emphasizes sleekness.
- Use a gentle shampoo to cleanse scalp
- Deep condition for softness
- Apply leave-in moisturizer before braiding
Detangling and Sectioning
After your hair is moisturized, thoroughly detangle with a wide-tooth comb or detangling brush to remove knots. This step prevents snagging and ensures that the braids lie flat and remain neat for longer.
Section your hair into large, even parts using clips or hair ties depending on how thick and wide you want your goddess braids. Precise, clean parts set the foundation for professional-looking braids that frame the scalp beautifully.
- Use a wide-tooth comb for detangling
- Create even sections for consistent braids
- Secure sections away from your working area
Mastering the Braiding Technique for Goddess Braids
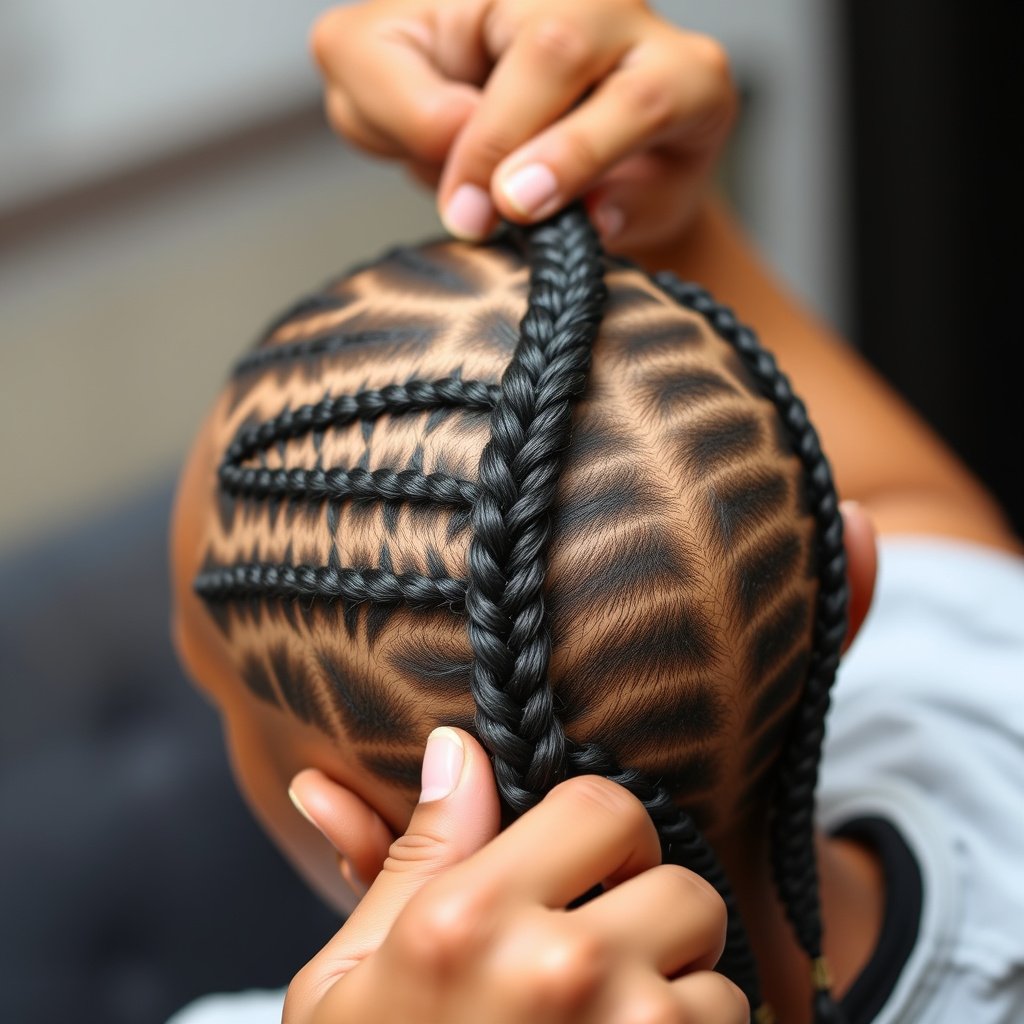
Basic Cornrow Method
Begin the braid by taking three strands of hair close to the scalp and braiding in the traditional three-strand cornrow style. As you progress, add extra hair from each section evenly, weaving tightly and smoothly to keep the braid flat against the scalp.
It’s important to keep consistent tension — too tight can cause discomfort, while too loose will make the braids look uneven and less durable. Practice slow, deliberate movements for neat, uniform goddess braids.
- Divide hair into three even strands
- Weave strands tightly close to scalp
- Add hair gradually for a continuous braid
Creating Thick, Chunky Goddess Braids
To achieve the signature thick look, start with larger hair sections than usual. Larger sections create bold braids which emphasize the goddess braid style. You may also combine multiple smaller braids into one thick braid after cornrowing.
Using edge control gel along the part lines can improve sleekness. Finish braiding to the end of the hair and secure with a small elastic or thread that blends with your hair color to maintain a polished look.
- Use bigger hair sections for chunkier braids
- Apply edge control for smooth parts
- Secure braid ends with invisible elastics
Maintaining and Caring for Goddess Braids
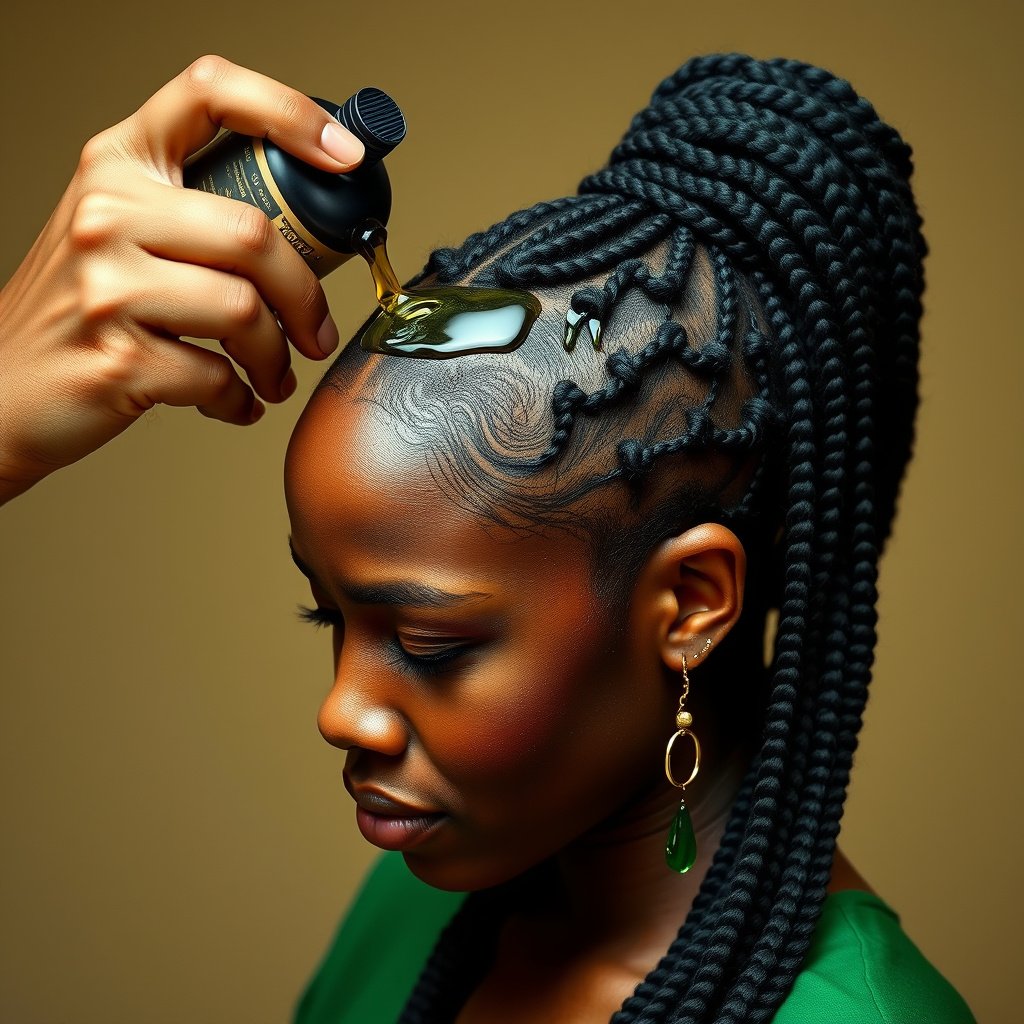
Daily Scalp and Hair Care
Even though goddess braids are protective, your scalp still needs moisture and care. Lightly oil your scalp every few days with natural oils like jojoba or castor oil to prevent dryness and itching.
Sleeping on a satin or silk scarf or pillowcase minimizes friction, protecting the braids and keeping them neat much longer. These habits extend the life of your style and support healthy hair growth beneath.
- Apply natural oil to scalp every 3–4 days
- Use satin or silk scarf or pillowcase at night
For more on this, see our related guide: How to Do Knotless Braids: Step-by-Step Guide for a Sleek Finish.
Washing and Refreshing Braids
You can gently wash goddess braids using a diluted shampoo spray to cleanse the scalp without disrupting the style. Be sure to rinse thoroughly and condition with a light moisturizing spray to keep hair hydrated.
If frizz appears over time, edge control or light gel can help tame flyaways for a refreshed appearance. Regular touch-ups along the hairline can help maintain a sharp, clean style.
- Use diluted shampoo spray for washing
- Apply light moisturizing spray after rinse
- Use gel for flyaway control and touch-ups
Recommended Hair Products for Best Results
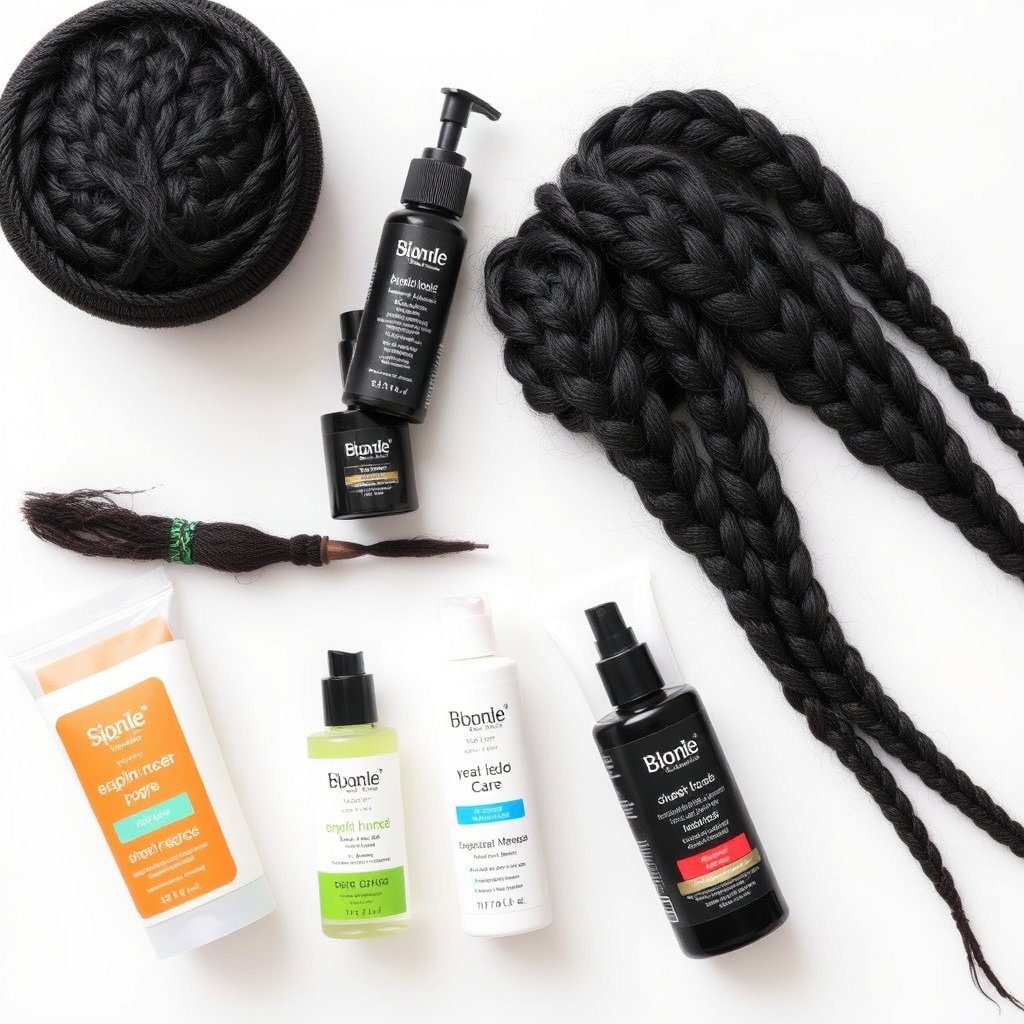
Best Hair Products for Braids
Selecting the right hair products plays a significant role in the success and longevity of goddess braids. Look for moisturizing shampoos, conditioning treatments, and oils rich in nutrients that keep hair strong under tension.
Edge control gels formulated to provide a strong hold without flaking enhance the neatness and polish of the braiding pattern. Lightweight spray moisturizers support braid hygiene without causing buildup.
- Sulfate-free moisturizing shampoo
- Deep conditioning masks
- Non-flaking edge control gel
- Lightweight braid moisturizing spray
Tools You’ll Need
A wide-tooth comb or detangling brush, rat-tail comb for sectioning, hair clips for holding parts, and elastic bands for securing braid ends are essential tools when creating goddess braids.
Optional items like a spray bottle with water or leave-in conditioner help keep hair damp during braiding, making strands easier to manage and braid smoothly.
- Rat-tail comb for precise parts
- Wide-tooth comb or detangler
- Hair clips and elastic bands
- Spray bottle for moisture
Troubleshooting Common Issues When Doing Goddess Braids
Avoiding Scalp Discomfort and Breakage
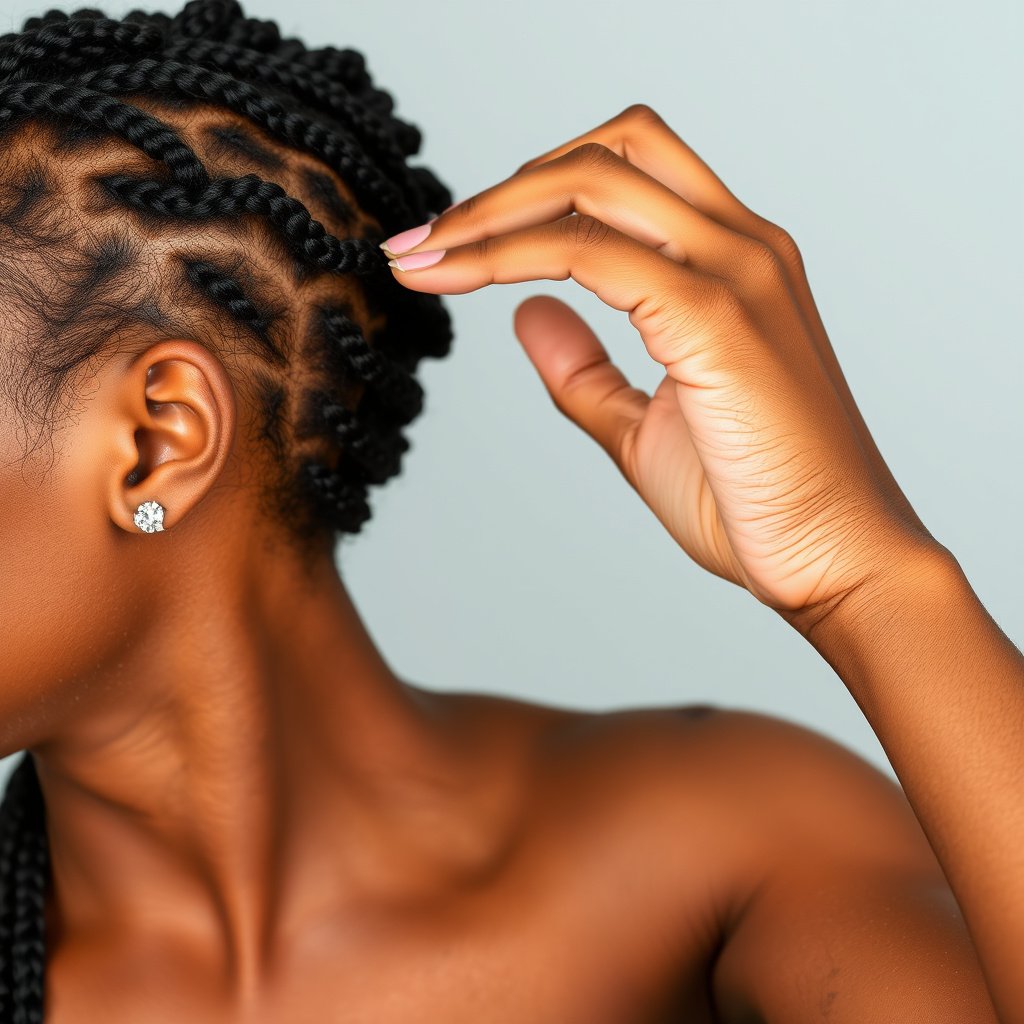
Scalp pain or tightness during braiding usually means the tension is too high. Ease the tightness to avoid causing hairline damage or breakage which can occur if braided too tightly.
If you notice excessive hair shedding along the hairline or scalp irritation, give your hair a break between braided styles and prioritize gentle hair care routines.
- Loosen braid tension to prevent pain
- Avoid repetitive tight styles on edges
- Take breaks between protective styles
For more on this, see our related guide: How to Do Box Braids: A Step-by-Step Guide for Beginners.
Maintaining Braid Freshness and Appearance
Frizz and flyaways can accumulate within a week of braiding. To refresh the look, smooth edges with gel or pomade and wrap hair at night. If certain braids lose shape, you may re-braid or tuck stray strands discreetly.
Proper maintenance helps your goddess braids look intentional and keeps your natural hair healthy beneath the style.
- Use gel or pomade on edges to tame frizz
- Wrap hair overnight for shape retention
- Re-braid loose sections if needed
Styling Ideas with Goddess Braids
Elegant Updos with Goddess Braids
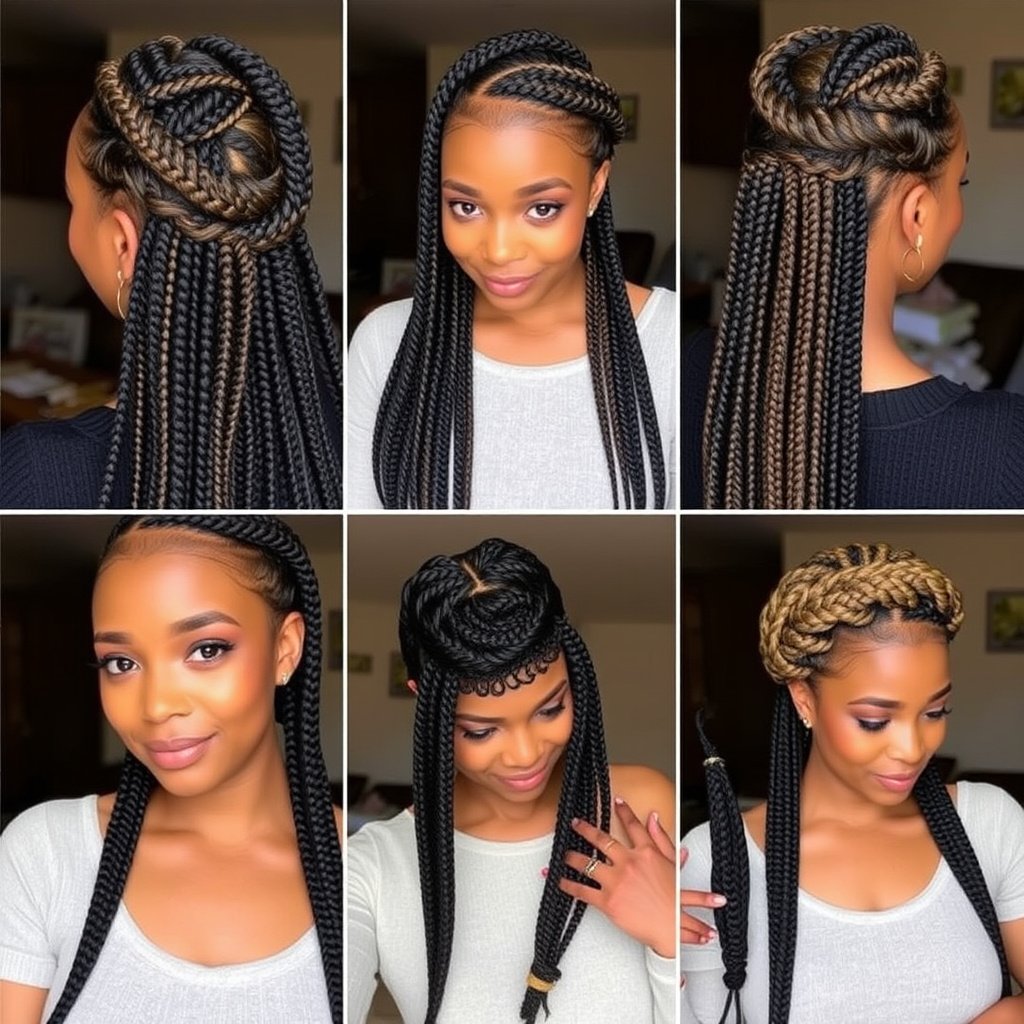
Goddess braids can be styled into elegant updos by sweeping the braids back and securing them into a bun or chignon. This enhances their sculptural quality and suits formal occasions.
Adding hair accessories like beads or gold cuffs along the braids adds decorative flair to create a personalized statement look.
- Sweep braids into low or high bun
- Use pins to secure and shape updo
- Incorporate beads or cuffs for style
For more detailed historical and cultural background on braid techniques similar to goddess braids, visit this page about cornrow braids. cornrow braids information.
Casual and Everyday Looks
For casual wear, goddess braids can be left down with a center or side part for a striking, natural look. Half-up styles, where some braids are pulled into a ponytail or bun, add versatility without removing the protective benefits.
These easy styling options allow your braids to showcase their texture and thickness while accommodating everyday activities.
- Wear braids down with natural part
- Create half-up ponytail or bun
- Keep style simple and protective
Goddess Braids Category Comparison
This table compares common types of goddess braid styles, helping you find the right option based on size, maintenance, and styling versatility.
| Category | Braid Size | Maintenance Level | Styling Flexibility | Ideal Hair Type |
|---|---|---|---|---|
| Classic Goddess Braids | Large and chunky | Medium | High | Thick to medium hair |
| Thin Goddess Braids | Smaller, more numerous | High | Very high | Fine to medium hair |
| Jumbo Goddess Braids | Extra-large thick braids | Low | Medium | Thick hair only |
| Decorative Goddess Braids | Large with accessories | Medium | High | All hair types with extension support |
| Half Goddess Braids | Large, partial head coverage | Low | High | All hair types |
Frequently Asked Questions
How long do goddess braids typically last?
Goddess braids generally last between 3 to 6 weeks depending on hair care, maintenance habits, and individual hair growth rate.
Can I do goddess braids on short hair?
Goddess braids work best on medium to long hair, but with extensions, even short hair can achieve the look.
Is it necessary to use hair extensions for goddess braids?
Extensions are not required but often used to add length or thickness, especially if natural hair is fine or short.
Can goddess braids damage my hair?
If braided too tightly or left in too long, goddess braids can cause breakage and scalp irritation, so gentle tension and timely removal are important.
How do I keep my scalp healthy under goddess braids?
Regularly moisturizing with natural oils, cleansing the scalp gently, and avoiding excessive tension keep the scalp healthy during braiding styles.
Key Takeaways
- Goddess braids require clean, moisturized hair and precise sectioning for best results.
- Mastering tight, even cornrows with large sections creates the signature thick braid look.
- Maintenance includes scalp moisturizing, gentle cleansing, and overnight protection with satin.
- Proper product choice enhances braid longevity and overall hair health during styling.
Conclusion
Understanding how to do goddess braids begins with a clear methodical approach to preparation, braiding technique, and maintenance. The balance between firmness and comfort in tension is key to creating braids that look neat and last well without damaging the scalp. Attention to product selection and proper detangling contributes substantially to a successful outcome. Taking time to section hair cleanly and braid with steady hands produces braids that honor the bold beauty goddess braids are known for.
Different goddess braid categories, from classic large braids to smaller, more intricate thin goddess braids, offer options for varying hair types and styling preferences. Jumbo braids suit those seeking bold volume and a quick style, while decorative braids with accessories bring personal flair to celebrations or formal events. For beginners, classic and half goddess braids provide a manageable yet striking entrance into this style, with smaller braids best left to those comfortable with advanced techniques. Choosing extensions is optional but can add length and thickness for specialized looks.
If you want to try goddess braids yourself, start by gathering recommended tools and suitable hair products to keep your braids fresh and your scalp healthy. Practice your braiding technique slowly on hair sections and gradually increase complexity as confidence grows. Maintaining your braids with moisturizing routines and gentle care will maximize their lifespan and keep your natural hair vibrant beneath. For further expert tips and a deeper understanding of braid care, explore trusted hairstyling resources online or consider consulting with professional braiders.
One Comment