How to Install Micro Link Extensions: A Step-by-Step Guide
Installing micro link extensions involves attaching small, bead-like links to your natural hair without heat or glue. To do this properly, first select the right type of micro links and prepare your hair by sectioning it carefully. Then, thread a small section of your natural hair through a micro link bead, insert the extension strand, and clamp the bead to secure it in place.
Micro link extensions are popular because they offer a gentle, damage-free method of adding length and volume compared to other extension techniques. Choosing high-quality beads and extensions is critical to ensure a natural look and comfort over time. Doing the installation correctly can prevent tangling and slipping, making the overall experience more enjoyable.
This article will walk you through the materials needed, preparation tips, detailed installation steps, maintenance advice, removal process, troubleshooting common problems, and tips for choosing the best micro link hair extensions for your needs.
Preparing for Micro Link Extensions Installation
Choosing the Right Micro Link Extensions
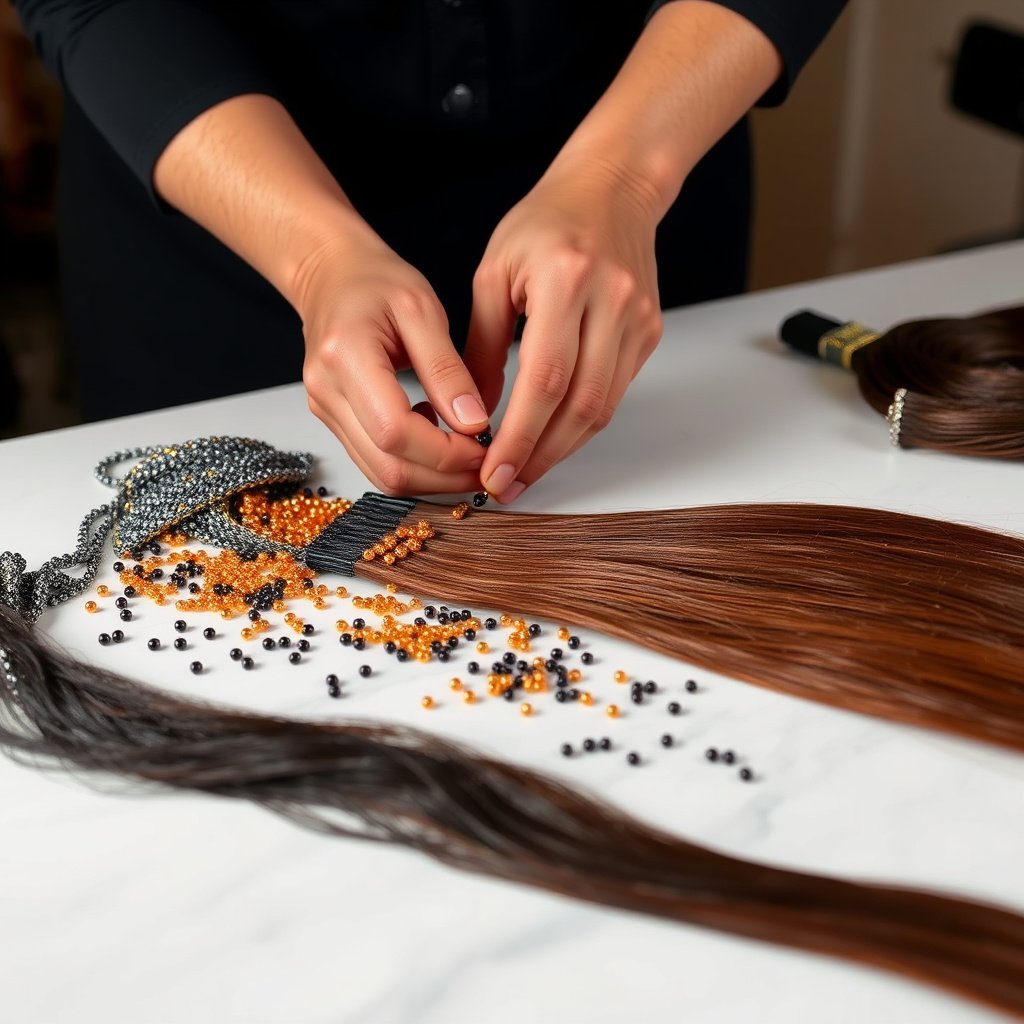
Selecting the best micro link hair extensions starts with considering hair type, texture, and color matching. Remy human hair extensions are preferred for their natural look and durability. Additionally, pick beads that match your natural hair color to ensure they blend seamlessly once installed.
You’ll also want to decide on the length and volume you wish to achieve. Quality and method compatibility play a role here since lower-quality extensions may slip or break during the installation process or wear out quickly.
- Remy vs non-Remy hair
- Bead color matching
- Extension length and thickness
- Quality considerations
Preparing Your Natural Hair
Wash and thoroughly dry your hair to remove oils and dirt, which can affect bead grip. Avoid using conditioner before installation, as it can make hair slippery. Section your hair into small, manageable parts using clips or bands to facilitate attaching extensions evenly.
Ensure hair strands for each micro link are thin enough to thread through the beads without causing strain or discomfort. The right section size varies depending on hair thickness and desired fullness.
- Clean, dry hair
- No conditioner or oils
- Sectioning hair
- Matching strand thickness
Step-by-Step Installation Process for Micro Link Extensions

Attaching the Micro Links
Start by threading a micro link bead onto a small strand of your natural hair using a loop tool or thin hook. Next, insert the extension strand into the bead along with the natural hair. Use flat-nose pliers to clamp the bead securely but gently to avoid damaging hair or extensions.
Repeat this process systematically around your scalp, spacing the extensions evenly for a natural look. Work carefully to avoid tangling and ensure the beads are flat and comfortable against your scalp.
- Thread bead on natural hair
- Insert extension strand
- Clamp bead with pliers
- Space evenly
Securing and Final Adjustments
After all beads are clamped, gently tug on extensions to check for secure attachment. Adjust any beads that feel loose by reopening and reclamping them. Comb through your hair softly to blend extensions smoothly with natural strands and style as desired.
Avoid heavy pulling or rough combing in the first few days after installation to let beads settle. Routine inspections in the first few weeks help catch any beads starting to slip.
- Perform security check
- Adjust loose beads
- Gentle combing
- Regular inspection
Maintaining Micro Link Extensions

Daily Care Routine
Use sulfate-free shampoo to wash your hair gently, avoiding harsh rubbing on the beads. Pat hair dry rather than vigorously towel drying. Sleep with your hair braided or tied loosely to prevent tangling at the beads overnight.
Avoid using oily or heavy hair products near the beads since buildup can cause slipping. Regular brushing with a soft extension-friendly brush prevents knots without damaging the links.
- Sulfate-free shampoo
- Pat dry after washing
- Loose braids for sleep
- Avoid heavy products near beads
For more on this, see our related guide: Micro Link Hair Extensions: A Complete Buying Guide.
Routine Maintenance and Check-ups
Visit a professional stylist every 6-8 weeks to reposition any beads that have slipped or grown out with natural hair. The stylist can also check for signs of damage or discomfort. Proper maintenance extends the life of your micro link extensions and keeps them looking fresh.
Keep an eye on the tightness of beads and consult your stylist immediately if you experience pulling or irritation, which can harm your natural hair.
- Professional check every 6-8 weeks
- Reposition slipping beads
- Monitor scalp comfort
- Promptly address damage
Removing Micro Link Extensions Safely
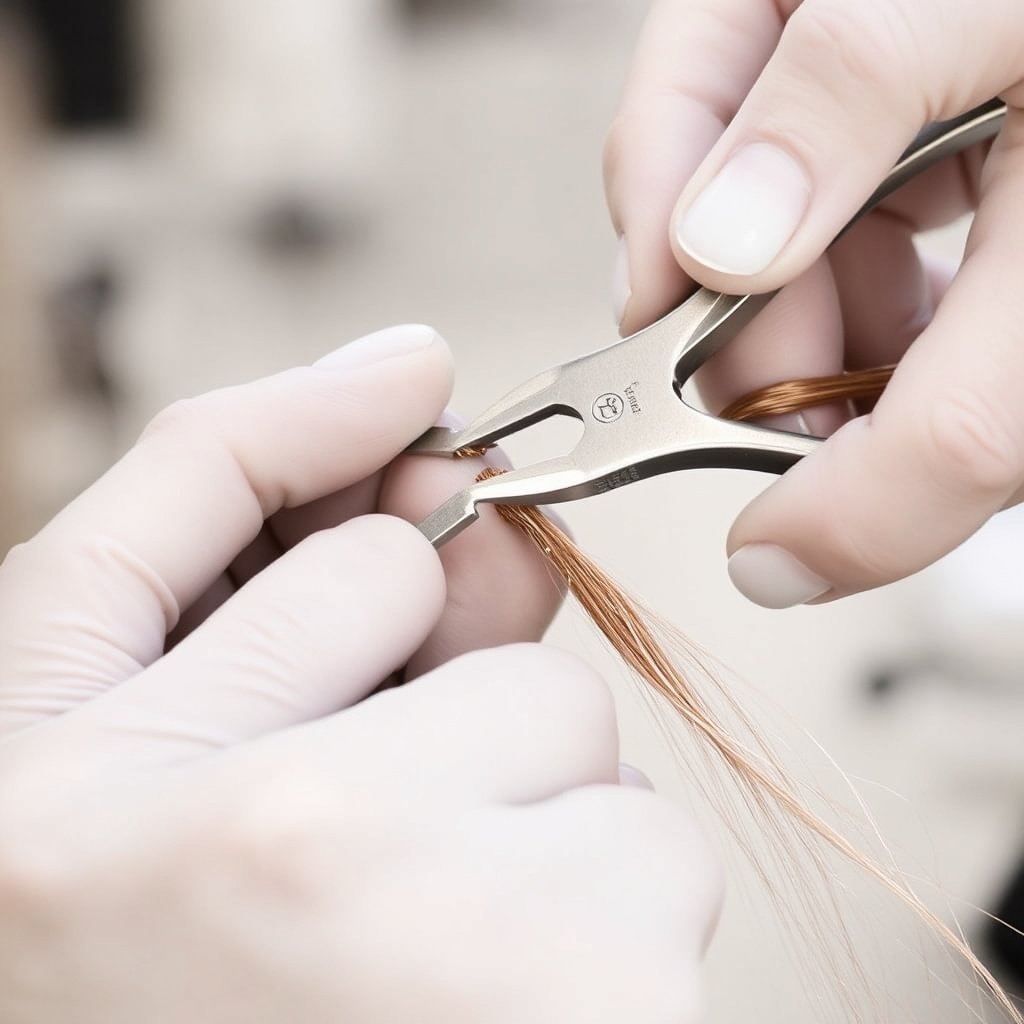
Tools and Techniques for Removal
Use a micro link bead opener or specialized pliers to gently open each bead without pulling on hair. Slowly slide the extensions out of the beads as they open. Avoid yanking extensions to prevent breakage or damage to natural hair.
This process can be time-consuming but doing it carefully preserves hair integrity and allows extensions to be reused if they remain in good condition.
- Micro link bead opener or pliers
- Gentle, slow removal
- Avoid pulling on hair
- Check extension condition
Post-Removal Hair Care
After removal, treat your hair to a deep conditioning treatment to replenish moisture lost during wear. Trim any split ends and maintain a nourishing hair care routine to restore natural texture and strength.
If planning to reinstall extensions soon, give your hair a break to prevent stress and damage from repeated installation cycles.
- Deep conditioning
- Split end trimming
- Nourishing hair care
- Hair break between installations
Troubleshooting Micro Link Extension Problems

Common Issues and Fixes
Slipping beads often result from improper clamping or excessive hair oil buildup. To fix, clean beads gently with alcohol, then reclamp using pliers. Consult a stylist if beads continue slipping or cause scalp discomfort.
Tangled extensions usually come from neglecting careful brushing or sleeping with loose hair. Regular grooming and night braiding help reduce tangles.
- Slipping beads: clean & reclamp
- Tangles: regular brushing & braiding
- Scalp irritation: consult stylist
For more on this, see our related guide: Hair Extensions Arlington TX: Your Local Shopping Guide.
When to Seek Professional Help
If beads frequently slip, cause pain, or extensions appear damaged, professional intervention is recommended. Stylists can adjust, remove, or replace extensions safely without harming your natural hair.
Persistent problems may indicate unsuitable extension type or an installation issue requiring expert correction.
- Frequent bead slippage
- Pain or scalp irritation
- Extension damage
- Professional assessment
Choosing the Best Micro Link Hair Extensions for Your Needs

Factors Influencing Selection
Consider hair texture compatibility, how long you want to wear the extensions, and your budget. High-quality Remy human hair extensions normally offer the most natural appearance and durability for micro link installations.
Color match is essential to avoid visible beads or extension strands. Test swatches and consult hair professionals to find the closest match, which enhances the overall seamless effect.
- Texture matching
- Durability expectations
- Budget considerations
- Accurate color matching
For more technical details about the micro ring method commonly used for micro link extensions, the Wikipedia page on hair extensions offers a thorough overview. micro ring hair extension method.
Where to Buy Reliable Extensions
Purchase from reputable hair extension suppliers, salons, or brands specializing in micro link extensions. Avoid low-cost, non-Remy synthetic options which tend to tangle and damage natural hair more easily.
Check reviews and product guarantees to ensure quality. Many trusted online retailers provide detailed descriptions, customer feedback, and professional advice.
- Reputable suppliers
- Avoid synthetic low-quality hair
- Check reviews
- Look for guarantees
Micro Link Extensions Category Comparison
Here’s a useful comparison of different micro link extension types to help you decide which suits your hair and lifestyle best.
| Extension Type | Material | Lifespan | Maintenance Frequency | Cost Range |
|---|---|---|---|---|
| Remy Human Hair | 100% Remy human hair | 3-4 months | Every 6-8 weeks | $200 – $500 |
| Non-Remy Human Hair | Human hair, some cuticle damage | 2-3 months | Every 4-6 weeks | $100 – $300 |
| Synthetic Hair | Non-human synthetic fibers | 1-2 months | Every 3-4 weeks | $50 – $150 |
| Blended Hair | Mix of human and synthetic fibers | 2-3 months | Every 5-6 weeks | $120 – $350 |
Frequently Asked Questions
Can I install micro link extensions by myself at home?
While possible, self-installation requires patience, proper tools, and technique to avoid damaging hair. Beginners should seek professional help to ensure safe and neat application.
How long do micro link extensions usually last?
With good care, micro link extensions typically last between 3 to 4 months, requiring maintenance every 6-8 weeks to reposition beads and maintain appearance.
Do micro link extensions damage natural hair?
Micro link extensions are gentle if installed correctly and not worn too long. Improper installation or neglecting maintenance can lead to hair breakage or scalp irritation.
Can I color my hair with micro link extensions in place?
Coloring natural hair with micro link extensions requires caution. It’s best to consult a stylist to avoid damaging extensions or beads during the color process.
What is the difference between Remy and non-Remy extensions?
Remy hair maintains the natural cuticle direction, which reduces tangling and looks more natural. Non-Remy hair has cuticles stripped or reversed, leading to more tangling and shorter lifespan.
Key Takeaways
- Micro link extensions attach via small beads without heat or glue for hair-friendly volume.
- Choosing high-quality Remy hair and matching bead color enhances natural appearance.
- Proper installation and regular maintenance prevent slipping and damage.
- Professional removal protects natural hair and allows extension reuse.
Conclusion
Installing micro link extensions requires a careful balance of choosing the right products and executing precise application techniques. The decision-making process should prioritize hair health, bead color match, and suitable extension type to achieve a natural, long-lasting result. Regular maintenance and gentle handling ensure your extensions stay secure and comfortable.
If you want low-maintenance, long-lasting results, Remy human hair micro link extensions are an excellent option. For budget-conscious individuals, blended or non-Remy extensions provide a temporary solution but require more frequent upkeep. Always have a stylist perform installations if you lack the right tools or experience to avoid potential hair damage.
Before starting, gather necessary tools and purchase from trusted suppliers. Give your hair a proper wash, section carefully, and patiently work through each tiny section to clamp beads neatly. If you experience difficulty during installation or removal, consulting a professional stylist will safeguard your hair health and the longevity of your extensions.