How to Install Tape in Hair Extensions: A Step-by-Step Guide
Installing tape in hair extensions is a straightforward process that, when done properly, gives a natural look with a secure hold. The technique involves sandwiching a section of your natural hair between two adhesive-backed extension strips, ensuring the tape is pressed firmly for a lasting bond.
This method is popular because it causes minimal damage to your natural hair and allows for quick application and removal. Understanding the correct steps to install tape in extensions will help you achieve a smooth finish without gaps or discomfort.
This article will explain how to prepare your hair, apply the tape extensions correctly, and maintain them for the best results. Additionally, we'll cover important tips and tools needed for a professional-quality installation.
Preparing Your Hair for Tape-In Extensions
Washing and Drying Your Hair
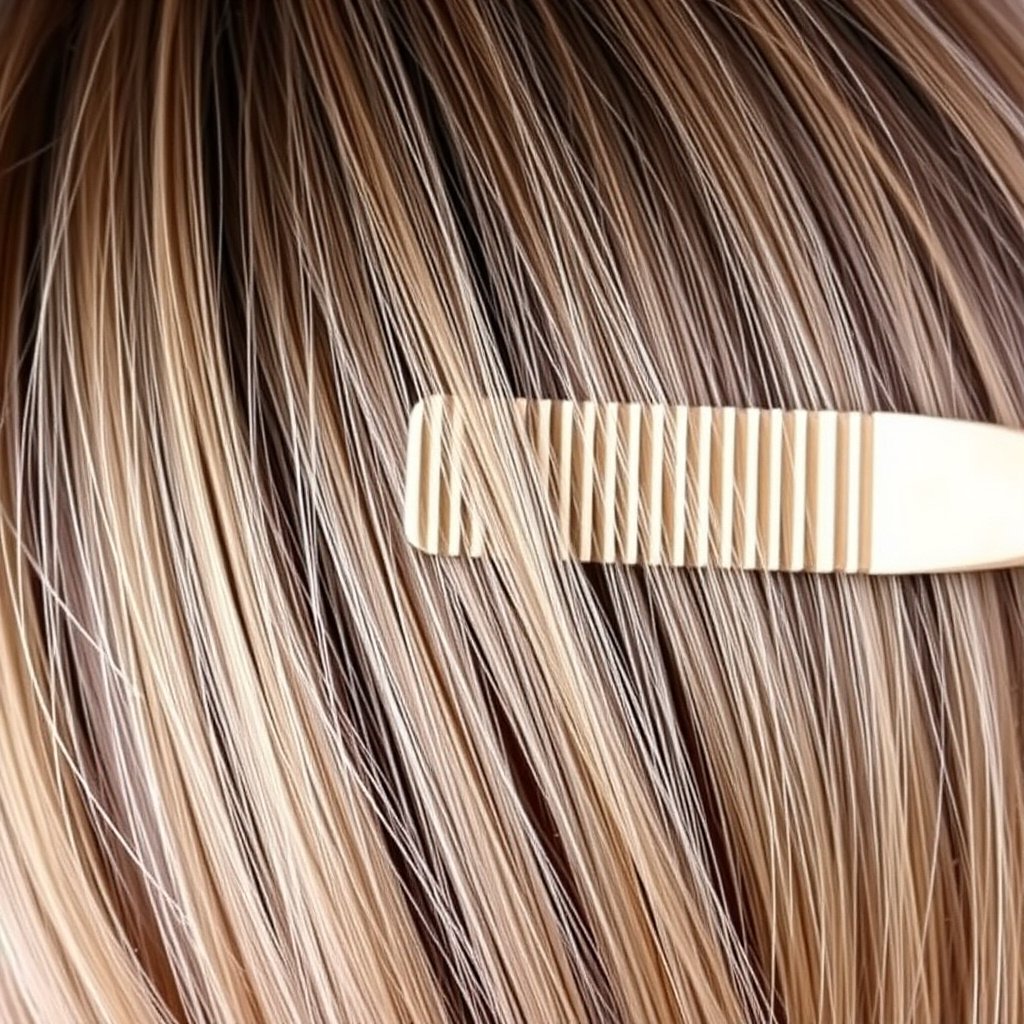
Start by washing your hair thoroughly with a residue-free shampoo to remove oils and product build-up that could weaken the tape's hold. Avoid conditioner as it can leave a slippery residue on hair strands.
After washing, dry your hair completely using a blow dryer or air drying. The tape adheres best to dry, clean hair, so any moisture can compromise the bond.
- Use sulfate-free shampoo
- Avoid conditioners or heavy treatments
- Ensure hair is fully dry before application
Sectioning Your Hair Correctly
Divide your hair into sections starting from the nape of your neck and work upward. Use clips to hold upper layers out of the way, creating clean, manageable parts where the tape can be applied.
Sectioning evenly helps the extensions blend naturally and ensures consistent thickness without visible gaps.
- Create horizontal sections about 1 inch thick
- Use hair clips to secure upper layers
- Work symmetrically on both sides
Applying Tape-In Hair Extensions
Positioning the Tape Extensions
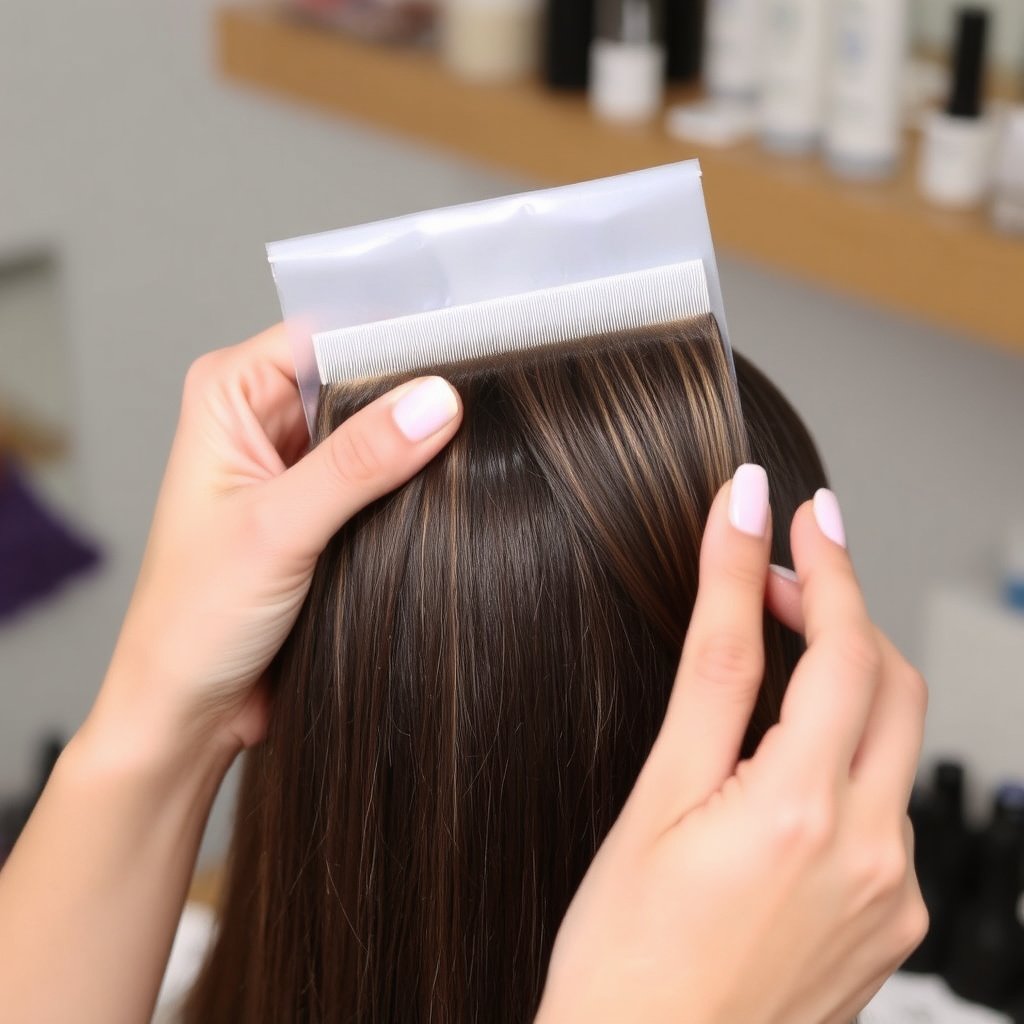
Carefully peel the backing off one tape strip and place it beneath a thin section of natural hair close to the scalp without touching it directly. Then, press firmly to adhere the tape to the hair.
Align a matching tape piece directly opposite the first strip, sandwiching your natural hair between the two adhesive tapes. Press tightly to seal the bond for a secure hold.
- Use about 30-50 strands per application
- Avoid applying too close to the scalp
- Press tapes together for 30 seconds to bond
Checking for Proper Adhesion and Placement
After applying each tape-in extension, gently tug to ensure it is firmly secured and correctly positioned. Check that the tapes lie flat and that no hair is trapped outside, which could cause slipping.
Proper placement ensures the extensions will blend seamlessly with your natural hair, without creating noticeable bumps or gaps.
- Run fingers over tape seams to smooth
- Adjust placement early if extension doesn't sit right
Tools and Materials Needed for Tape-In Installation
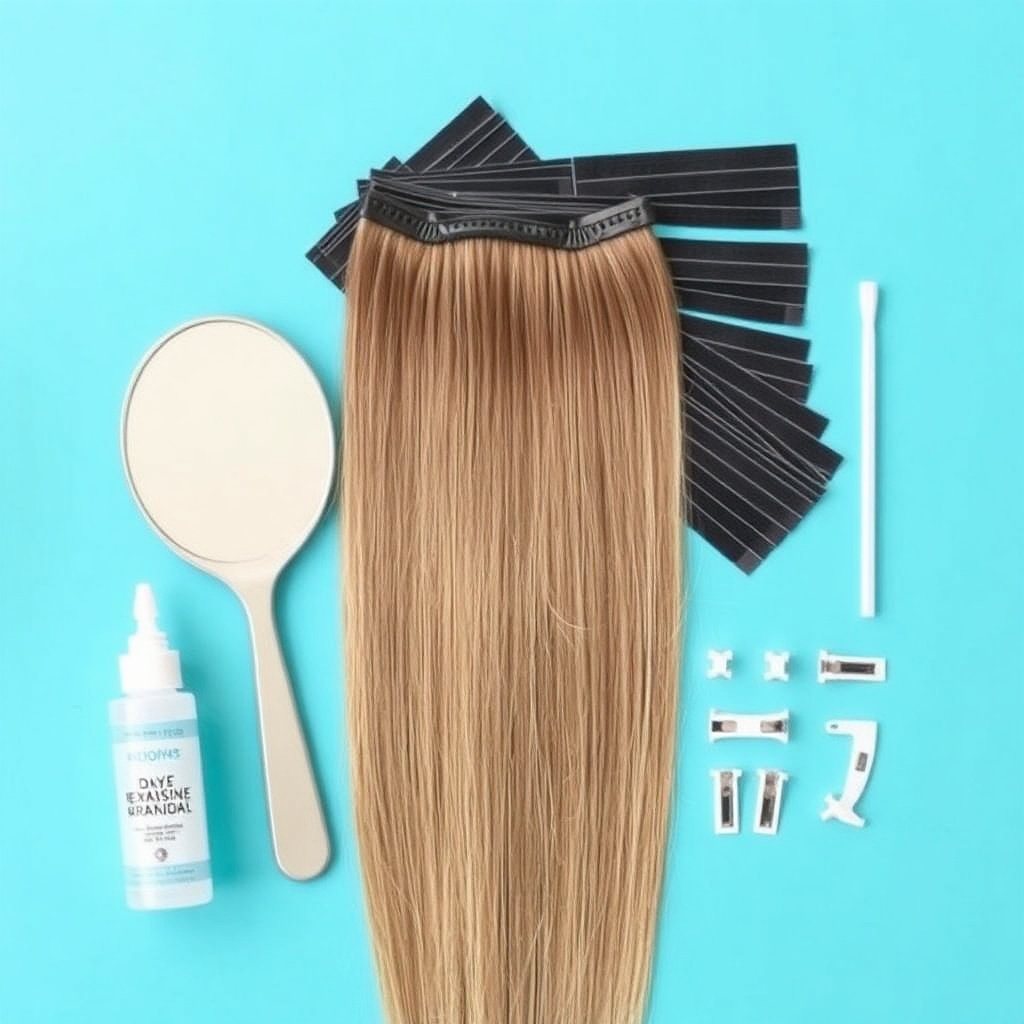
Essential Tools for a Successful Application
To install tape extensions correctly, gather high-quality tape-in extensions, a rat-tail comb for sectioning, hair clips to hold sections, and a professional adhesive remover for future maintenance.
A handheld mirror can help you check the back of your head during application to ensure even placement.
- Tape-in extensions with pre-taped strips
- Comb and sectioning clips
- Handheld mirror for visibility
For more on this, see our related guide: Clip in vs. Tape in Extensions: Which Is Better?.
Tape Maintenance Products
Invest in remover solutions specifically formulated to gently dissolve extension adhesives without damaging your hair. Avoid oil-based products near the tape, as they can weaken the bond prematurely.
Maintaining cleanliness and using extension-safe shampoos will prolong the life of your tape-ins and prevent buildup.
- Adhesive remover
- Residue-free shampoo
- Extension-friendly conditioner applied away from tapes
Maintaining and Removing Tape-In Extensions
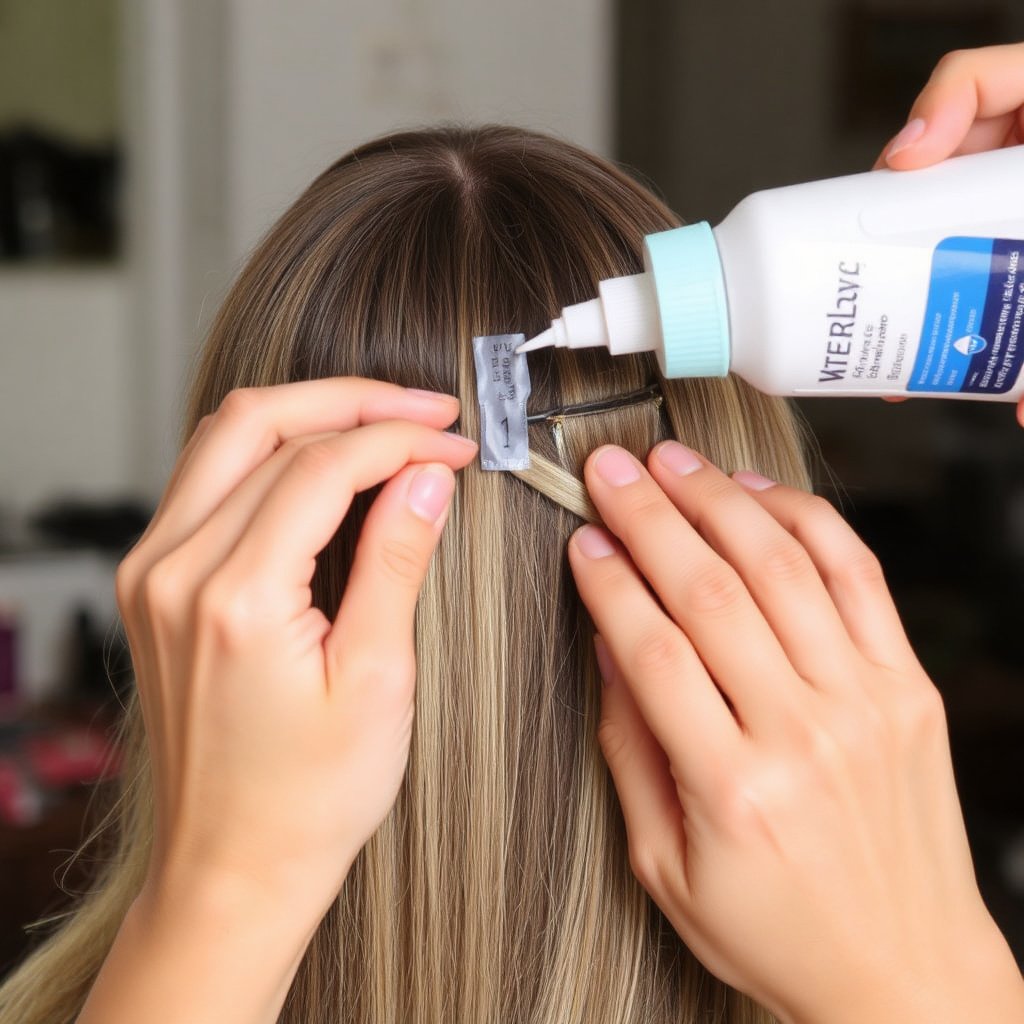
How to Keep Tape Extensions Looking Good
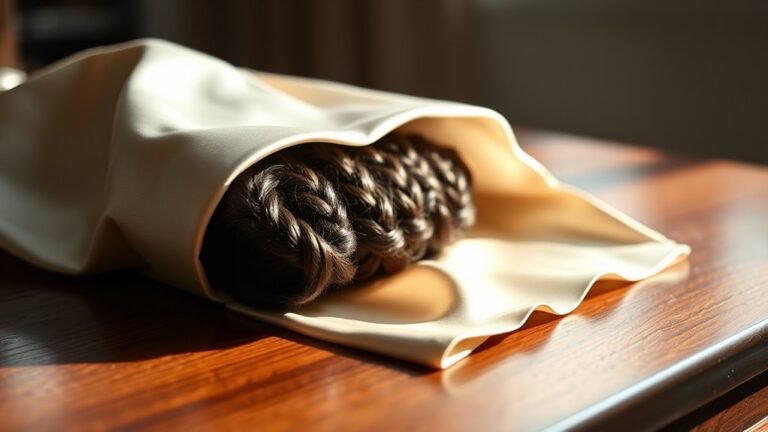
For long-lasting tape extensions, avoid excessive washing—two to three times per week is enough—and always use residue-free products. Sleep with hair tied loosely or in braids to prevent tangling.
Regularly check that tapes remain flat and reapply adhesives as needed to avoid slipping.
- Wash hair 2-3 times weekly
- Use silk pillowcases to reduce friction
- Avoid oily hair products near tape
Safe Tape-In Extension Removal
Apply adhesive remover directly to the tapes, allowing it time to soften the glue before gently peeling the extensions away from the hair. Pulling extensions without remover can cause hair breakage.
Once removed, clean the natural hair thoroughly and wait before reapplying new tapes to preserve hair health.
- Use adhesive remover as directed
- Peel extensions downwards slowly
- Do not force tape removal
Common Mistakes to Avoid with Tape-In Hair Extensions
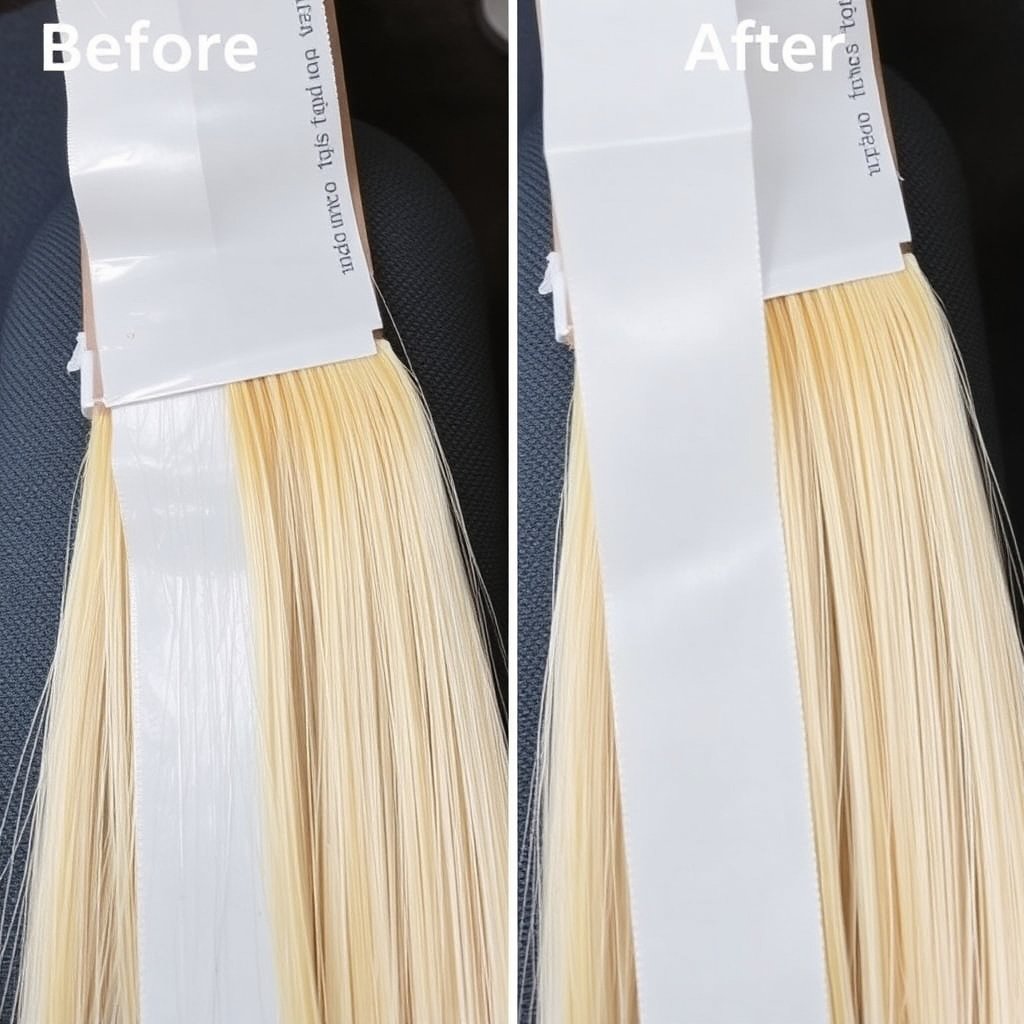
Applying Tape Too Close to the Scalp
Placing tape extensions directly on the scalp can cause discomfort, itching, and early lifting. Always leave a small gap to avoid irritating your skin and allow the adhesive to grip only the hair strands.
This precaution also promotes better movement and natural appearance.
For more on this, see our related guide: U Tip Hair Extensions Guide: What to Know Before You Buy.
Using Thick Hair Sections in Each Tape
Using overly thick hair sections in one tape can create uneven weight distribution and stress your natural hair. Keeping sections thin and consistent spreads out the extension weight comfortably.
Thin sections also enhance blending and reduce visible tape edges.
Benefits of Tape-In Hair Extensions

Natural Look and Feel
Tape-in extensions lie flat against your scalp, creating a seamless, natural appearance. Their thin adhesive strips don't cause noticeable bumps, making them comfortable for everyday wear.
Additionally, they blend well with your hair texture, allowing you to style freely.
For a broader understanding of tape-in hair extensions and their history, check this tape-in hair extensions detailed overview. tape-in hair extensions detailed overview.
Reusability and Quick Application
One of the advantages of tape-in extensions is they can be reapplied several times using fresh adhesive tapes, making them a cost-effective choice. The installation process typically takes under an hour, saving you time.
This also allows for easy maintenance and quick transformation.
Tape-In vs. Other Hair Extension Types
This comparison highlights key differences in application, durability, and impact on hair between tape-in extensions and other popular types.
| Extension Type | Application Method | Durability | Hair Impact | Cost |
|---|---|---|---|---|
| Tape-In | Adhesive strips taped to hair | 4-8 weeks | Minimal damage with proper care | Moderate |
| Clip-In | Clip fasteners | Temporary, daily use | No damage if used carefully | Low |
| Sew-In | Braided and sewn | 6-8 weeks | Potential stress on scalp | Moderate to high |
| Fusion | Keratin bonded with heat | 3-4 months | Possible damage from heat | High |
| Micro-Link | Small beads clamped | 6-8 weeks | Tension can cause breakage | Moderate |
Frequently Asked Questions
Can I install tape-in hair extensions at home?
Yes, many people successfully install tape-in extensions at home by following instructions carefully. However, a professional installation can ensure even placement and reduce risk of damage.
How often should tape-in extensions be moved up?
Tape-in extensions should be repositioned every 4 to 8 weeks as your natural hair grows. This prevents the tape from slipping and maintains a natural look.
Will tape-in extensions damage my natural hair?
When applied and cared for properly, tape-in extensions cause minimal damage. Avoid thick sections and do not install tapes too close to the scalp to protect your hair.
Can I reuse tape-in extensions after removal?
Tape-in extensions can be reused if the tapes are replaced with fresh adhesive strips. The hair wefts themselves remain usable for multiple applications.
What products should I avoid with tape-in extensions?
Avoid oil-based shampoos, conditioners, and hair products near the extension tapes as oils can break down the adhesive and cause slipping.
Key Takeaways
- Clean, dry hair is essential for tape adhesion.
- Section hair evenly for seamless tape-in extension application.
- Avoid placing tape too close to the scalp or using thick hair sections.
- Proper care extends tape-in extension lifespan and reduces damage.
Conclusion
Successfully installing tape in hair extensions depends on preparation, proper technique, and maintenance. By washing and drying hair carefully, sectioning accurately, and applying the tape strips with care, you achieve a strong bond that looks natural and feels comfortable. Understanding the installation process helps you make better decisions about the type and number of extensions that suit your hair.
For those wanting natural-looking fullness with minimal upkeep, tape-in extensions are an excellent option. They offer a balance of durability and reusability while causing less strain on hair compared to methods like fusion or micro-link. Whether you are a beginner or experienced extension user, using thin sections and avoiding application directly at the scalp will protect your hair and allow beautiful blending.
Overall, if you decide to install tape-in hair extensions yourself, gather the appropriate tools and products first, follow step-by-step application guidelines, and commit to gentle maintenance. Consider starting with a small number of extensions to practice before expanding. With patience and care, tape-in extensions can transform your hairstyle effectively and safely.