How to Do Knotless Braids: Step-by-Step Guide for a Sleek Finish
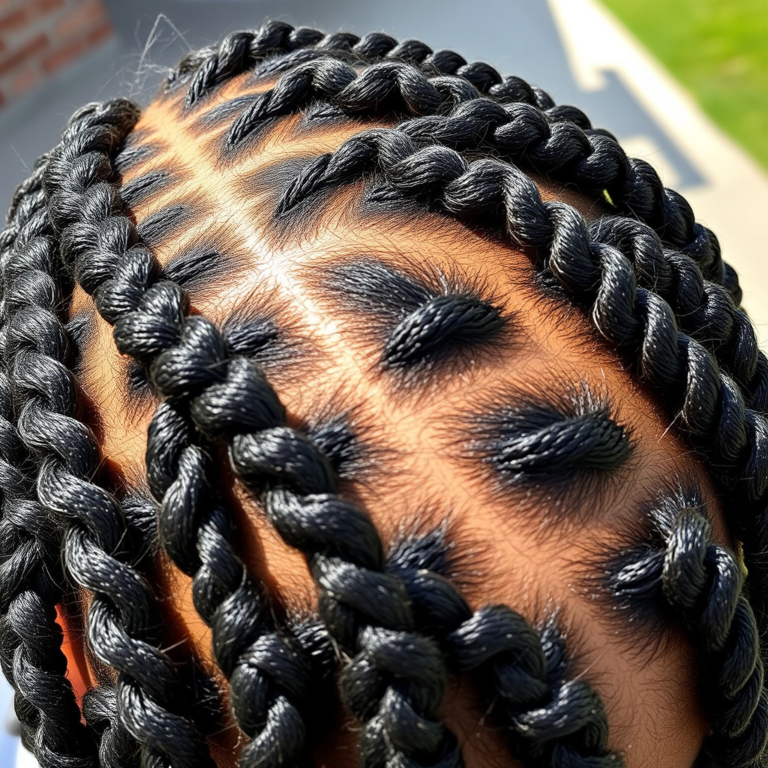
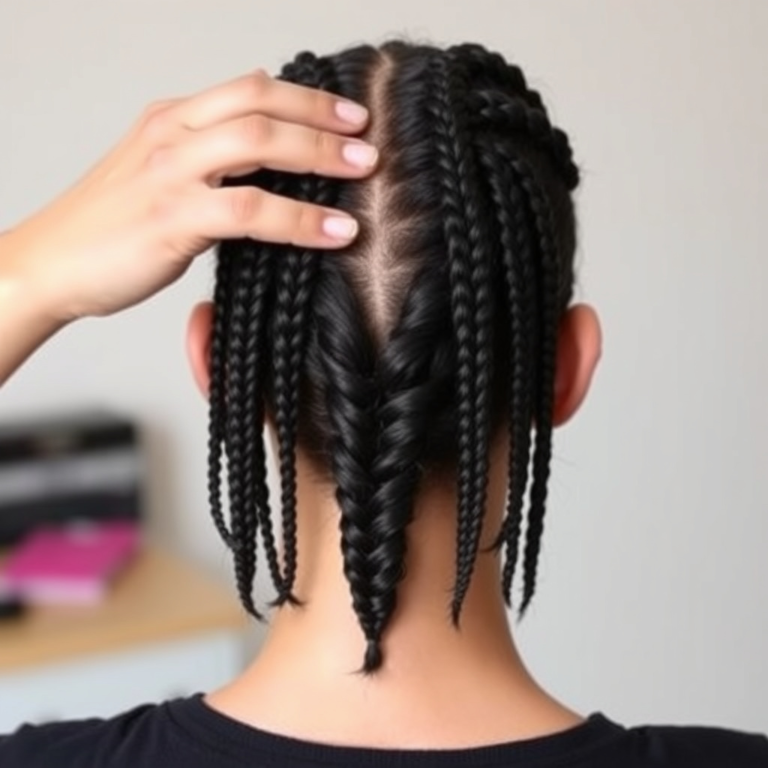
Knotless braids are a technique where the braiding hair is fed in gradually rather than starting with a large knot at the base, resulting in braids that look more natural and feel lighter on the scalp. To do knotless braids, start by sectioning the hair, then braid small portions of your natural hair initially and slowly add synthetic hair as you braid downward. This method creates a smooth transition right from the scalp without the bulky knots traditional box braids have.
This braid style is favored for its ability to reduce tension on the scalp, minimizing pain and potential hair damage. Since the braids begin sleek and grow thicker, they also tend to last longer with less buildup or irritation. These practical benefits have made knotless braids a popular choice among natural hair enthusiasts who want protective styling without compromising comfort or hair health.
In this article, we'll cover the preparation process, detailed steps to install knotless braids, carry out proper maintenance, and explore styling options and troubleshooting advice. By the end, you'll have everything needed to create neat, lasting knotless braids with confidence.
Preparing Your Hair for Knotless Braids
Washing and Conditioning
Begin by thoroughly washing your hair with a gentle shampoo to remove any dirt or product buildup. Follow up with a deep conditioner to restore moisture and strengthen strands, essential for lasting braid health. Rinse thoroughly and gently detangle your hair before moving on.
Clean, well-moisturized hair lays a healthy foundation for knotless braid installation, reducing breakage and helping the braids hold without slipping.
Detangling and Sectioning
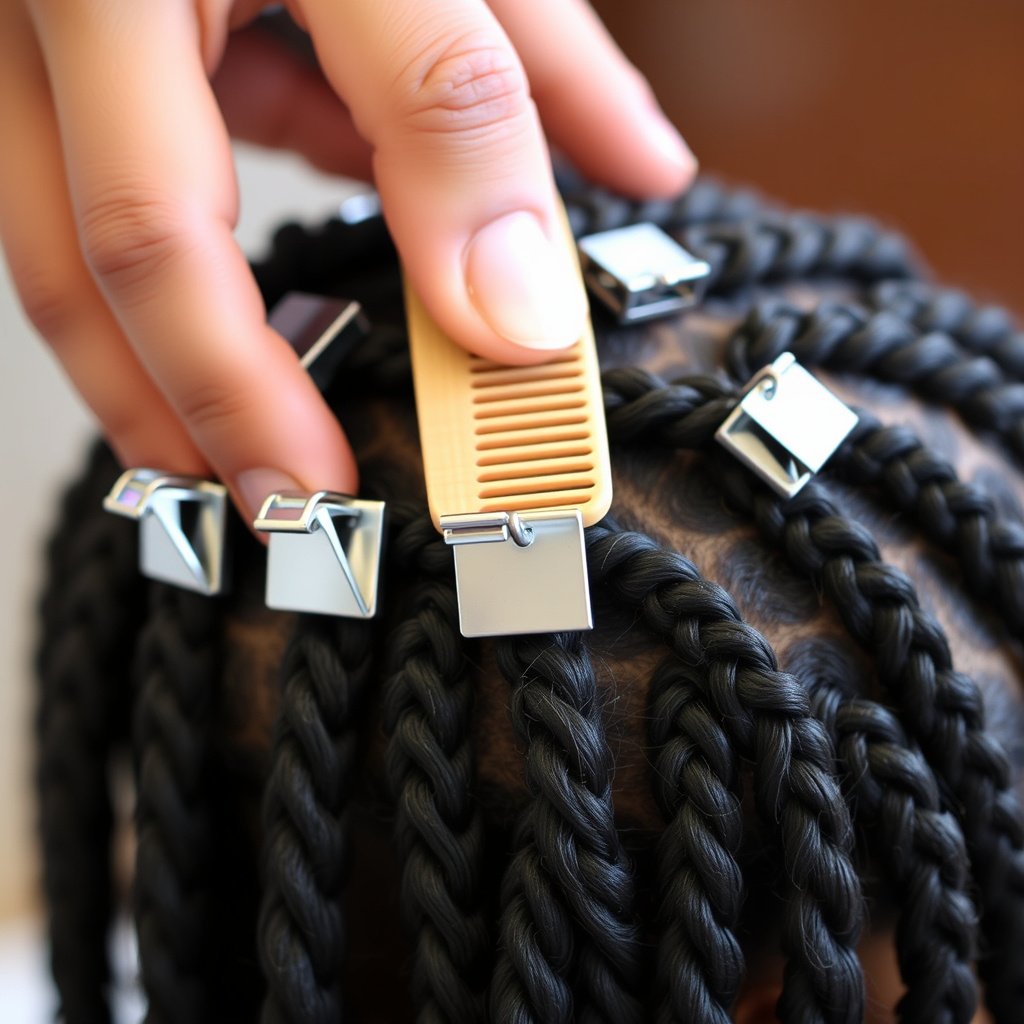
Carefully detangle your hair using a wide-tooth comb or fingers to prevent snapping. Then divide your hair into neat, even sections using clips or bands. The size and shape of these sections will directly affect braid size and uniformity.
Proper sectioning helps maintain an organized braiding process and prevents overlapping or uneven braids, contributing to a polished final look.
- Use clips to separate sections
- Decide on braid size (smaller sections for thinner braids)
- Maintain consistent parting lines
Step-by-Step Knotless Braid Installation
Starting the Braid Without a Knot
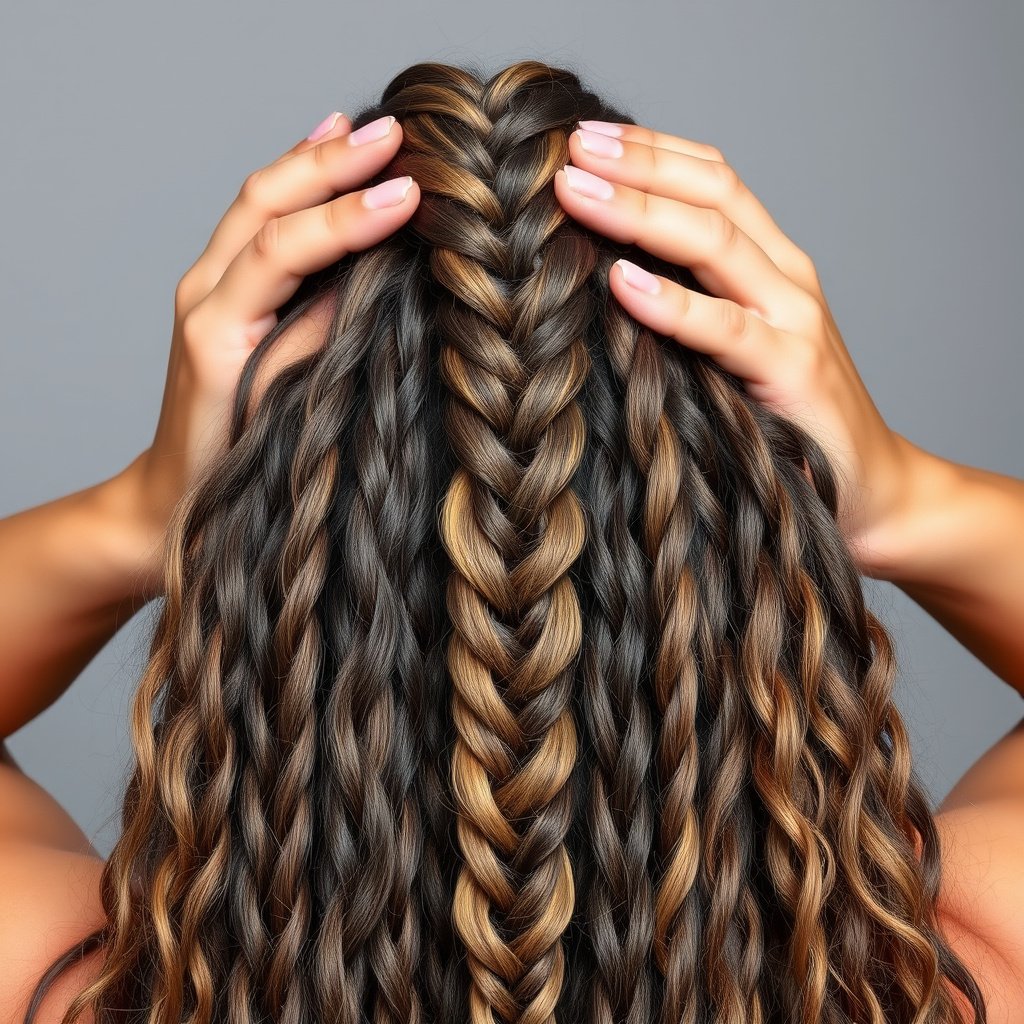
Unlike traditional braids, knotless braids begin by braiding a small section of your natural hair about an inch or two down from the scalp rather than tying a knot at the root. Use three strands of your own hair initially to form the base of the braid, which eliminates tension and reduces scalp stress.
This foundation allows the braids to look more natural and feel lighter, removing the typical small bulky knot seen at the roots of standard box braids.
- Start with small natural hair sections
- Avoid tying synthetic hair directly at the root
Feeding in Synthetic Hair Gradually
Once you have a secure start, gradually add thin pieces of synthetic braiding hair to just one or two strands of your natural hair at a time as you braid downward. This slow feeding blends the extensions seamlessly with your own hair and thickens the braid progressively without any lumps.
This technique also protects your scalp because adding hair in increments reduces pulling force and tension compared to starting with a full bundle at the root.
- Add hair strands gradually one or two at a time
- Feed synthetic hair only as the braid grows
- Maintain tension to keep the braid tight but gentle
Maintaining Knotless Braids for Longevity
Cleansing Your Scalp and Braids
To keep your scalp healthy and prevent buildup, wash your braids gently every one to two weeks using diluted shampoo. Focus on the scalp rather than scrubbing the braids themselves. Follow with a light conditioning spray to keep your braids hydrated without loosening them.
Regular cleansing prevents itchiness, dryness, and flaking while preserving the neat appearance of the braids.
- Use diluted shampoo or braid cleansers
- Massage scalp gently when washing
- Allow braids to dry completely overnight
For more on this, see our related guide: How Long Do Box Braids Last and How to Maximize Their Longevity.
Moisturizing and Nighttime Care
Moisturize your braids and scalp daily with water-based sprays and light oils to prevent brittleness. At night, wrap your hair with a silk or satin scarf or bonnet to reduce friction and avoid frizz or breakage. These practices extend braid freshness and hair health.
Avoid heavy creams or oils that cause product buildup which can weigh down the braids and irritate the scalp.
- Use water-based moisturizers
- Cover hair with silk or satin at night
- Avoid excessive products that cause buildup
Styling and Versatility of Knotless Braids
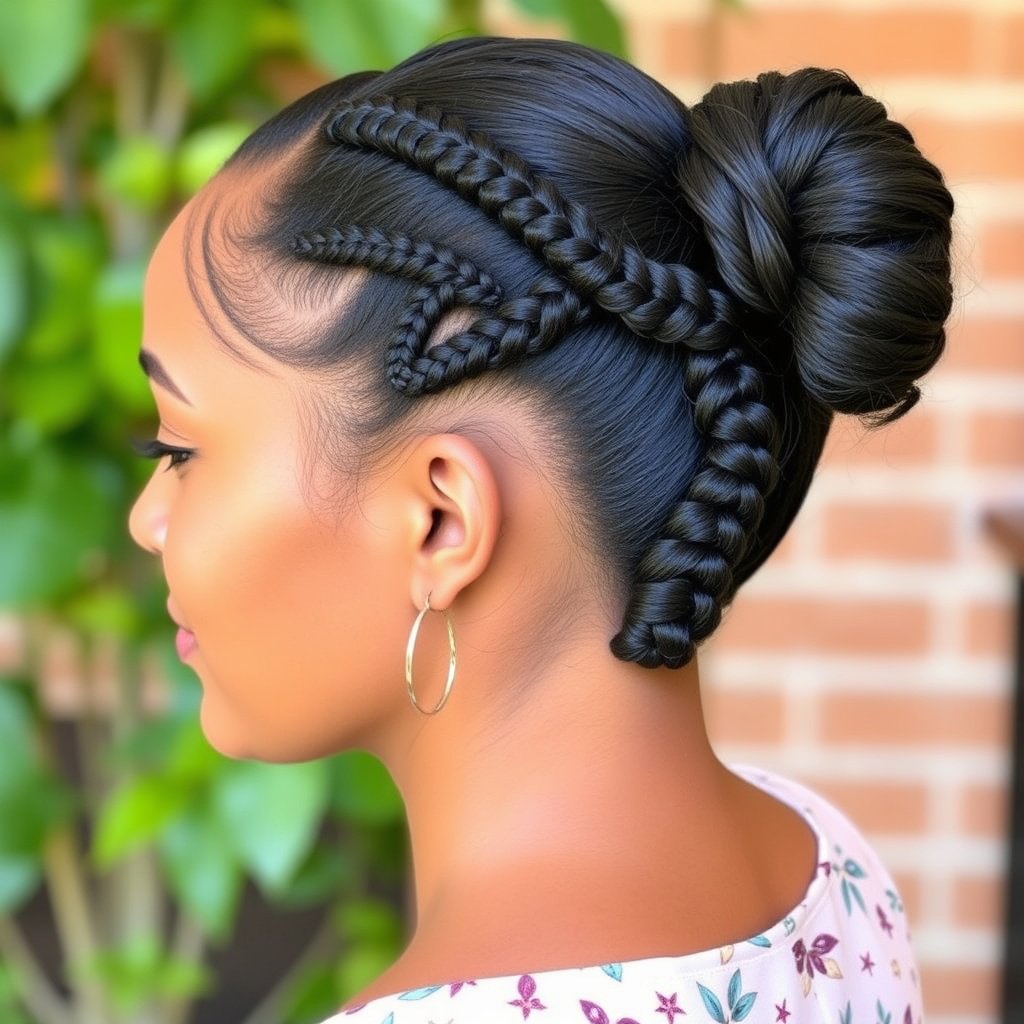
Common Styles with Knotless Braids
Knotless braids provide a flexible base for multiple styles including high ponytails, buns, half-up half-down looks, and side-swept arrangements. Their lightweight structure makes it easier to wear these styles comfortably for prolonged periods without scalp pain.
Because they start neatly at the root, these braids lend a polished and natural look suited for both casual wear and special occasions.
- High and low ponytails
- Elegant buns and updos
- Half-up, half-down styles
Accessorizing Without Damage
You can accessorize knotless braids using beads, hair cuffs, or colorful clips. Choose accessories that don’t add excessive weight or pull on the roots. Light, flexible decorations enhance the style without compromising braid integrity or scalp comfort.
Avoid tightly clamping heavy or metal clips close to the scalp, as this could cause discomfort or hair breakage.
- Use lightweight beads and cuffs
- Avoid heavy or tight hair accessories
- Space clips to reduce pressure points
Troubleshooting Common Knotless Braid Issues
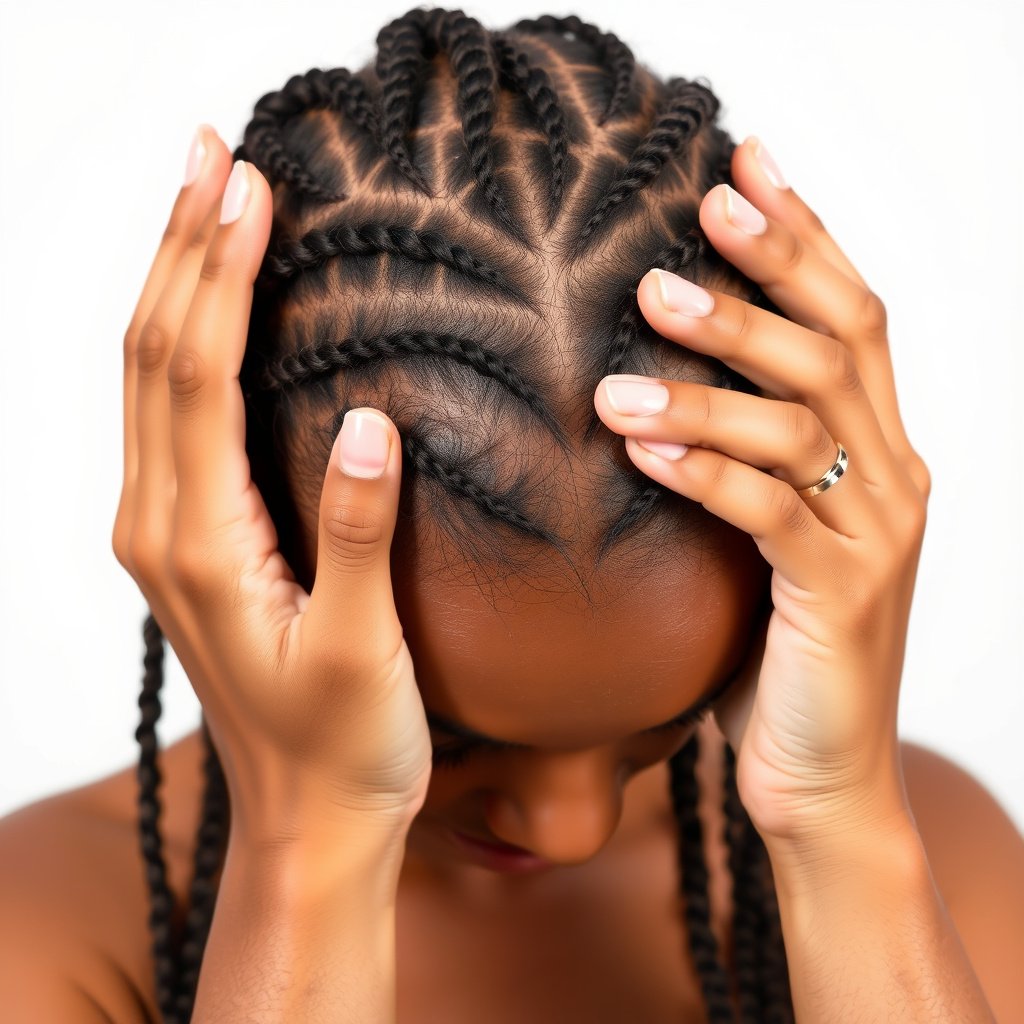
Managing Scalp Sensitivity
If you experience scalp soreness or itching, applying soothing oils like tea tree or jojoba can help calm inflammation. It’s critical not to make braids too tight during installation since knotless braids should reduce discomfort compared to traditional box braids.
If pain persists, removing or loosening some braids may be necessary to relieve tension and protect hair follicles.
- Apply calming oils to itchy scalp
- Avoid tight braids during installation
- Loosen or redo braids if pain continues
For more on this, see our related guide: How to Do Box Braids: A Step-by-Step Guide for Beginners.
Controlling Frizz and Flyaways
Frizz and flyaways are common, especially around the roots. Lightly applying edge control gels or serums can smooth these areas without weighing down the braids. Using a scarf tied overnight also helps maintain sleekness and minimizes frizz losses.
Regular moisturizing minimizes dryness, reducing the static and breakage that contribute to fuzzy braid edges.
- Use edge control products sparingly
- Wrap hair at night with satin or silk scarf
- Keep hair moisturized daily
Removing Knotless Braids Safely
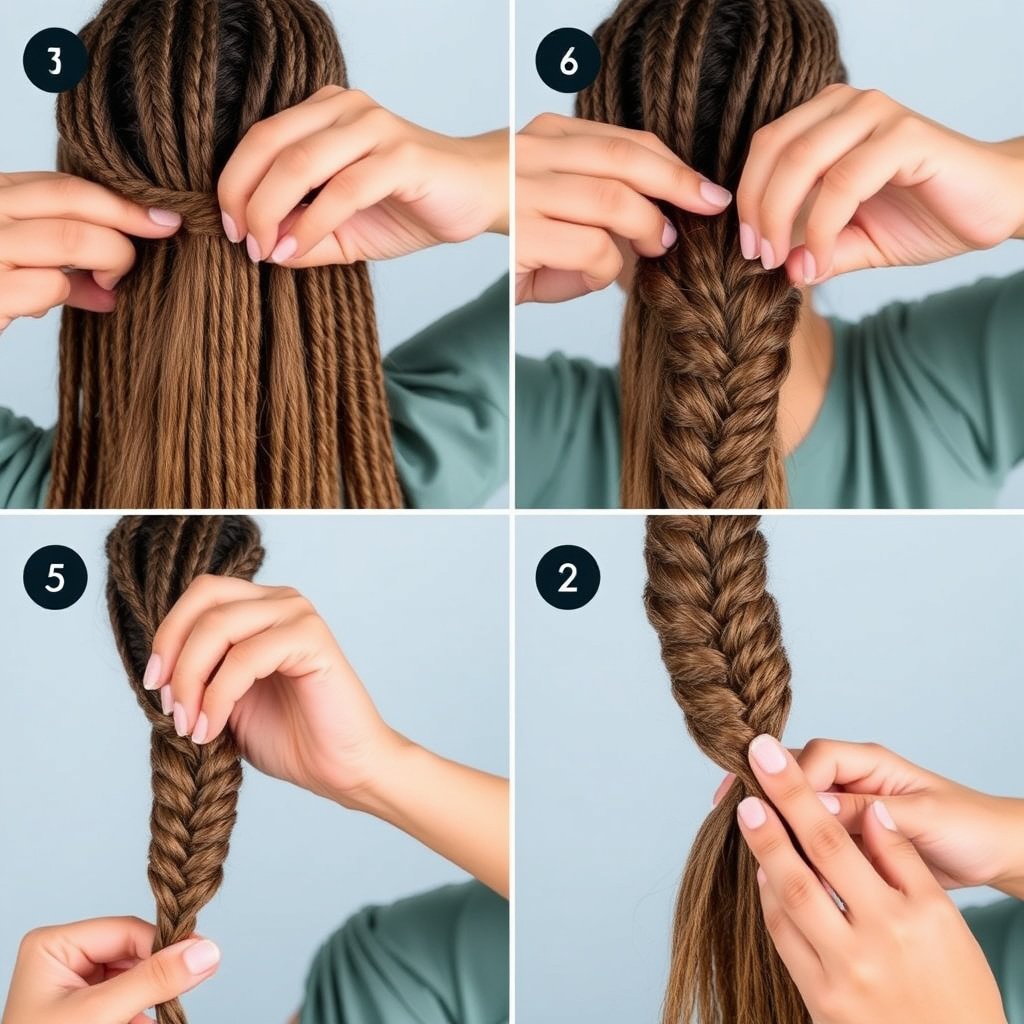
Loosening Braids Gently
To remove knotless braids, carefully unravel the synthetic hair without pulling on your natural strands. Starting at the ends, gently separate the extensions and allow the natural hair to come free slowly, preventing damage or tangling.
Taking your time during removal preserves hair length and scalp health for your next protective style.
- Work braid ends loose first
- Avoid yanking or forcing braid removal
- Use detangling spray if needed
For more background on braid history and variations, see the Wikipedia article about box braids which includes information related to knotless techniques. knotless braid hairstyle details.
Post-Removal Hair Care
After removal, wash and deep condition your hair to restore moisture. Detangle carefully and allow your scalp to breathe for a few days before installing any new braids. This recovery period promotes healthy hair and scalp balance.
Using nourishing treatments can help repair minor breakage and prepare hair for future styles.
- Use deep conditioning treatments
- Avoid immediate re-braiding
- Massage scalp for circulation
Knotless Braids Category Comparison
Compare different knotless braid types and installation methods to find the best fit for your hair texture, desired braid size, and maintenance preferences.
| Category | Braid Size | Installation Time | Scalp Tension Level | Typical Duration | Suitable Hair Type |
|---|---|---|---|---|---|
| Classic Knotless Braids | Medium | 4-6 hours | Low | 6-8 weeks | All hair types |
| Micro Knotless Braids | Small | 8-10 hours | Low to Medium | 4-6 weeks | Fine to medium hair |
| Knotless Box Braids | Large | 3-5 hours | Very Low | 6-10 weeks | Thick, coarse hair |
| Knotless Goddess Braids | Thick with curls | 5-7 hours | Low | 6 weeks | Coarse, curly hair |
| Knotless Feed-in Braids | Varies flexibly | 6-8 hours | Low | 6-8 weeks | All, especially fragile hair |
Frequently Asked Questions
How long do knotless braids typically last?
Most knotless braids last between six to eight weeks with proper care, depending on braid size, hair growth rate, and maintenance routine.
Do knotless braids cause less scalp pain than traditional braids?
Yes, since knotless braids start with your natural hair and gradually add extensions, they place less tension on the scalp, reducing pain and scalp irritation.
Can I wash my hair while wearing knotless braids?
You can wash your scalp and braids gently every one to two weeks using diluted shampoo, focusing on the scalp to remove buildup without disturbing the braids.
Are knotless braids suitable for all hair types?
Knotless braids work well on most hair textures, but finer hair types may prefer smaller or feed-in styles to avoid slippage.
What is the difference between knotless braids and box braids?
Knotless braids begin with your natural hair and gradually add extensions without a knot at the root, offering a lighter feel and more natural look than box braids, which start with a knot.
Key Takeaways
- Knotless braids start with natural hair and add extensions gradually, avoiding root knots.
- Proper preparation and sectioning are essential for neat, long-lasting braids.
- Maintenance includes gentle washing, moisturizing, and nighttime protection.
- Knotless braids reduce scalp tension and are versatile for many styles.
Conclusion
Approaching knotless braids involves careful preparation, patience during installation, and consistent maintenance to achieve a protective style that minimizes discomfort and enhances hair health. By choosing the right section size, correctly feeding in synthetic hair, and caring gently for your scalp, you can create sleek braids that look natural and last several weeks without excessive buildup or damage.
For those seeking less scalp tension and a lighter braid feel, classic knotless braids or feed-in styles offer excellent results on most hair textures. Micro knotless braids suit finer hair but demand longer installation times and careful upkeep. Meanwhile, goddess or large box-style knotless braids combine ease of styling with low tension, ideal for thicker hair. Align your choice with your hair type, daily routine, and desired look.
If you're ready to try knotless braids, gather quality synthetic braiding hair, follow the step-by-step installation instructions provided, and commit to a regular moisturizing and cleansing routine. Additionally, investing in silk or satin scarves will protect your style overnight. This approach will keep your hair healthy and your braids looking fresh until it’s time to safely remove and refresh.