
How to Do Goddess Braids: Step-by-Step Guide for Stunning Protective Styles
Goddess braids are thick, raised cornrows styled close to the scalp, celebrated for their beauty and protective qualities. To do goddess braids, you start by sectioning clean, detangled hair, then meticulously braid the hair into large, smooth cornrows, incorporating hair extensions for volume and length if desired. Tight, even braids with clean parts are essential for the style to last and look polished.
This braided style is popular for its striking look and the way it protects natural hair from daily damage. Goddess braids help retain moisture and minimize breakage, making them ideal for anyone looking to combine fashion with hair health. They also offer versatility, as you can customize size, pattern, and length, fitting your personal aesthetic or occasion.
In this article, you'll find detailed instructions on how to do goddess braids, including prepping your hair, braiding techniques, and maintenance tips. We'll also explore tools needed, styling variations, and how goddess braids compare with other protective braided hairstyles.
Preparing Your Hair for Goddess Braids
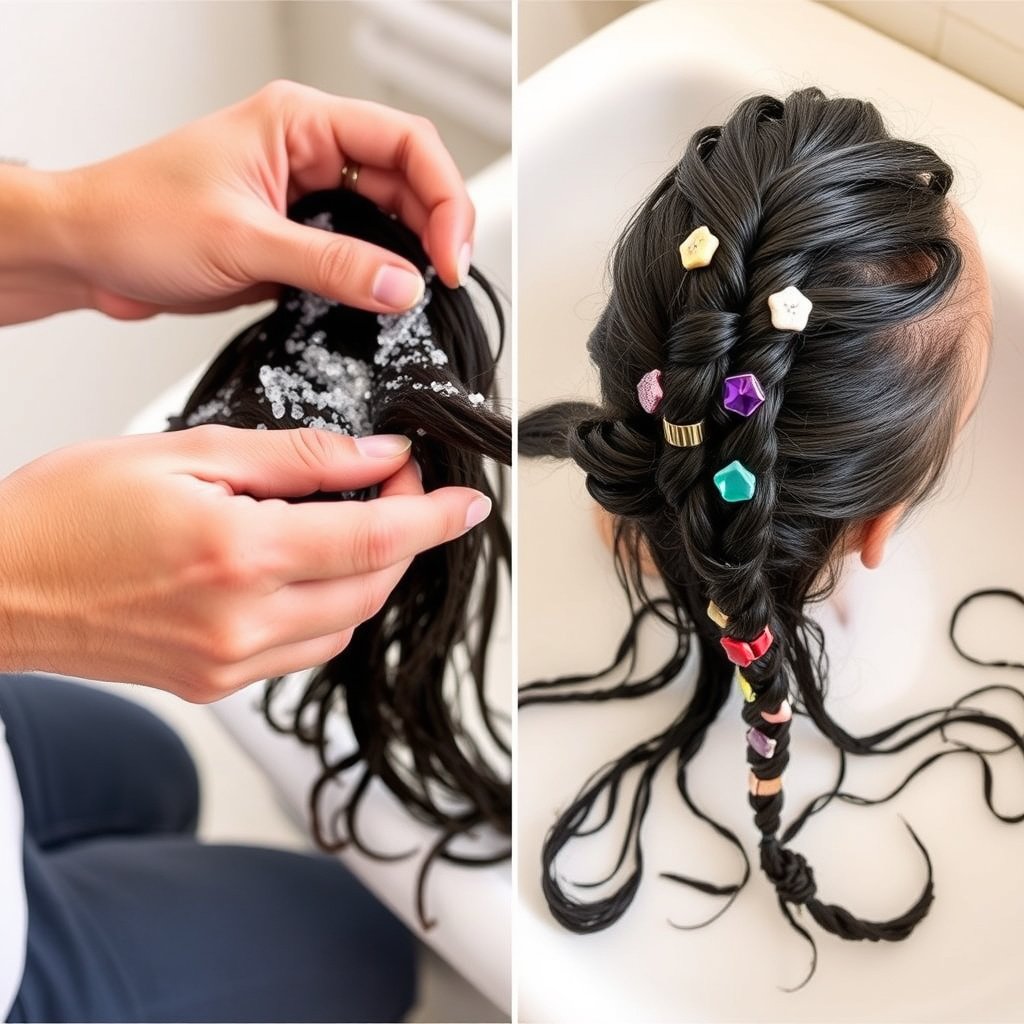
Washing and Conditioning
Clean hair is vital before braiding to avoid scalp irritation and to help the braids last longer. Use a moisturizing shampoo to remove build-up, then apply a rich conditioner to soften your hair. This process smooths the strands and makes braiding more manageable.
Rinse thoroughly and gently towel dry. Avoid heavy products that can cause buildup, as the braids will stay in place for days or weeks.
- Use sulfate-free shampoo
- Deep condition for at least 15 minutes
- Rinse with cool water to seal cuticles
Detangling and Sectioning
After hair is clean and slightly damp, detangle carefully using a wide-tooth comb or detangling brush. Start at the ends and work your way up to the roots to avoid breakage. This creates smooth, snag-free sections for easier braiding.
Next, part your hair into neat sections according to your desired braid pattern. Use a rat-tail comb for precision. Small clips or rubber bands can hold sections apart, helping maintain clean, crisp lines in the final braid.
- Use detangling spray or leave-in conditioner
- Section hair into manageable parts
- Secure sections with clips or bands
Choosing Hair Extensions for Goddess Braids
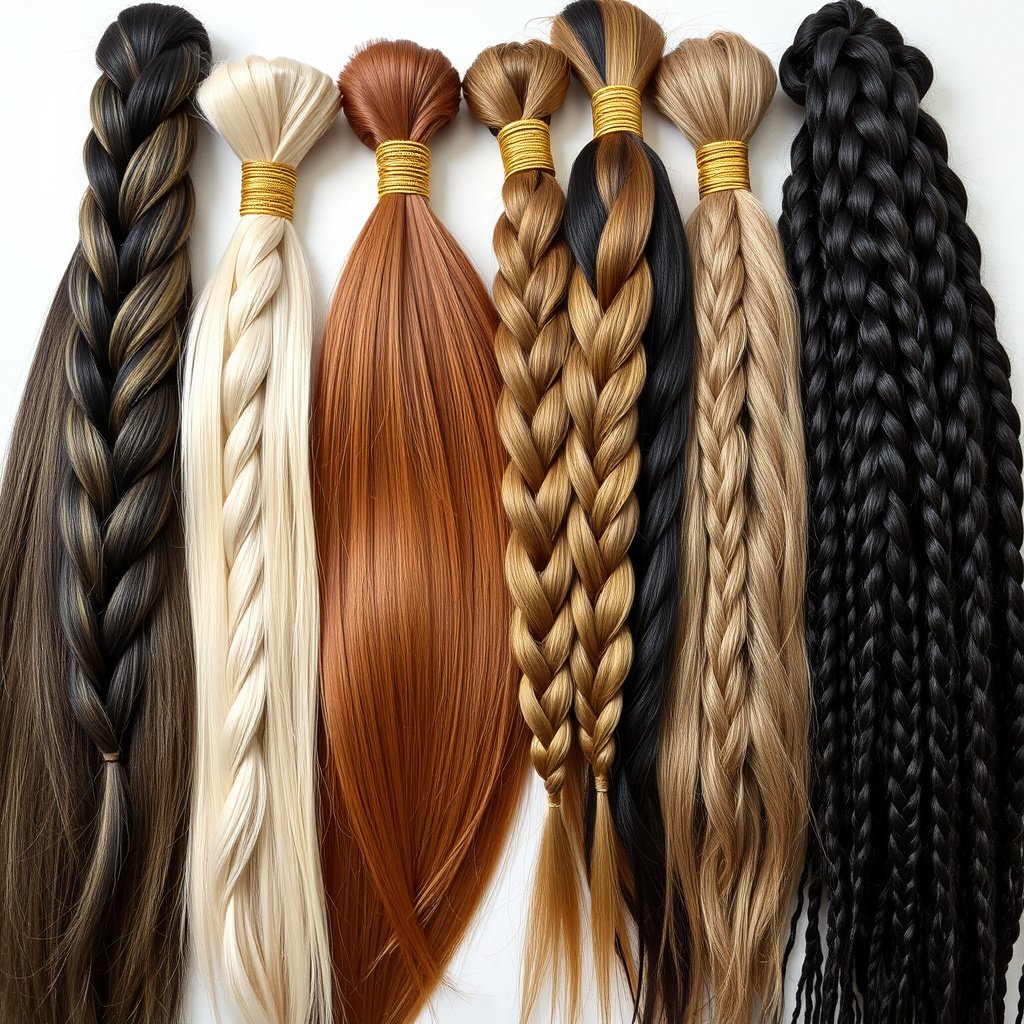
Types of Extensions
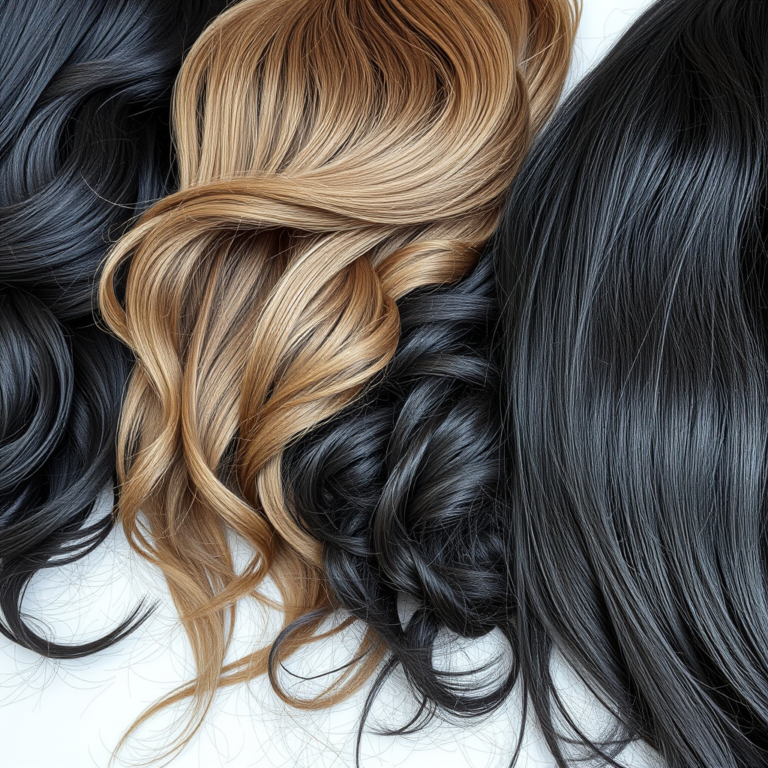
Synthetic hair is the most common choice for goddess braids due to its affordability and ability to hold shape. Kanekalon and Toyokalon fibers are popular since they blend well with natural textures and resist frizz.
Human hair extensions offer a more natural look but may require additional care and are generally pricier. Decide based on your style preference, budget, and how long you plan to keep the braids.
- Kanekalon: affordable, smooth texture
- Toyokalon: silky with natural shine
- Human hair: natural feel, pricier
Color and Length Considerations
Choose colors that either match your natural hair or make a bold statement. Goddess braids can be styled with vibrant colors or natural shades depending on your look.
The length of the extensions will impact your desired braid size and overall style. Longer extensions create dramatic, flowing braids, while shorter lengths mean easier maintenance.
- Select complementary or contrasting colors
- Match extension texture to your hair
- Consider maintenance for longer lengths
Step-by-Step Braiding Technique for Goddess Braids
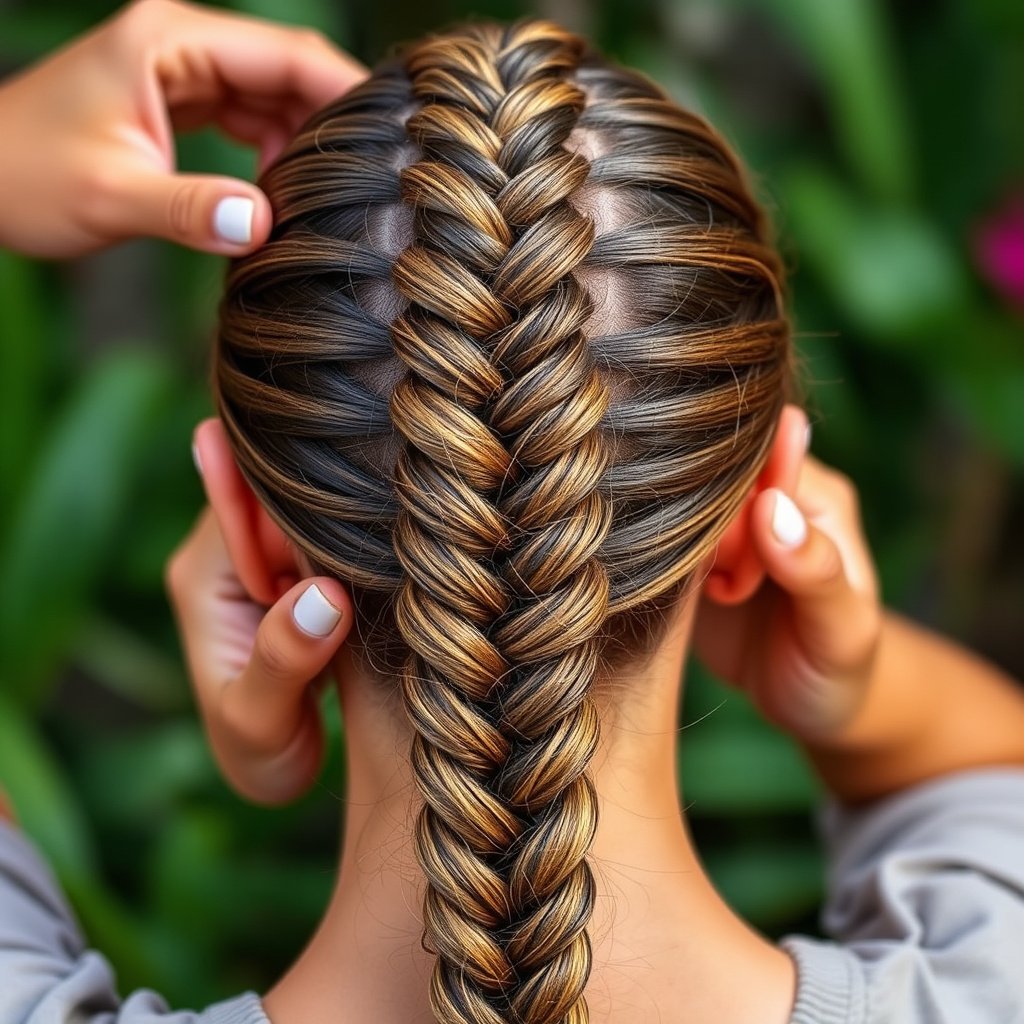
Starting the Cornrow Base
Begin by taking a small triangle-shaped section near your hairline. Divide this section into three strands and start a tight cornrow by crossing the outer strands under the middle one, adding small amounts of hair as you go.
Keep your tension consistent to prevent slippage or discomfort. The key is clean, tight braids close to the scalp, which define the goddess braid’s raised look.
- Section hair neatly before starting
- Maintain even tension throughout
- Use a mirror to check braid alignment
For more on this, see our related guide: How to Do Goddess Braids: Step-by-Step Guide for Stunning Styles.
Incorporating Extensions
When your natural hair is too short or thin for the desired braid size, gradually add the synthetic hair to the outer strands with each braid pass. Blend carefully to ensure smoothness and avoid bulkiness at the roots.
Continue feeding in extensions as you braid down the length, finishing with a regular three-strand braid or securing with a small elastic.
- Attach extensions securely at roots
- Add hair gradually for natural look
- Seal ends with elastic or wrap
Maintaining and Caring for Goddess Braids
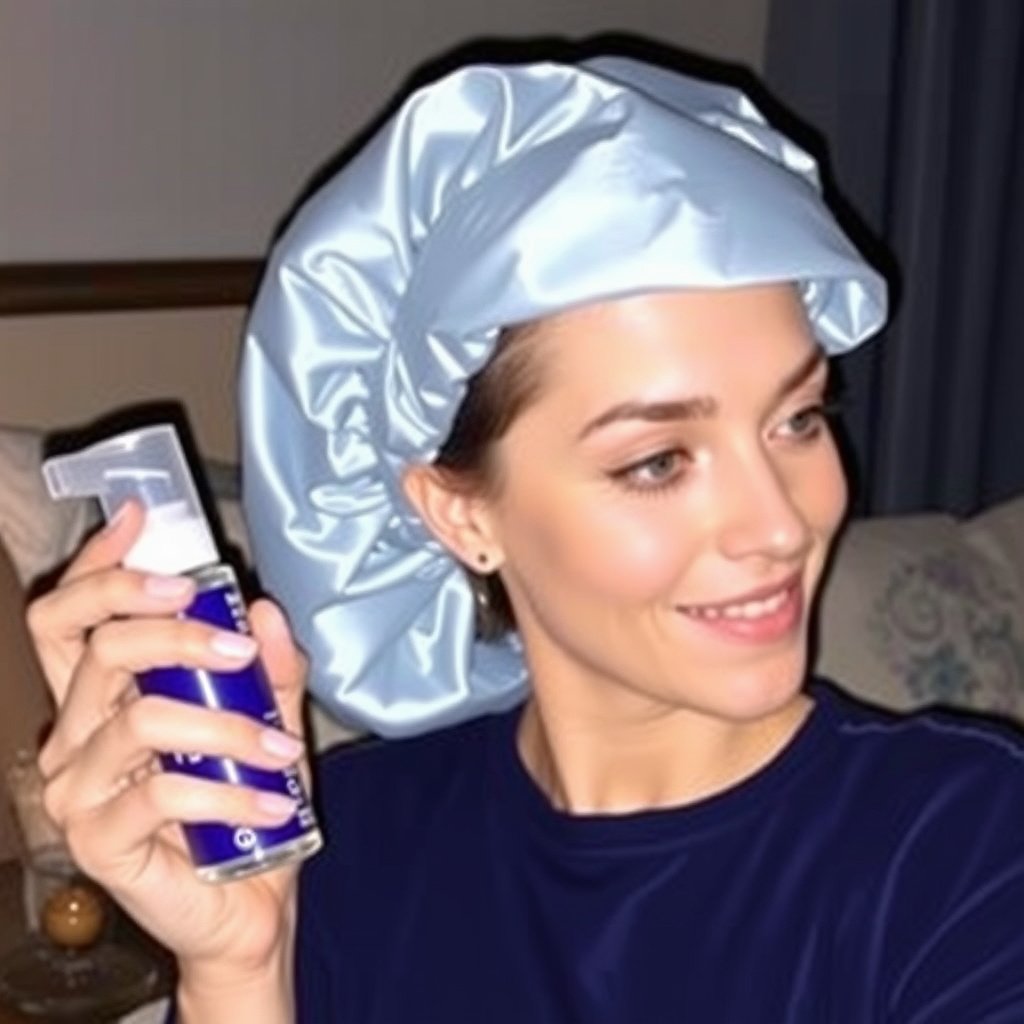
Daily Maintenance Tips
Keep your scalp clean and moisturized by using lightweight oils or sprays designed for braids. Gently massage to promote circulation and prevent dryness without disturbing the braid integrity.
Wear a satin bonnet or scarf at night to reduce frizz and breakage. Avoid heavy products that can cause buildup or weigh down the braids.
- Use braid spray or light oil daily
- Cover hair with satin bonnet at night
- Avoid excessive manipulation
Washing Braids Safely
You can wash goddess braids gently without unraveling by diluting a mild shampoo and using a spray bottle on the scalp. Rinse thoroughly and follow with light conditioning on the scalp and braids’ length.
Dry your braids completely by patting with a towel and air drying—avoid vigorous rubbing to prolong braid life.
- Dilute shampoo for gentle cleansing
- Focus on scalp cleanliness
- Air dry fully to prevent mildew
Styling and Variations of Goddess Braids
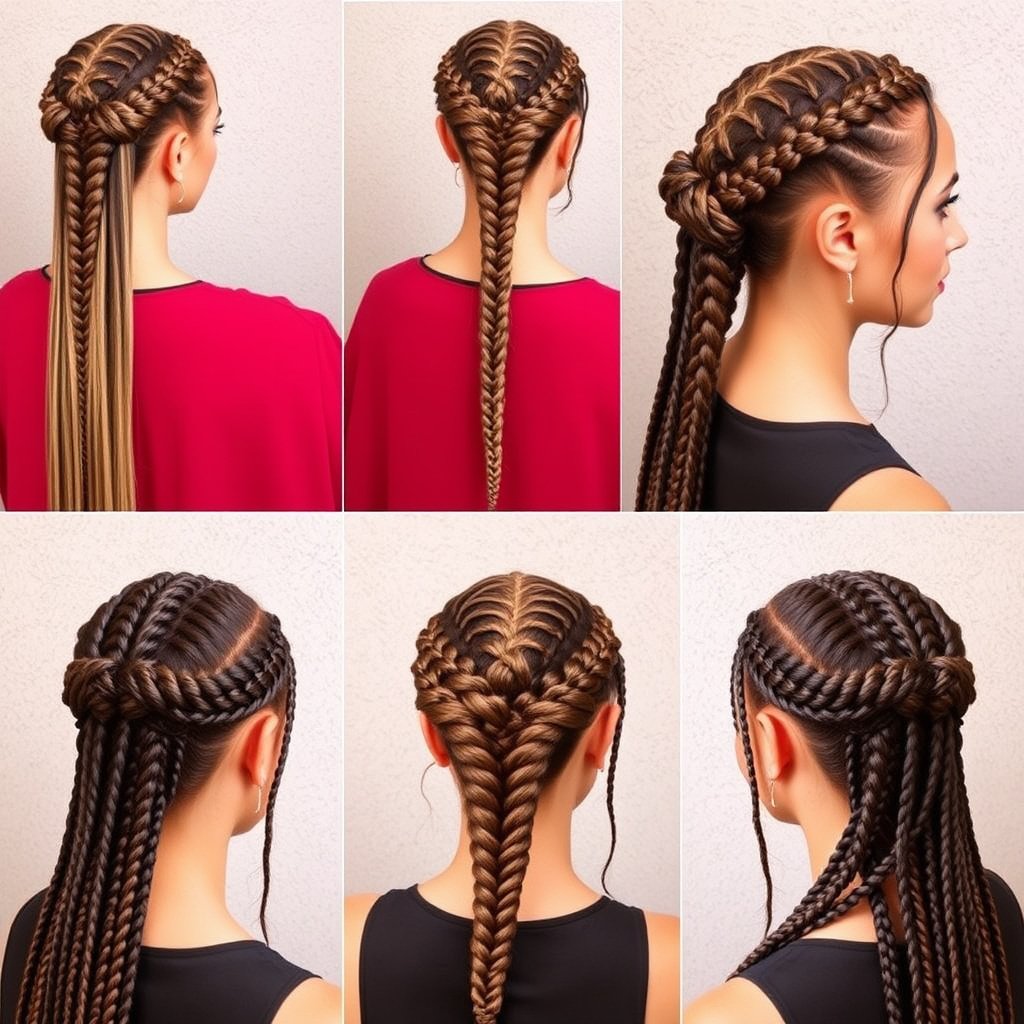
Classic Straight-Back Goddess Braids
The standard goddess braid runs straight back from the hairline to the nape, with large, even sections. This style highlights symmetry and showcases thickness and length elegantly.
It's a great choice for first-timers and those wanting a neat, professional look that's easy to maintain and style.
- Large, uniform sections
- Sleek edges for a clean finish
- Versatile for casual or formal wear
For more on this, see our related guide: How to Do Knotless Braids: Step-by-Step Guide for a Sleek Finish.
Creative Patterns and Curved Designs
For a more artistic approach, goddess braids can follow curved or zigzag partings, creating unique visual interest. Incorporating beads, cuffs, or colored extensions can elevate the design.
These variations allow personal expression and can be adapted to suit events, festivals, or everyday wear.
- Curved or zigzag partings
- Incorporate accessories like beads
- Mix colors or braid sizes
Goddess Braids Versus Other Protective Braided Hairstyles
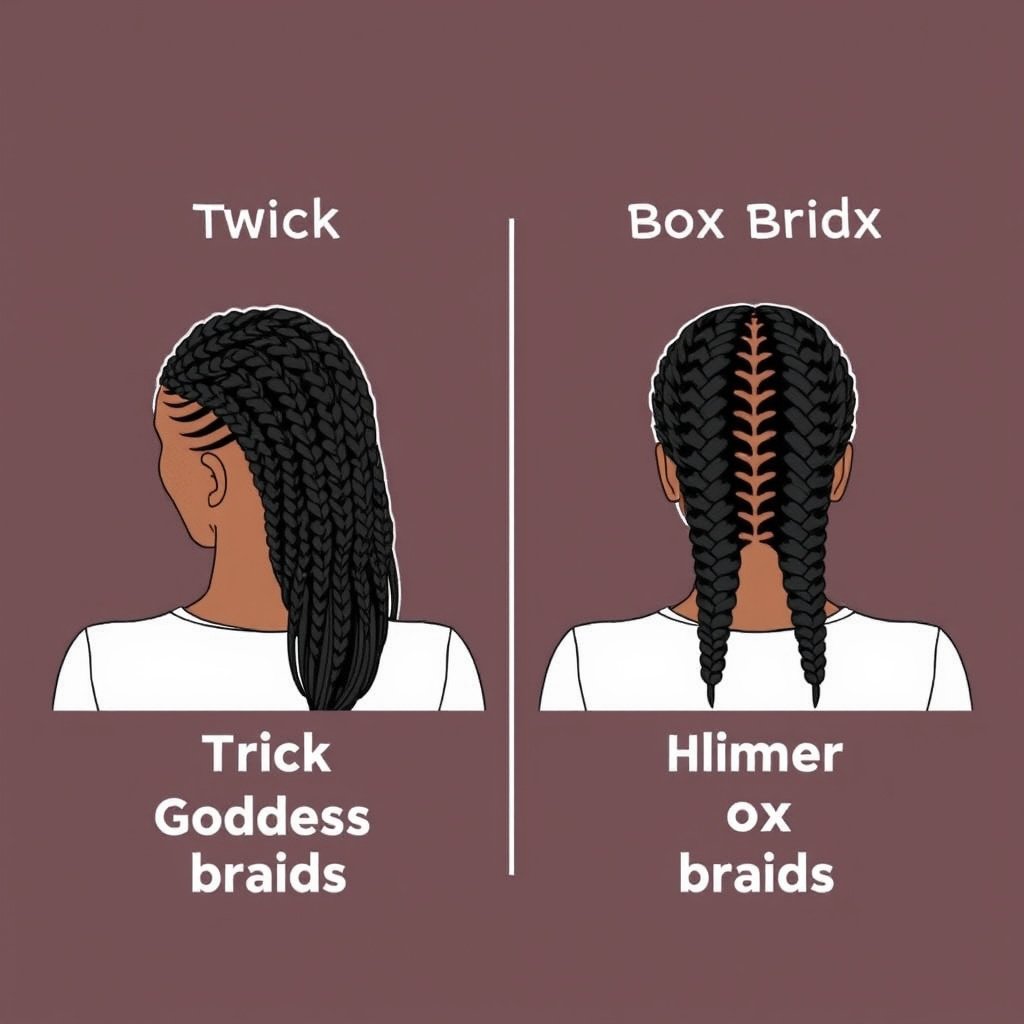
Differences in Size and Texture
Goddess braids are noticeably thicker and raised compared to box braids or traditional cornrows. Their size provides a bold aesthetic and can carry heavier extensions, making them durable but occasionally heavier on the scalp.
Smaller braids like box braids offer more styling flexibility but require more time and maintenance.
- Goddess braids: thick, bold, heavy
- Box braids: slender, flexible
- Cornrows: flat and close to scalp
For more detailed information about the role and types of protective braided hairstyles, visit the Protective hairstyles on Wikipedia. Protective hairstyles on Wikipedia.
Longevity and Maintenance Differences
Due to their size and thickness, goddess braids often last longer without frizzing and are easier to care for on a daily basis. They are well-suited for lasting up to six weeks with proper care.
Other braided styles may need more frequent touch-ups or care to prevent unraveling or damage.
- Goddess braids: low daily upkeep, long wear
- Smaller braids: higher maintenance
- Protective braid choice depends on lifestyle
Goddess Braids Compared to Other Protective Braided Hairstyles
Below is a comparison of goddess braids with other popular braided protective styles, focusing on size, maintenance, and suitability.
| Category | Braid Size | Average Longevity | Maintenance Level | Styling Flexibility |
|---|---|---|---|---|
| Goddess Braids | Large and thick | 4-6 weeks | Low | Moderate |
| Box Braids | Medium to small | 6-8 weeks | Medium | High |
| Cornrows | Small and flat | 2-4 weeks | High | Moderate |
| Senegalese Twists | Medium | 6-8 weeks | Medium | High |
| Faux Locs | Thick, rope-like | 6-10 weeks | Medium | Low |
Frequently Asked Questions
How long does it take to install goddess braids?
Depending on hair length and braid size, goddess braids typically take between 3 to 6 hours to complete, as each braid is large but requires precision for neatness.
Can goddess braids damage my natural hair?
When done with appropriate tension and care, goddess braids protect natural hair. However, overly tight braids or prolonged wear without breaks can cause stress and breakage.
How often should I moisturize my scalp with goddess braids?
Moisturizing the scalp every 2-3 days using light oils or braid sprays helps prevent dryness and itching without compromising braid tightness.
Are goddess braids suitable for all hair types?
Goddess braids work best on medium to thick hair textures but with synthetic extensions, people with finer hair can also achieve the look safely.
Can I swim with goddess braids?
Yes, but it’s recommended to rinse and condition braids soon after swimming to avoid residue buildup from chlorine or salt water, which can dry out hair and scalp.
Key Takeaways
- Goddess braids are thick cornrows ideal for protective styling.
- Preparation and detangling are essential for smooth braids.
- Using quality hair extensions enhances braid longevity and appearance.
- Regular moisturizing and gentle washing extend braid life.
Conclusion
Approaching the process of doing goddess braids with attention to preparation, technique, and aftercare yields the best results. The style’s prominence and protective benefits make it a favorite for many seeking both aesthetics and functionality. By carefully sectioning hair, selecting suitable extensions, and maintaining moisture, the braids hold firm and look fresh for weeks.
For those new to protective braided hairstyles, starting with classic straight-back goddess braids offers a manageable and attractive style. On the other hand, experienced braiders can explore curved patterns and creative colors for a personalized touch. Compared to other styles like box braids or Senegalese twists, goddess braids strike a balance between boldness and ease of maintenance.
If you want to try goddess braids at home or find a stylist, focus on clean hair and proper tools first. Learning the cornrow braiding method and practicing sectioning are practical next steps. With patience and practice, goddess braids become a timeless hairstyle that celebrates natural hair health and artistic expression.

One Comment