How to Sew Combs into a Wig for Secure Wear
Sewing combs into a wig is a straightforward way to enhance its fit and security on your head. By attaching small combs along the wig cap edges, you can anchor the wig firmly, preventing slips or shifts during wear. This simple alteration provides improved confidence and comfort, especially for active use or long wear times.
A well-secured wig is vital not only for comfort but for natural appearance. Combs offer a discreet and effective solution compared to adhesives, allowing repeated use without residue or damage to natural hair. Understanding how to sew combs correctly will make your wig safer and more enjoyable to wear.
In this article, we will cover the materials needed, step-by-step sewing instructions, tips for choosing the best wig comb placement, and maintenance advice to prolong comb and wig durability.
Materials Needed for Sewing Combs into a Wig
Selecting the Right Wig Combs
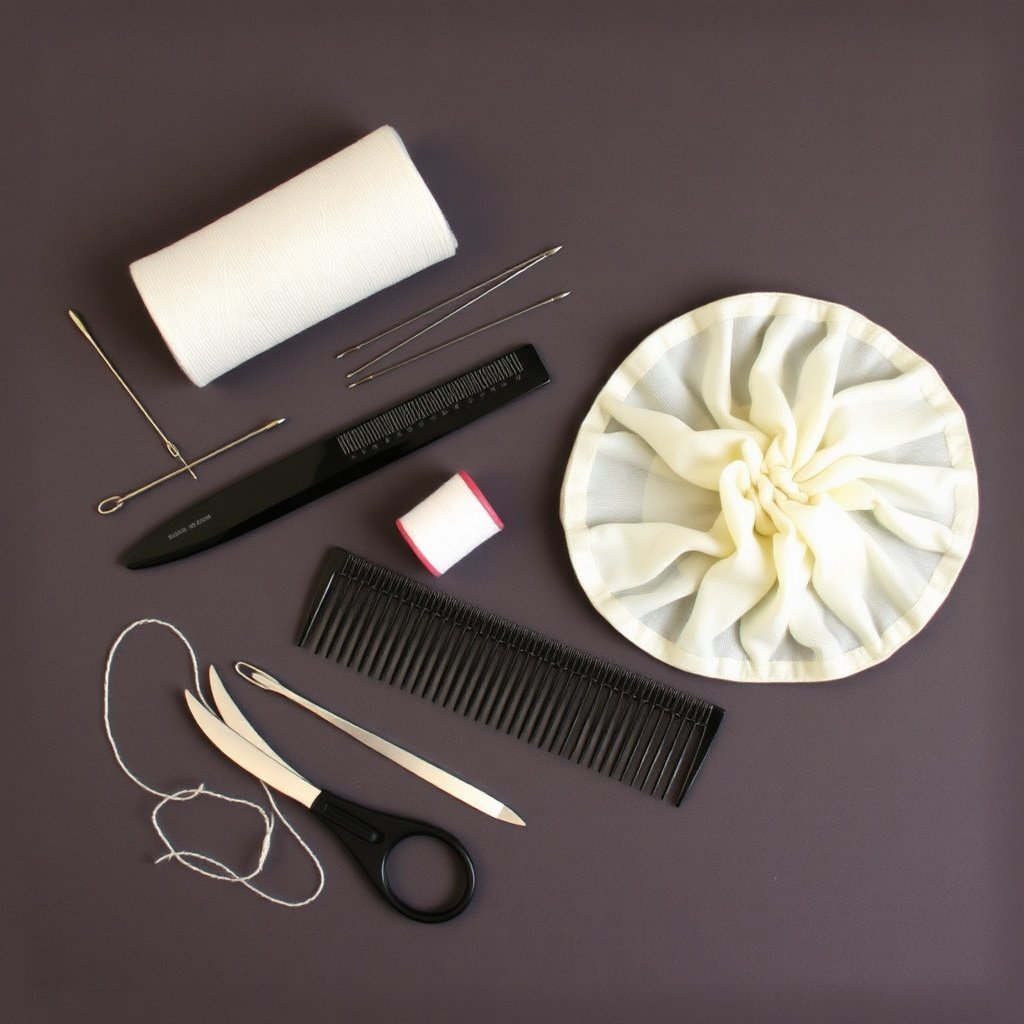
Choose wig combs designed specifically for wig attachment. They typically have multiple small teeth to grip hair securely without causing damage. Plastic combs are lightweight but metal combs offer more durability and grip.
Size matters; smaller combs are subtle but hold less, while larger combs provide stronger anchors but can be heavier. Consider the wig’s density and wear frequency to select appropriately.
- Plastic combs: lightweight, gentle
- Metal combs: durable, stronger grip
- Size range: 1-3 inches typical
Thread and Needle for Sew-In Combs
Use a nylon or polyester thread that is strong but thin enough to pass through comb holes and wig cap fabric. Clear or color-matched thread is best for blending in.
A curved needle is ideal, allowing easier stitching along curved wig caps. If unavailable, a sharp, thin, straight needle will suffice, but handling may be less convenient.
- Strong nylon/polyester thread
- Clear or wig-color matched
- Curved or sharp thin needle
Step-by-Step Instructions for Sewing Combs into a Wig
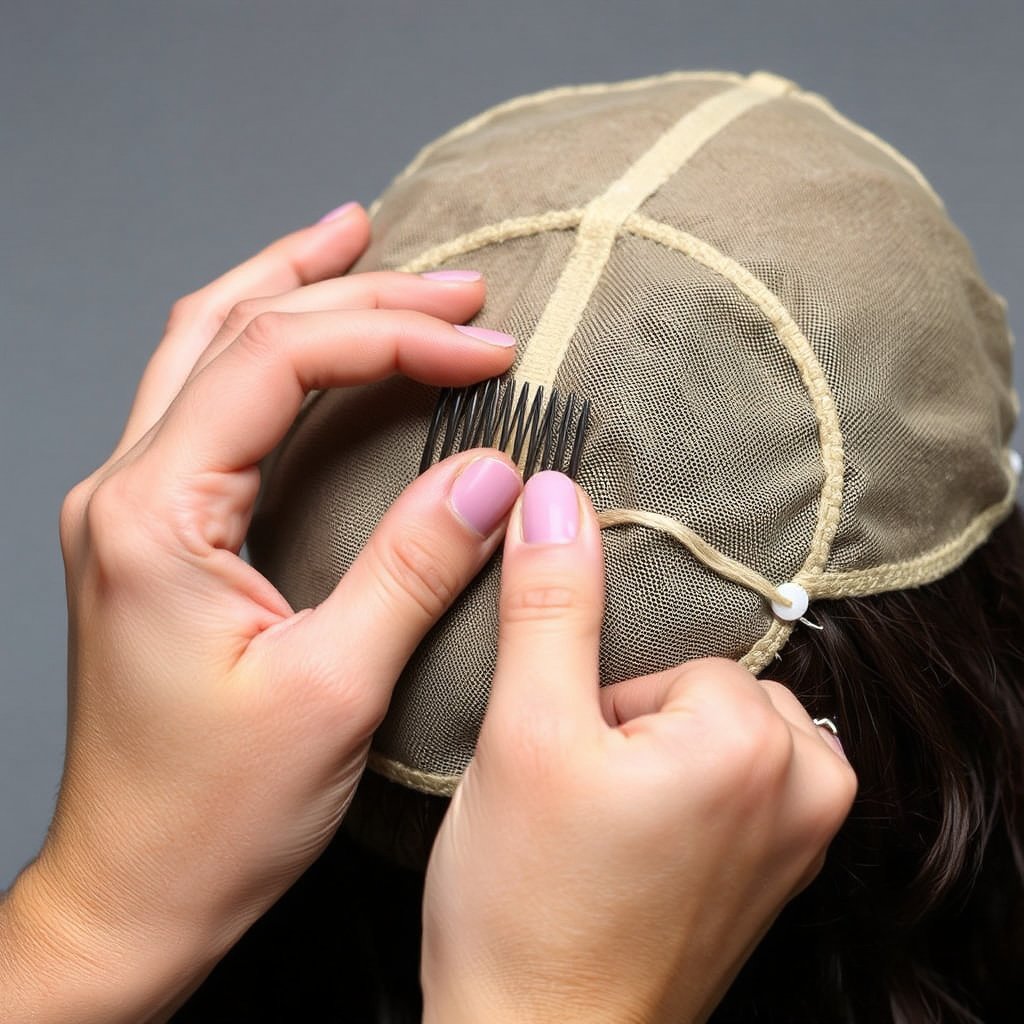
Preparing the Wig and Comb
Place the wig on a mannequin head or flat surface for stability. Identify optimal comb placement spots near the front hairline, sides, or nape where gripping hair is strongest.
Thread the needle with about 18 inches of thread and knot one end securely. Insert the needle through the wig cap fabric near where the comb teeth will be secured, leaving the knot inside.
For more on this, see our related guide: Best Wigs for Beginners: Top Picks and Buying Tips.
Attaching the Comb Securely
Position the base of the comb along the chosen edge of the wig cap. Stitch through one comb hole and then through the wig cap multiple times to secure that spot.
Continue sewing through each comb hole and the wig cap fabric, wrapping the thread firmly but not too tight to avoid puckering. Finish by making several tight stitches and knotting the thread on the inside of the wig.
- Sew through all comb holes
- Avoid tight puckering
- Secure knot inside wig cap
Best Wig Comb Placement for Stability

Front and Side Comb Placement
Attaching combs at the front hairline ensures the wig stays snug on the forehead, preventing forward slipping. Side combs positioned slightly above the ears help stabilize the wig laterally during movement.
These placements work well for most wig styles, balancing support without discomfort or visible comb bulges. Spacing multiple small combs reduces pressure in one area.
- Front hairline for secure forehead grip
- Sides above ears to prevent shifting
Nape Comb Placement
Placing one or two combs at the nape, or back of the wig cap, anchors the wig firmly at the base of the skull, preventing backward or upward slipping.
This is especially beneficial for long wigs or styles with volume toward the back. It provides significant security without compromising comfort.
- Nape stabilizes back of wig
- Ideal for long or heavy wigs
Tips for Sewing Combs into Synthetic vs. Human Hair Wigs
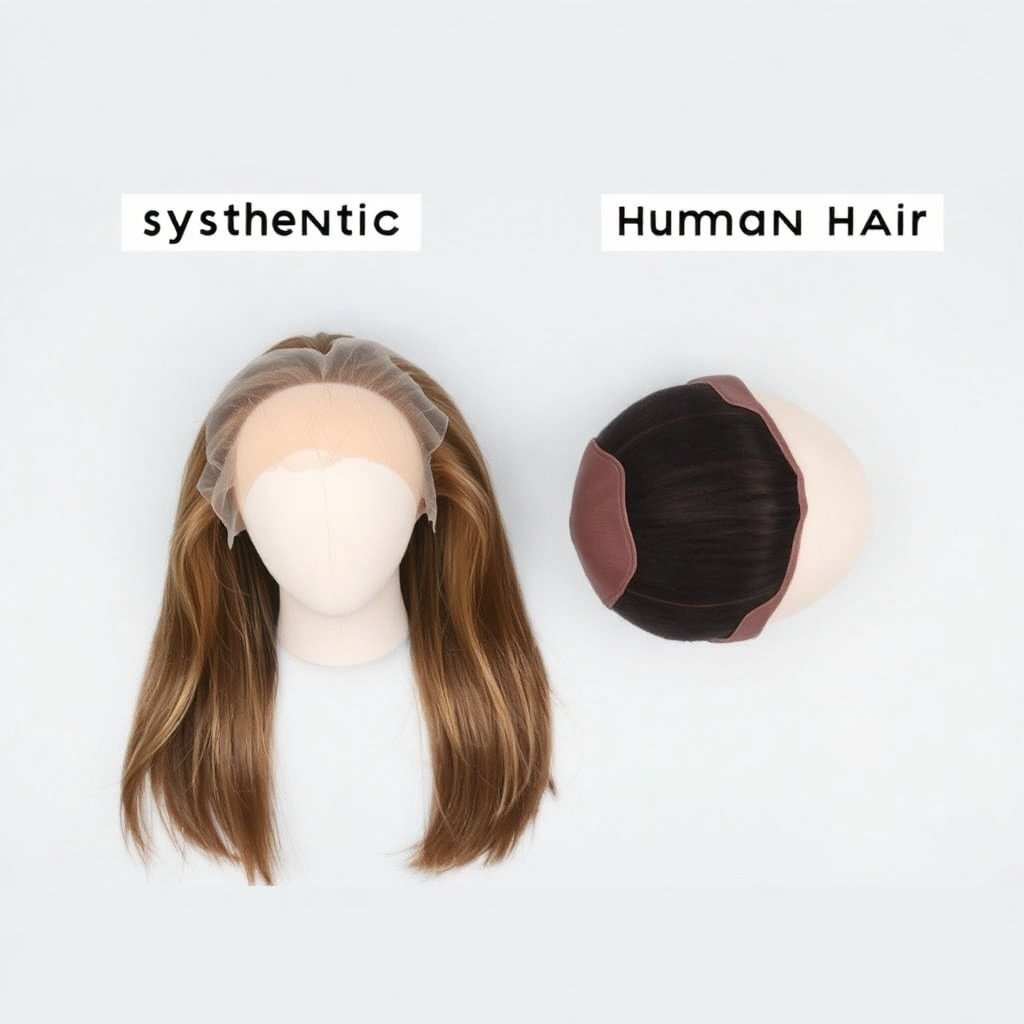
Sewing Combs into Synthetic Wigs
Synthetic wig caps are often made from softer mesh or lace, requiring gentler stitching to avoid fabric tearing. Use smaller combs placed strategically for lightweight support.
Avoid pulling thread too tightly, as synthetic fibers may stretch or distort the cap fabric around sewn combs.
- Use smaller combs
- Gentle stitching to protect fabric
For more on this, see our related guide: Pre Cut Lace Wigs: A Complete Buying Guide.
Sewing Combs into Human Hair Wigs
Human hair wigs generally have sturdier caps made with wefts or lace fronts, allowing secure attachment of medium to larger combs.
Stronger stitching is possible here, but avoid excessive thread bulk that might cause discomfort against the scalp during wear.
- Medium/large combs possible
- Avoid heavy thread buildup on cap interior
Maintaining and Repairing Sewn-in Wig Combs

Regular Inspection and Cleaning
Check sewn combs before and after each wear for loose threads or combs shifting from their original spots. Gently clean combs to remove hair and debris without wetting the entire wig.
Maintaining clean combs reduces wig wear and scalp irritation.
- Inspect stitching regularly
- Clean combs carefully after use
For more on wig construction and materials, you can refer to this detailed Wig Construction Overview. Wig Construction Overview.
Repairing Loose Comb Attachments
If combs become loose, re-thread your needle and reinforce stitches along the base of the comb. Trim any frayed thread ends to prevent snagging.
Replacing the entire comb may be required if plastic teeth break or metal combs bend permanently.
- Resew loose combs promptly
- Replace damaged combs as needed
Wig Comb Types and Placement Comparison
This table compares popular wig comb types and their typical placement benefits to help you choose the best option for your wig.
| Comb Type | Material | Secure Hold | Comfort Level | Best Placement |
|---|---|---|---|---|
| Small Plastic Comb | Plastic | Moderate | High | Front hairline, sides |
| Medium Metal Comb | Metal | Strong | Medium | Sides, nape |
| Large Metal Comb | Metal | Very Strong | Low | Nape, heavy wigs |
| Snap-in Comb | Plastic/Metal | Moderate | High | Interchangeable placement |
| Double-row Comb | Metal | Very Strong | Medium | Multiple points for extra hold |
Frequently Asked Questions
Can I sew combs into any wig type?
Most wigs, including synthetic and human hair, can have combs sewn in. However, delicate lace front wigs require gentle stitching to avoid damage to the fabric.
How many combs should I sew into my wig?
Typically, three to four combs—at the front, sides, and nape—provide balanced security without adding excessive weight or discomfort.
Is sewing combs better than using adhesives?
Sewing combs offers reusable, gentle grip without damaging natural hair or leaving residue, making it preferable for daily wear over adhesives.
What type of thread is best for attaching wig combs?
Use a strong nylon or polyester thread matched to the wig color or clear for discreet stitches that won’t fray or break easily.
Can I remove or reposition combs after sewing them in?
Yes, by carefully cutting the thread and resewing in a new location, but repeated removals may weaken the wig cap fabric.
Key Takeaways
- Secure the wig by sewing combs along the front, sides, and nape for stability.
- Choose comb material and size based on wig type and wear needs.
- Use strong, thin thread with a curved needle for easy, neat stitching.
- Regularly inspect and maintain sewn combs to prolong wig life.
Conclusion
Deciding how to sew combs into a wig involves balancing the need for secure hold with the comfort and delicacy of the wig cap. Assess your wig’s construction—synthetic caps versus human hair wefts—and your daily activities to guide comb size and placement. The main goal is to add discrete, steady anchors that prevent shifting without causing discomfort or stress on the wig’s fabric.
For many, the best wig comb placement includes three to four combs positioned at the front hairline, above the ears on the sides, and at the nape. This distribution effectively resists forward, lateral, and backward movement. In terms of comb type, metal combs provide stronger grips, especially at the nape, while plastic combs are lightweight and comfortable near the hairline. Using nylon or polyester thread matched to your wig color keeps stitches less visible and durable while helping maintain the wig’s integrity.
Once combs are securely sewn in, test your wig’s fit and comfort indoors to adjust tension or location if necessary. Maintain the combs by checking stitches and cleaning regularly. If you prefer, professional wig specialists can also assist with custom comb placement for optimal security. Either way, sewing combs into your wig is an effective, non-damaging method to keep your hairstyle confidently in place every day.