How to Bleach Bundles: A Step-by-Step Guide for Safe and Effective Results
Bleaching bundles involves lightening your hair extensions to achieve a customized color or prepare them for dyeing. The process requires carefully applying bleach to remove the natural pigments without harming the hair fibers. Knowing how to bleach bundles properly ensures that your hair maintains its integrity and softness while reaching the desired lightness.
This method matters because bundles are often pre-treated or virgin hair, so an incorrect bleaching procedure can lead to breakage or damage. Performing the bleaching yourself at home can save money but requires the right tools and techniques to maintain the longevity of your bundles.
In this article, we'll explain the step-by-step process for bleaching hair bundles, including preparing the bleach mixture, the application process, necessary precautions, and post-bleach care. We'll also cover common pitfalls to avoid so you can confidently achieve professional-looking results.
Preparing to Bleach Bundles Safely
Gathering All Necessary Supplies
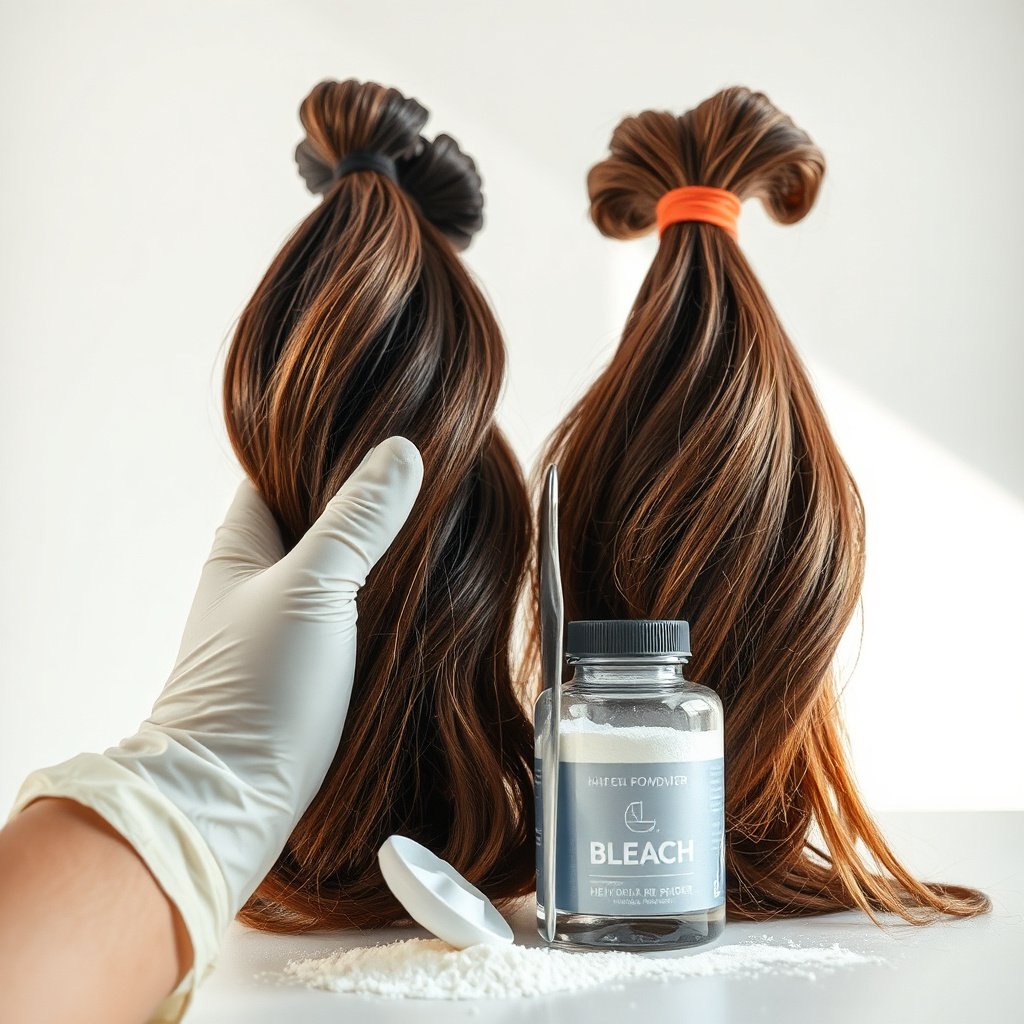
Before starting the bleaching process, collect all supplies to stay organized. Essential items include a bleaching powder, 20 or 30 volume developer depending on desired lift, mixing bowl, tint brush, gloves, and aluminum foil or plastic wrap for covering.
Having everything ready reduces the risk of interruptions and uneven bleaching. Using a dedicated mixing bowl and tools is important because bleach can stain or damage normal kitchenware.
- Bleach powder
- Developer (20 or 30 volume)
- Mixing bowl and tint brush
- Gloves
- Aluminum foil or plastic wrap
- Wide-tooth comb and towel
Choosing the Right Developer Strength
Developer volume affects how light the bundles will become and how fast the bleach will act. A 20 volume developer lifts 1-2 shades and is gentle, making it suitable for delicate bundles. A 30 volume developer lifts 2-3 shades but requires caution.
Using a stronger developer or leaving bleach too long risks over-processing the hair bundles. Select the correct developer based on the level of lightening you want and the hair's condition.
Mixing and Applying the Bleach
Mixing the Bleach Properly
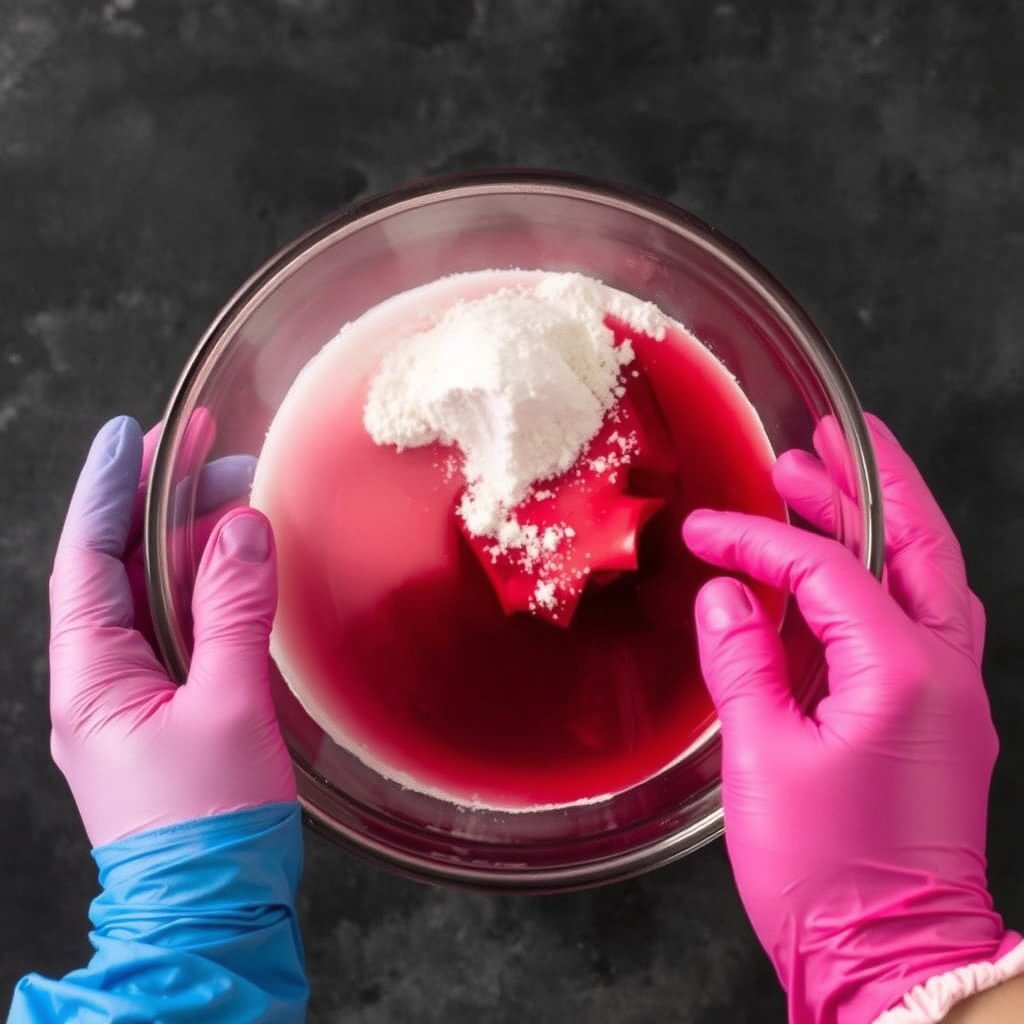
Combine bleach powder and developer in a 1:2 ratio for a smooth, lump-free consistency. Stir until the mixture resembles pancake batter. This ensures even application and consistent lifting throughout the bundles.
Avoid mixing large batches at once since bleach loses potency over time. Prepare smaller portions depending on bundle size for freshness.
Applying Bleach to Bundles
Lay the bundles flat on a clean towel. Using your tint brush, start applying bleach evenly from mid-length to tips, leaving the roots if desired. The bleach must be evenly coated to prevent patchiness.
Once the ends and midsection are covered, apply bleach to the roots or roots area last as they lighten faster. Cover with foil or plastic wrap to trap heat and activate the bleach.
Timing and Monitoring the Bleach Process
Checking the Hair Regularly
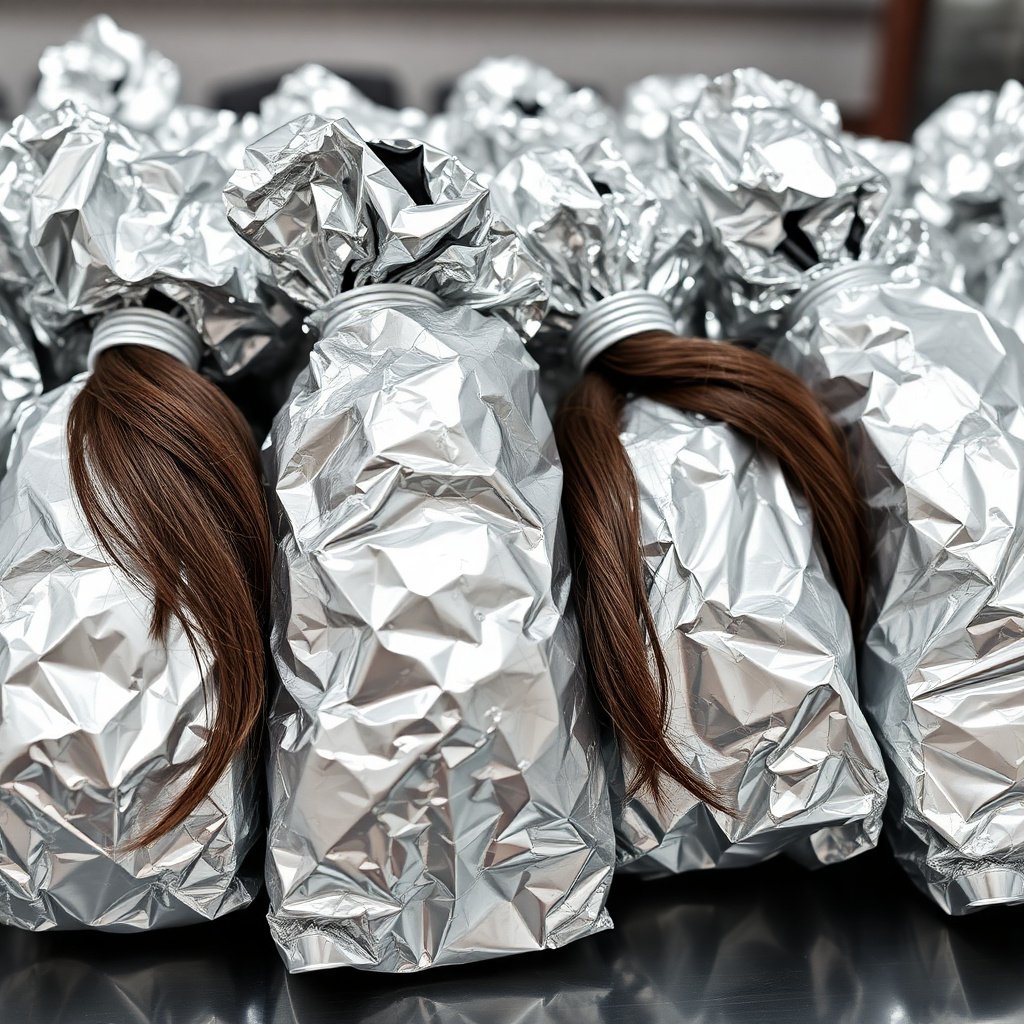
Bleach works quickly, so check the hair every 5-7 minutes by gently opening a foil section. Assess the color to avoid over-bleaching, which weakens bundles. Most hair lifts to the desired shade within 20-30 minutes.
Removing bleach at the right time keeps bundles healthy and prevents dryness or breakage. Stop once you reach a pale yellow or desired level of lightness.
For more on this, see our related guide: Best Hair Bundles: Top Picks and Buying Tips.
Rinsing and Neutralizing Bleach
Once the proper lift is achieved, rinse bundles thoroughly with lukewarm water to remove all bleach residues. Follow with a shampoo designed for colored or processed hair to neutralize the chemical remnants.
This step helps restore the hair's pH balance and prepares bundles for conditioning treatments to replenish moisture.
Post-Bleach Care for Bundles
Deep Conditioning Treatments
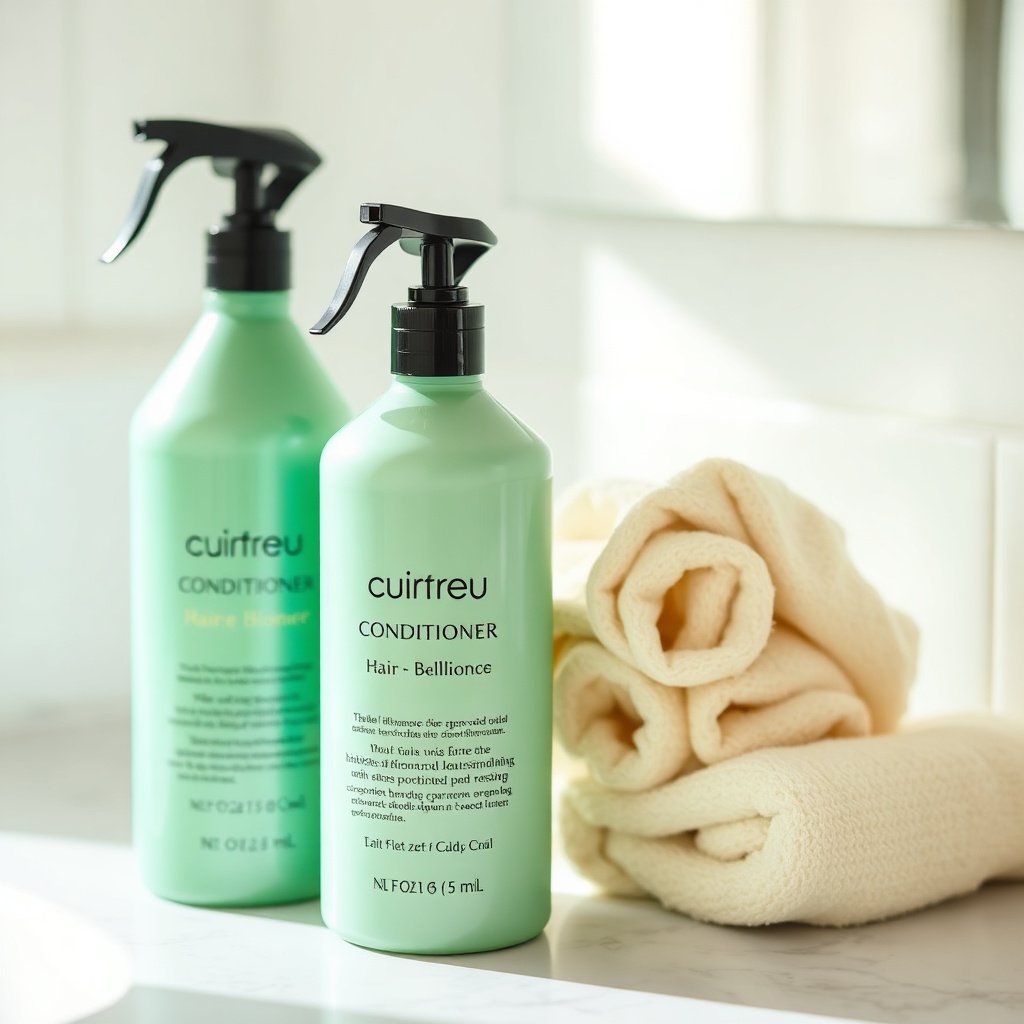
Bleaching strips natural oils, so deep conditioning your bundles after the process is crucial. Use protein-rich and hydrating treatments to rebuild hair strength and smoothness.
Apply conditioner generously, leave it on for 15-30 minutes with heat if possible, then rinse gently. This reduces brittleness and maintains bundle softness.
Proper Drying and Storage
Avoid vigorous towel drying since bundles are more fragile post-bleach. Instead, gently squeeze out excess water and let bundles air dry on a flat, clean surface.
Store hair in a breathable container or silk bag to prevent tangling and preserve quality between uses.
Common Mistakes to Avoid When Bleaching Bundles
Over-Processing the Hair
Leaving bleach on for too long can cause severe dryness, breakage, and uneven color. Avoid rushing the process or multitasking, which often leads to over-processing delicate bundles.
Always set a timer and check frequently to pull the bleach as soon as the desired lightness is reached.
For more on this, see our related guide: Your Guide to Human Hair Weave Bundles: Choosing With Confidence.
Skipping Strand Testing
Not testing the bleach on a small bundle section can result in unexpected damage or color outcomes. Strand testing reveals how your particular hair bundle reacts, helping you adjust timing or product strength safely.
Perform this test 24 hours before full application to gauge processing time and prevent surprises.
Dyeing and Styling After Bleaching Bundles
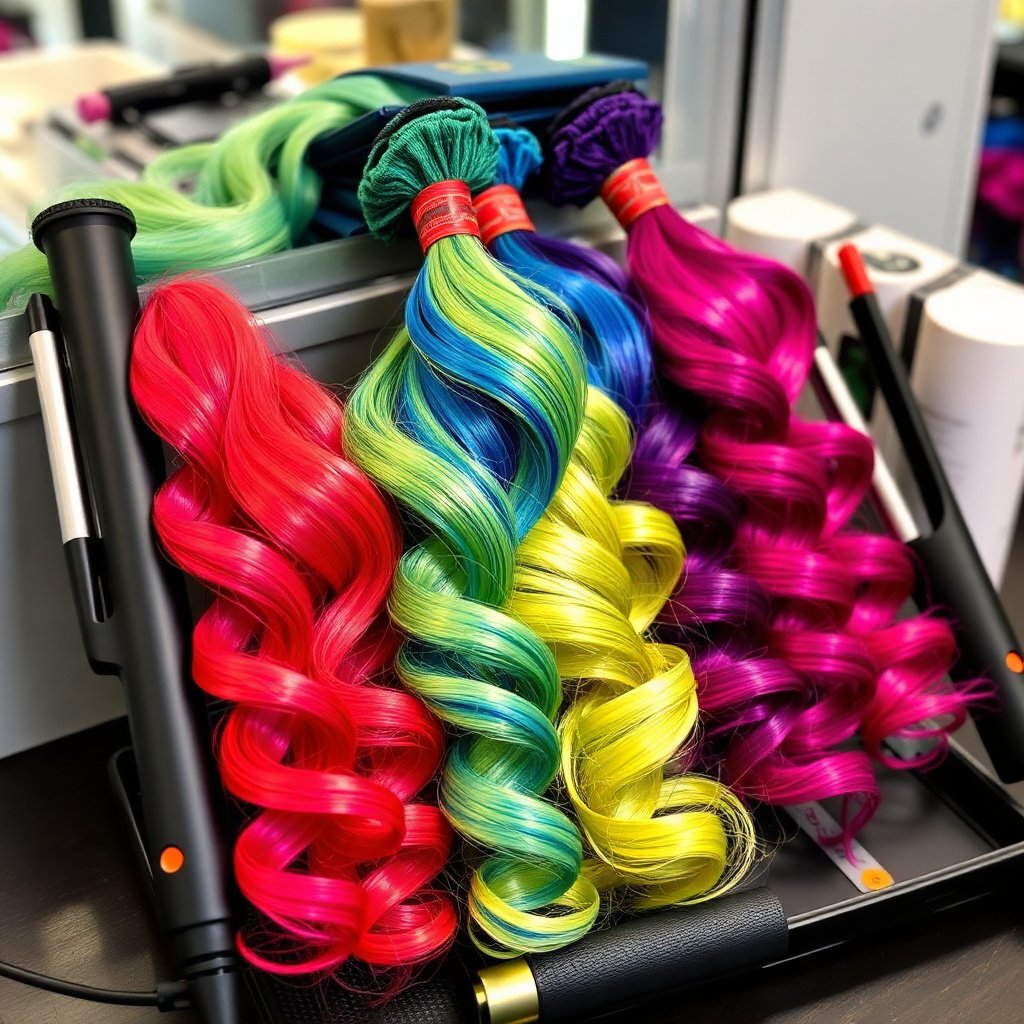
Preparing Bleached Bundles for Dye
Once bleached and washed, bundles are ready for dyeing to achieve unique colors. Ensure bundles are fully dry and conditioned before applying semi-permanent or permanent dyes.
Lightening first allows vivid or pastel colors to show more clearly compared to coloring natural dark bundles.
For additional technical information, consult this overview of the hair bleaching process. hair bleaching process details.
Maintaining Style and Longevity
Styling bleached bundles with heat tools requires heat protectants to avoid damage. Low to medium temperature settings are best.
Sleeping with bundles braided or wrapped and using sulfate-free shampoos extend their lifespan and maintain appearance.
Comparison of Bleach Developer Volumes for Bundles
The table below compares common developer strengths used for bleaching bundles, highlighting lifting ability, processing time, and risk level.
| Developer Volume | Lifting Strength | Average Processing Time | Hair Damage Risk |
|---|---|---|---|
| 10 Volume | Up to 1 shade | 10-15 minutes | Low |
| 20 Volume | 1-2 shades | 15-30 minutes | Moderate |
| 30 Volume | 2-3 shades | 20-40 minutes | Higher |
| 40 Volume | 3-4 shades | 30-45 minutes | High |
Frequently Asked Questions
Can I bleach bundles more than once?
Bleaching bundles multiple times can severely weaken the hair and cause breakage. It's best to space out bleaching sessions and condition bundles thoroughly between treatments to preserve hair health.
How do I know when to remove bleach from bundles?
Check the bleach every 5-7 minutes by opening foil wraps and observing the color. Remove the bleach once the bundles reach a pale yellow or your desired level of lightness.
Is it safe to bleach bundles at home without professional help?
Yes, provided you carefully follow instructions, use appropriate products, and perform strand tests. Precautions like gloves and timer checks help achieve safe, effective bleaching results.
What is the best way to protect bundles after bleaching?
Use deep conditioning and protein treatments immediately after bleaching. Avoid excessive heat styling, and store bundles in silk bags to minimize tangling and damage.
Can bleached bundles be dyed different colors?
Absolutely. Bleaching lifts the natural color, creating a light base that allows semi-permanent or permanent dyes to show vibrant, true colors.
Key Takeaways
- Bleach hair bundles with caution using a 20 or 30 volume developer for controlled lifting.
- Always perform a strand test before full bleaching to prevent damage.
- Deep conditioning post-bleach restores moisture and maintains bundle quality.
- Monitor processing closely and rinse promptly to preserve the integrity of bundles.
Conclusion
Knowing how to bleach bundles properly requires attention to detail and respect for the delicate nature of hair extensions. A successful bleaching process balances effective lightening with preserving the hair's structural integrity. This involves selecting the right developer volume, careful mixing, applying evenly, and timing the bleach application to avoid excessive damage.
For most at-home bleachers, starting with a 20 volume developer is safest for gentle lifting, while 30 volume suits those aiming for lighter shades but requires closer monitoring. Incorporating post-bleach conditioning and proper drying techniques makes a noticeable difference in bundle softness and longevity. Avoiding common pitfalls like over-processing and skipping strand tests helps maintain bundle strength.
If you’re ready to bleach bundles yourself, prepare your space and tools carefully, and follow the step-by-step guidance detailed here. Begin with strand tests and process small batches. By approaching the task thoughtfully, you can achieve bright, beautiful results while keeping your bundles in great condition for future styling.