How to Make a Wig Cap: A Step-by-Step Guide for a Perfect Fit
Making a wig cap involves creating a flexible, breathable base that fits snugly on your head to support the wig. Generally, you’ll need stretchy mesh fabric, scissors, pins, and a sewing machine or needle to construct the cap to your exact measurements. This process ensures better comfort and wig stability than store-bought caps.
A proper wig cap stabilizes hair underneath, prevents slippage, and enhances the overall look of your wig. Understanding how to make a wig cap allows customization of size, style, and material for different needs, whether for fashion, cosplay, or medical reasons.
This article outlines the materials required, precise measuring techniques, different construction methods, and finishing tips. You’ll also learn how to adapt designs for different hair types and styling preferences.
Gathering Materials for Your Wig Cap
Choosing the Right Fabric
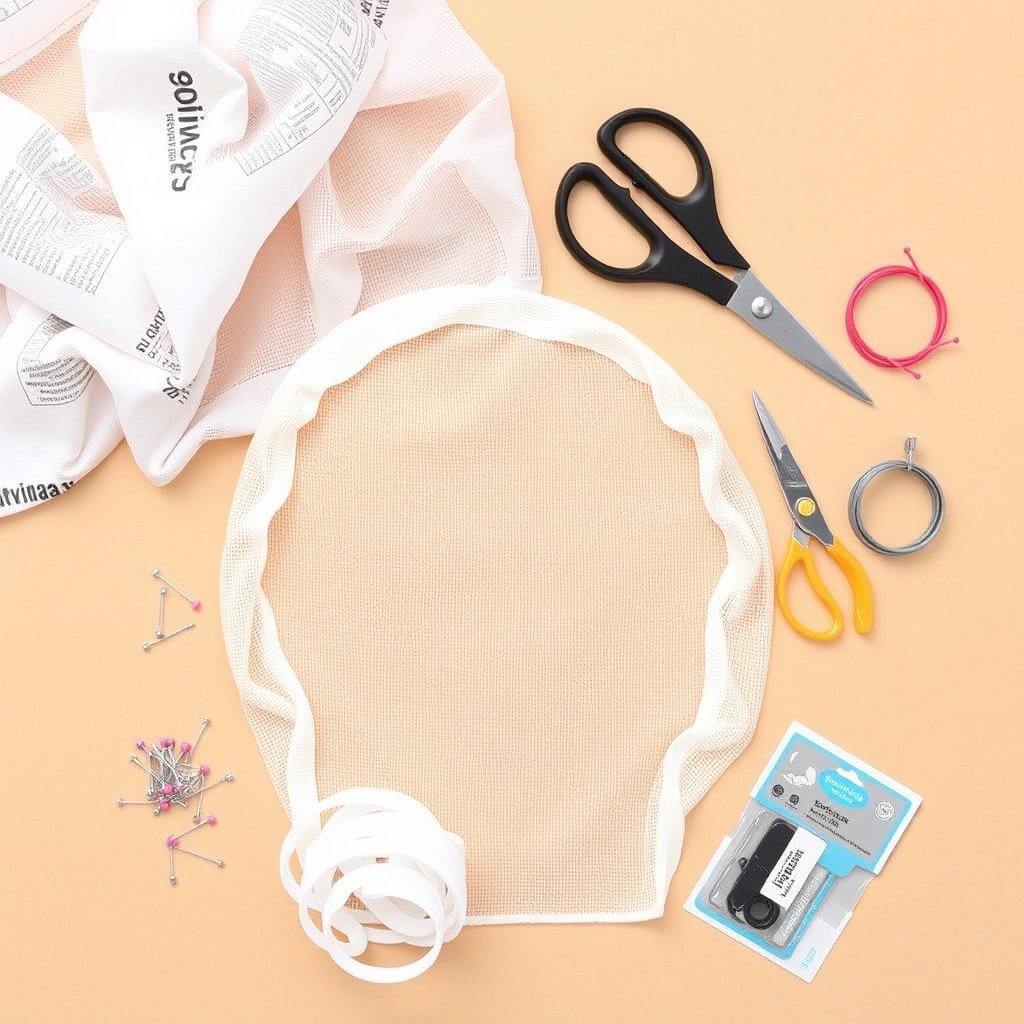
Selecting the fabric is crucial because the wig cap needs to be breathable and stretchable to accommodate the scalp comfortably. Nylon mesh and spandex blends are popular choices for their elasticity and ventilation, allowing air to flow while securing natural hair.
Avoid materials that irritate your scalp or don’t stretch adequately. Lightweight fabrics will reduce bulk under the wig, making the cap feel less noticeable during wear.
- Nylon mesh for breathability
- Spandex blend for stretch
- Soft cotton for sensitive skin
Other Essential Supplies
Besides fabric, you’ll need a flexible measuring tape, sharp scissors, sewing pins, and thread matching the fabric color. A fine needle or sewing machine improves construction time and finish quality.
Elastic bands help secure the cap around your head. Optional materials include a mannequin head for shaping and fabric chalk for marking measurements.
- Measuring tape
- Elastic bands
- Sewing kit or machine
- Fabric chalk
Measuring Your Head for a Custom Fit

Key Measurements to Take
Begin by measuring your head circumference just above the ears and over the forehead, which is the primary size for the cap’s opening. Next, measure from the forehead to the nape of your neck to determine length.
Also take measurements from ear to ear across the top of the head and around the crown for width adjustments. Accurate measurements prevent tightness or looseness in the final wig cap.
- Circumference (around head)
- Length (forehead to nape)
- Ear-to-ear across top
- Crown width
Marking and Recording Measurements
Use fabric chalk or a washable marker to jot down key points on the fabric or paper pattern. Creating a paper template before cutting fabric helps avoid mistakes and ensures symmetrical shaping.
Label each measurement clearly and double-check dimensions on yourself or a mannequin head to visualize the fit. Taking your time here ensures a snug, tailored wig cap.
- Use fabric chalk for markings
- Create a paper template
- Double-check all measurements
Cutting and Shaping the Wig Cap Fabric
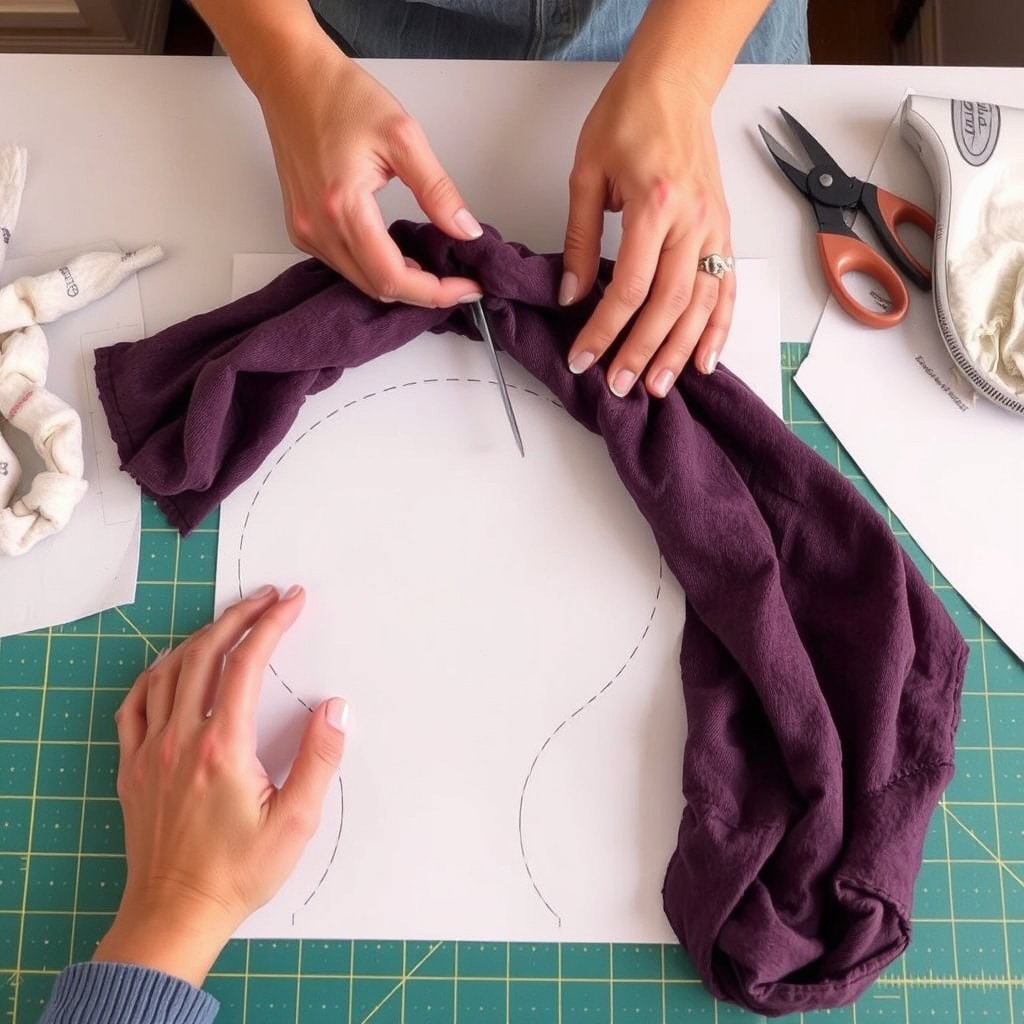
Using Your Template to Cut Fabric
Place the paper template on the fabric laid flat. Pin it gently to prevent shifting while cutting. Use sharp scissors to cut smoothly along the outline, preserving the fabric’s stretch direction which is usually horizontal.
Cut slowly to avoid jagged edges. If making multiple layers, ensure all layers align perfectly before cutting to keep the shape uniform.
- Pin template firmly
- Cut along stretch grain
- Cut multiple layers evenly
For more on this, see our related guide: How to Keep a Wig from Slipping: Effective Tips for Secure Wear.
Shaping for Head Contours
Adding darts or curved seams along the crown and back sections will help the wig cap conform to the natural shape of your head. Slight tapering at the nape avoids excess fabric and improves comfort.
Test fit the fabric pieces by loosely assembling with pins and adjusting curves before final sewing. This hands-on shaping helps achieve a seamless fit for your wig base.
- Include darts for contour
- Taper nape for snug fit
- Pin fit before sewing
Sewing Techniques for Durability and Comfort

Basic Stitching Methods
Stretch stitching, such as zigzag or overlock stitches, allow the fabric to stretch without breaking seams. Use a sewing machine if available for consistent stitching, but hand sewing with stretch stitches is also effective.
Reinforce areas near the elastic band attachment points to prevent seam failure over time.
- Zigzag stitch for flexibility
- Reinforce stress points
- Use stretch thread if available
Attaching Elastic for Secure Fit
Sew elastic bands into the inner rim of the wig cap to keep it snug against the head without sliding. The elastic should have enough tension to hold the cap but not so tight as to cause discomfort.
Choosing soft, narrow elastic minimizes bulk and irritation, especially around the hairline.
- Attach elastic evenly
- Test elasticity tension
- Use soft, narrow bands
Finishing Touches and Customizations
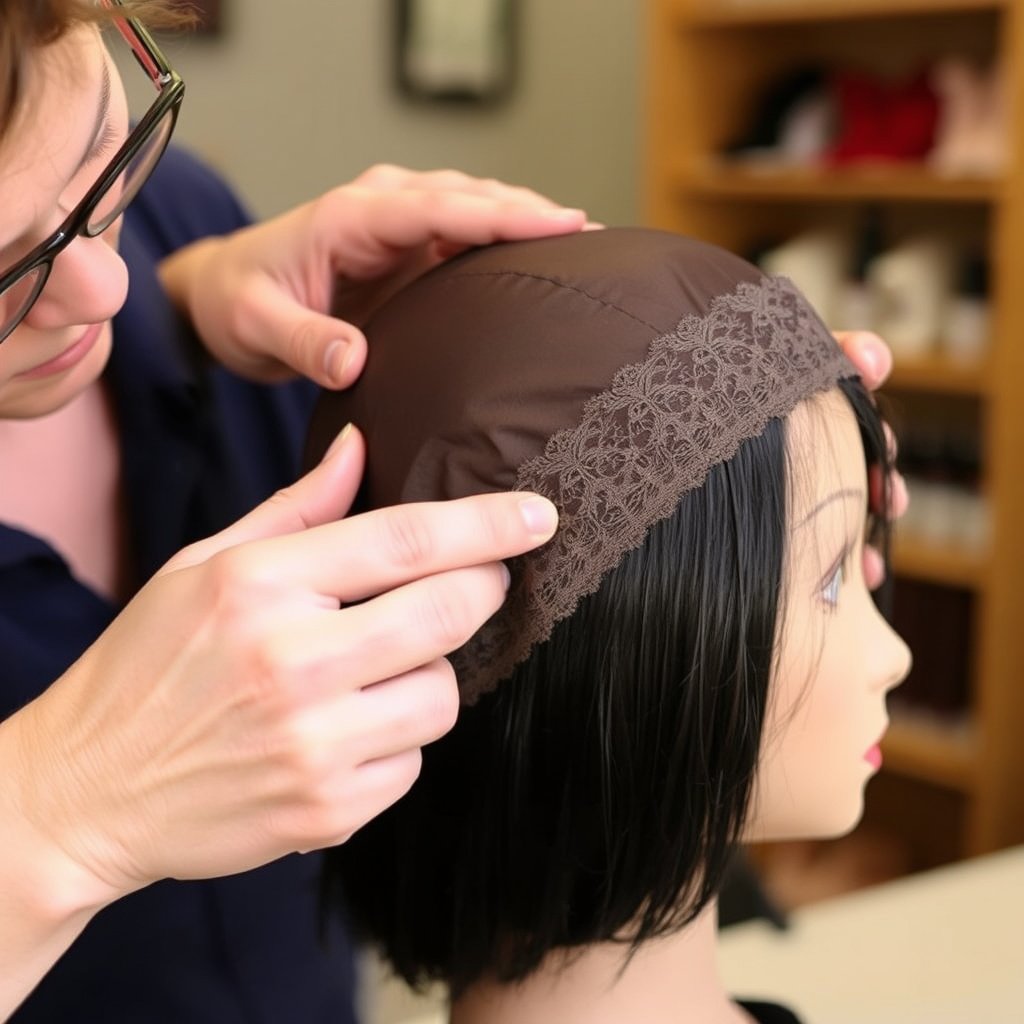
Edge Finishing and Reinforcements
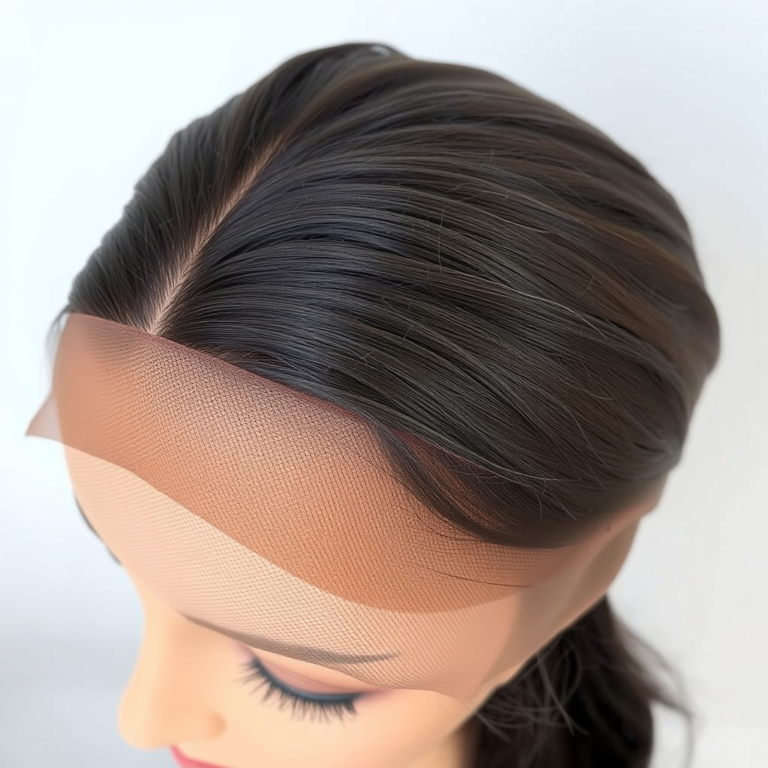
Fold and sew edges to prevent fraying and improve the cap’s lifespan. Optional lace or soft trim around the front edge enhances comfort against the skin and provides a natural-looking hairline for wigs.
Consider adding a light lining if you have sensitive skin or wish to protect natural hair.
- Fold and stitch edges
- Add lace trim for comfort
- Optional lining layer
For more on this, see our related guide: How to Make a Lace Wig Look Natural: Expert Tips and Techniques.
Adjusting for Different Hair Types
Those with thick or curly hair might want a slightly larger cap or breathable mesh panels for ventilation. Thin or fine hair types can use tighter fitting caps and lighter fabrics to avoid bulkiness.
Customization also includes color matching the cap fabric with your scalp or wig color for invisibility under wigs.
- Larger caps for thick hair
- Breathable panels for ventilation
- Color matching for discretion
Maintaining and Caring for Your DIY Wig Cap

Cleaning Instructions
Hand wash the wig cap gently in lukewarm water using mild detergent to avoid damaging the stretchy fabric. Avoid wringing or twisting the cap, instead pressing water out softly with a towel.
Air dry the cap flat on a clean surface away from direct sunlight to maintain shape and elasticity.
- Use mild detergent
- Avoid wringing
- Air dry flat
For more comprehensive information on wigs and their construction, the Wikipedia page on wig provides valuable insights. Wig cap information on Wikipedia.
Storage Tips for Longevity
Store the wig cap flat or rolled loosely to prevent creases or deformation. Keep it in a breathable pouch away from dust and dirt.
Regularly inspect seams and elastic for wear and replace if necessary to maintain effective fit.
- Store flat or loosely rolled
- Use breathable storage pouch
- Check seams regularly
Wig Cap Types Comparison
Here’s a comparison of common wig cap types to highlight their features and suitability based on construction and fabric.
| Cap Type | Material | Fit Customization | Breathability | Ideal Use |
|---|---|---|---|---|
| Basic Nylon Cap | Nylon mesh | Limited | High | Everyday wear, budget-friendly |
| Stretch Spandex Cap | Spandex blend | Moderate | Moderate | Active wear and casual wig use |
| Lace Front Cap | Lace and mesh | High | High | Natural hairline, cosplay, theatrical |
| Full Lace Cap | Full lace mesh | Maximum | Excellent | Professional styling, long-term use |
| Silicone-lined Cap | Mesh with silicone grip | Moderate | Moderate | Secure fit, sports or movement |
Frequently Asked Questions
Can I make a wig cap without a sewing machine?
Yes, you can hand sew a wig cap using a needle and stretch stitch methods like the zigzag stitch. This requires more time but provides good results with careful stitching.
How often should I replace my DIY wig cap?
Replace your wig cap when elastic loses stretch, seams start to loosen, or the fabric becomes thin. Typically, a well-maintained cap lasts about 6 to 12 months.
Is it possible to make a wig cap for very thick hair?
Yes, for thick hair it's best to make a larger cap with breathable mesh panels to allow airflow and accommodate volume without discomfort.
What is the best fabric for sensitive scalps?
Soft cotton or high-quality nylon mesh with a lining are gentle options that reduce irritation while offering good stretch and breathability.
How can I make the wig cap look natural under a wig?
Choose a cap color that closely matches your scalp and consider lace edging for a natural hairline effect, especially with lace front wig caps.
Key Takeaways
- Selecting breathable, stretchy fabric is vital for wig cap comfort and fit.
- Accurate head measurements ensure a personalized and secure wig cap.
- Sewing stretch stitches and attaching elastic improve durability and fit.
- Customizing edges and fabrics adapts the cap for various hair types and styles.
Conclusion
Understanding the fundamentals of how to make a wig cap empowers you to craft a comfortable and well-fitting base tailored to your head shape and hair type. By carefully measuring and selecting appropriate materials, you can create a cap that stabilizes your wig securely while allowing your scalp to breathe. Paying close attention to construction details like stretch stitching and elastic attachment further enhances durability and comfort.
For casual or budget-friendly options, a basic nylon or spandex cap is effective and quick to sew. If you want a more natural look for cosplay, theatrical performances, or everyday wear, investing time in lace front or full lace designs can yield excellent results. Those with thick or sensitive hair can adjust fabric choice and cap size to meet their unique needs. Each style offers different advantages, and choosing the right one depends on your priorities for fit, appearance, and function.
If you’re ready to try your hand at making a wig cap, start with simple patterns and stretch fabrics to build confidence. Experiment with customizing finishes and elastic tension for your ideal fit. With practice, you can achieve professional-looking results that enhance any wig’s comfort and style. For additional details and a broader understanding, consulting respected resources can guide you further.