
How to Make a Lace Wig Look Natural: Expert Tips and Techniques
Making a lace wig look natural involves customizing the hairline, properly securing the wig, and blending the lace with your skin tone. Techniques like plucking the hairline, tinting the lace, and using adhesive or gel help the wig mimic real hair growth, creating a seamless look.
Natural-looking lace wigs are essential for comfort and confidence, whether for daily wear or special occasions. The lace base is designed to be undetectable, but without the right approach, wigs can appear artificial or obviously obvious. Achieving authenticity requires attention to detail and the right products and tools.
This article covers step-by-step methods for making a lace wig look natural, from hairline customization and lace tinting to securing the wig and styling techniques. Additionally, it examines maintenance tips and product recommendations to keep your wig looking as genuine as possible.
Preparing the Lace Wig for a Natural Look
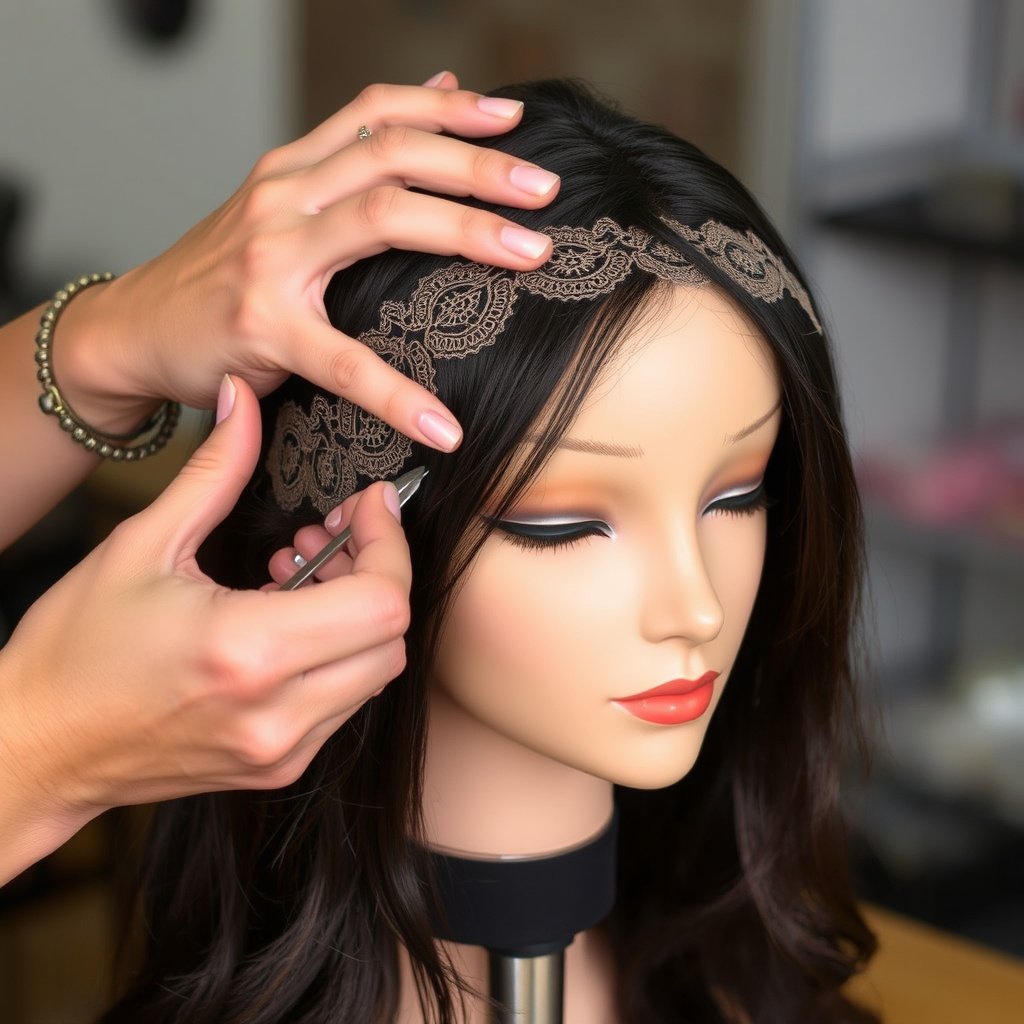
Trimming the Lace Properly
Starting with trimming the excess lace is critical to achieving a natural look. Carefully cut along the hairline, leaving a very thin margin of lace to avoid a bulky or obvious edge. Use small, sharp scissors held at an angle for precision and to prevent tearing the lace.
Trim slowly as uneven or blunt cuts can make the lace visible. Leave enough lace to blend with your skin but not so much that it overlaps and creates unnatural lines.
- Use small, sharp scissors
- Cut at an angle
- Leave a thin lace margin
- Avoid blunt cuts
Customizing the Hairline
Plucking the hairline creates a less dense and more realistic look. Focus on removing some hairs along the front and temples to mimic natural hair growth patterns. Avoid over-plucking to maintain fullness while reducing the 'wiggy' effect.
Using a tweezing technique, pull out hairs one by one in irregular spacing rather than clumps to replicate how hair grows naturally. Adding baby hairs along the front also softens the edge and adds to the illusion.
- Pluck hairs individually
- Focus on temples and hairline
- Create soft baby hairs
- Do not over-pluck
Matching the Lace to Skin Tone
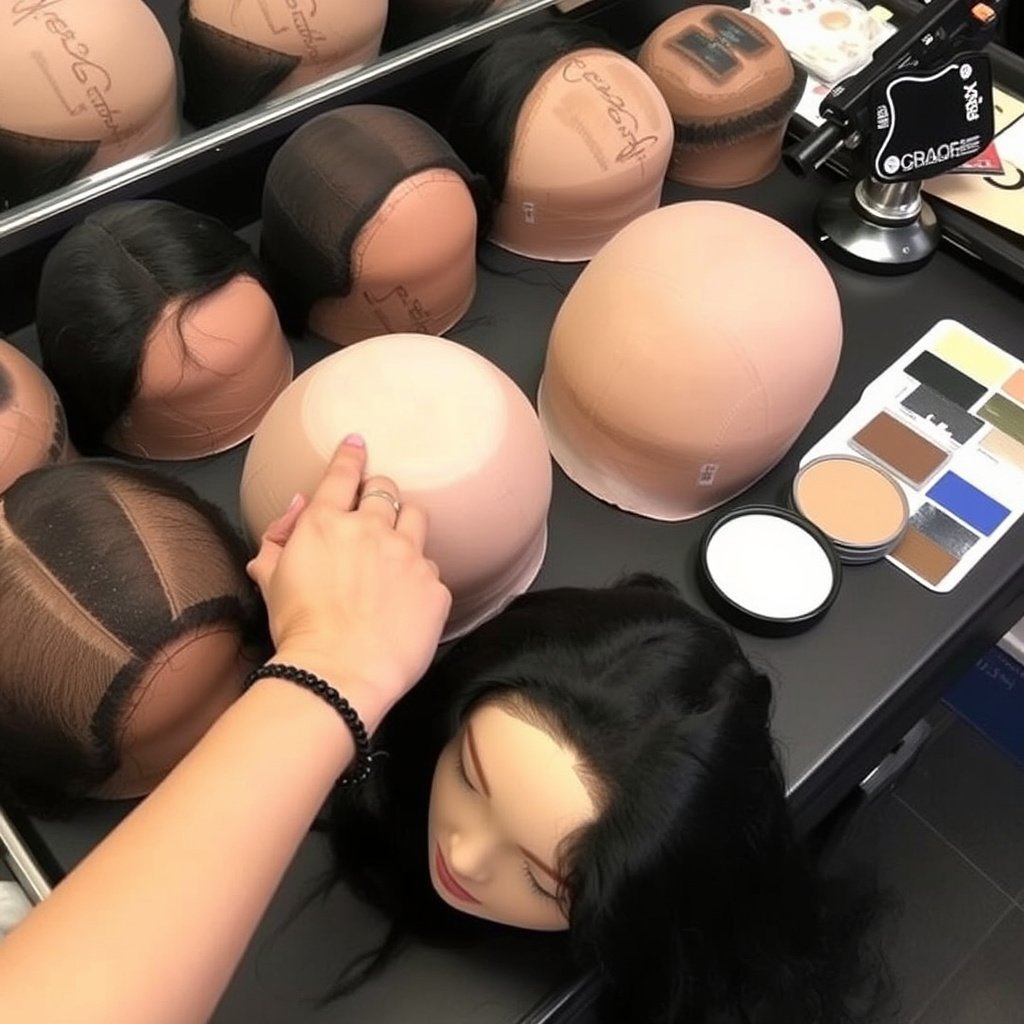
Tinting the Lace
Tinting the lace with foundation or lace tint spray ensures it matches your natural skin color. Choose a foundation close to your skin tone and apply it gently on the underside of the lace. This reduces the contrast between lace and skin, which helps make the lace nearly invisible.
Allow the tint to dry fully before wearing the wig to avoid smudging. If using lace tint sprays, apply in thin coats to build up the desired shade gradually.
- Use foundation close to skin tone
- Apply on underside of lace
- Allow drying time
- Build tint gradually with sprays
For more on this, see our related guide: How to Make a Wig Look Natural: Expert Tips for a Realistic Hairline and Seamless Blend.
Blending Edges with Makeup
Applying makeup like concealer or powder along the lace edges blends the wig into your forehead or neck. Use a small brush to press concealer onto the lace edges lightly and blend it into the skin. This technique helps disguise any visible lines.
Avoid using heavy or cakey products that can accumulate and become noticeable. A thin, matte finish works best for natural blending.
- Apply concealer with a small brush
- Blend powder gently on edges
- Use matte products
- Avoid heavy makeup buildup
Securing the Wig for a Seamless Appearance
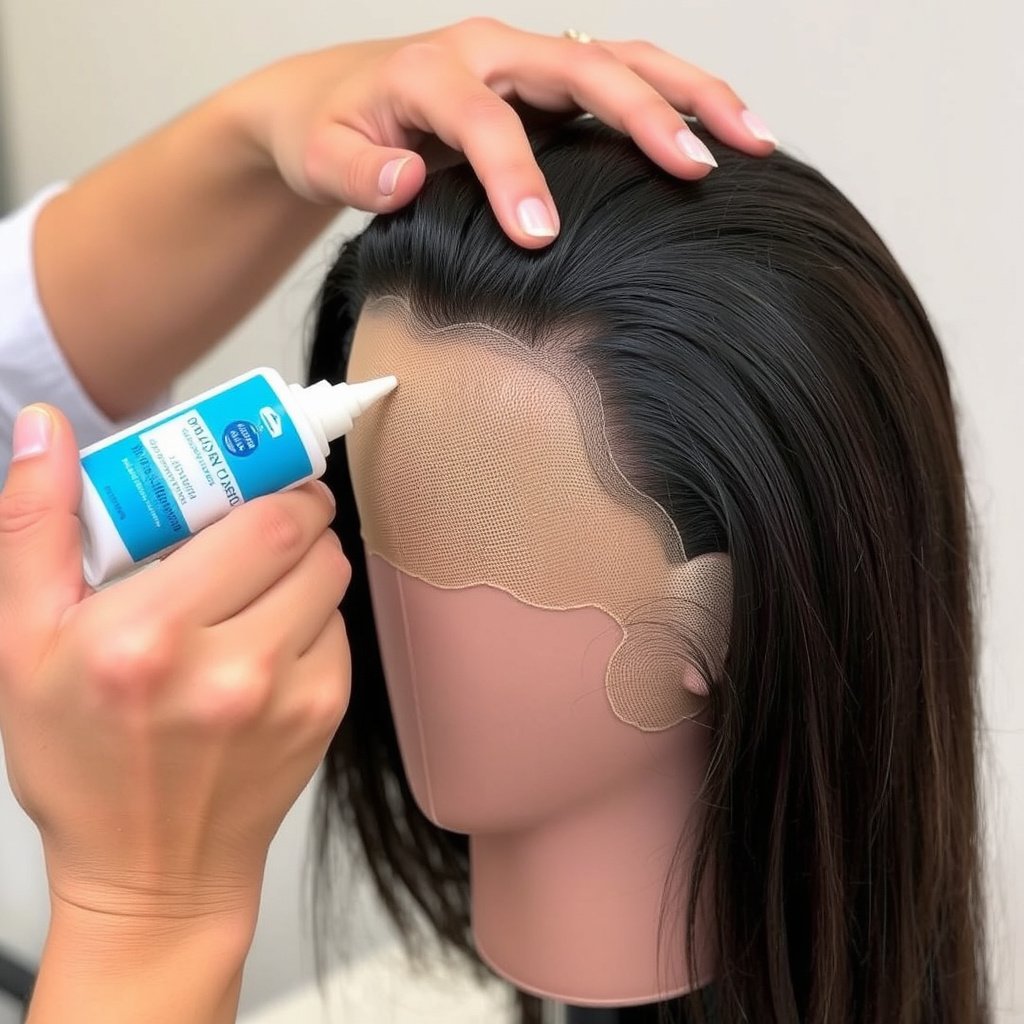
Using Adhesive and Sealants
Adhesives like glue or tape anchor the lace to the scalp securely, preventing lifting or shifting that reveals the lace. Choose skin-friendly options designed specifically for lace wigs to avoid irritation.
Apply a thin layer of adhesive along the hairline and let it become tacky before pressing the lace down firmly. Sealants can be applied to strengthen the bond and extend wear time.
- Use skin-safe adhesives
- Apply thin, even layer
- Wait for tackiness before application
- Use sealants for durability
Alternative Securing Methods
Not everyone prefers adhesives; wig grips and adjustable straps inside the wig can also provide secure fits. These options reduce the need for glue and are less damaging to the skin and hairline.
Wig caps with silicone strips offer additional hold and prevent slipping, helping the wig sit naturally without extra products.
- Use wig grips for non-adhesive hold
- Adjustable straps for customized fit
- Silicone wig caps reduce slippage
- Minimize skin irritation
Styling Techniques for Realism
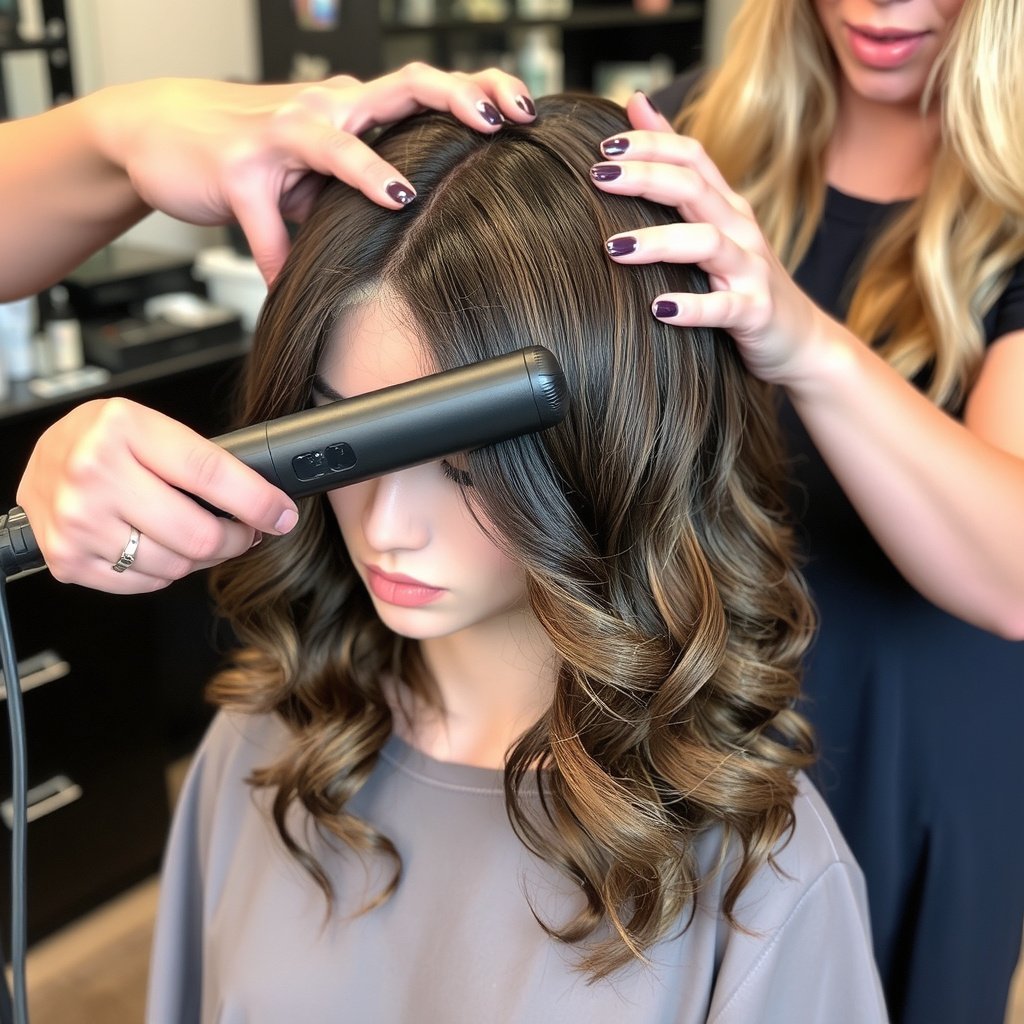
Heat Styling and Hair Texture
Using heat tools can help match the wig’s texture to your natural hair or desired style. Low to medium heat settings work best to avoid damaging synthetic fibers or delicate lace areas.
Create soft waves or straighten the wig carefully, ensuring the hairline and parting remain undisturbed for natural flow.
- Use low to medium heat
- Style away from lace edges
- Match natural hair texture
- Avoid excessive heat exposure
For more on this, see our related guide: How to Install a Glueless Wig: A Step-by-Step Guide for a Secure Fit.
Parting and Baby Hair Styling
The parting style affects how natural the wig looks. A realistic scalp material in the part makes hair appear to grow from the scalp. Lightly lifting the part with a pick and applying powder can enhance the scalp effect.
Baby hairs styled softly around the face soften the wig edge and add authenticity. Use edge control gel sparingly to shape baby hairs without stiffness.
- Use realistic scalp part
- Apply powder to scalp area
- Shape baby hairs delicately
- Avoid stiff gels
Maintenance to Preserve Natural Appearance
Regular Cleaning and Conditioning
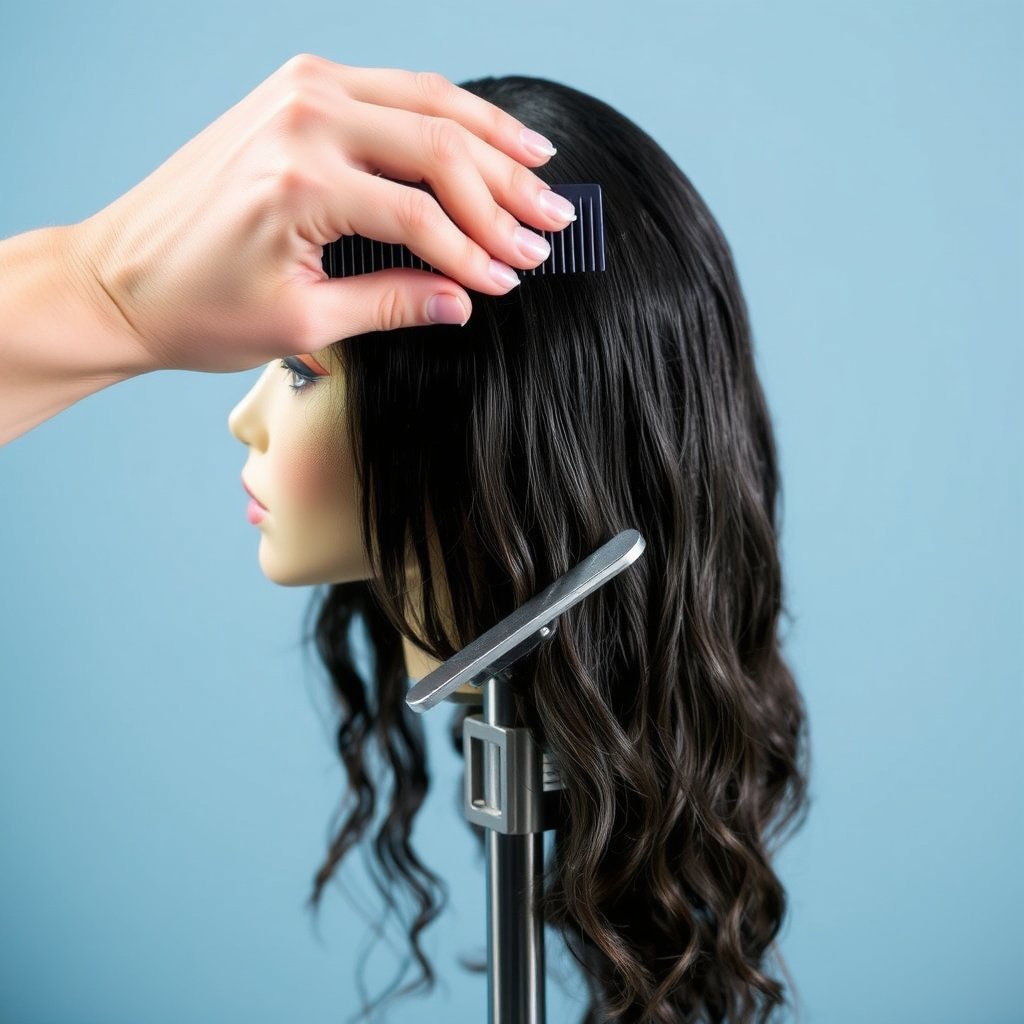
Keeping the wig clean prevents build-up that can reveal lace or alter texture. Use mild shampoos and conditioners formulated for wigs. Gently wash and air dry to retain the wig’s shape and softness.
Avoid harsh chemicals or excessive friction when combing to prevent lace tears or hair shedding.
- Use mild wig shampoo
- Condition regularly
- Air dry on wig stand
- Comb gently with wide-tooth comb
For more detailed background on lace wigs and their construction, see this comprehensive source from Wikipedia. Lace wig information on Wikipedia.
Reapplying Adhesives and Retouching
Adhesives lose stickiness over time. Reapply glue or tape as needed, cleaning residue thoroughly beforehand. Regularly retouch lace tinting and makeup blending to maintain invisibility.
Schedule wig inspections to check for damage or lace lifting that undermines the natural look.
- Remove adhesive residue before reapplication
- Retouch lace tint and makeup
- Inspect wig regularly
- Replace damaged lace promptly
Lace Wig Types Comparison for Natural Appearance
Here’s a quick comparison of popular lace wig types and how they affect achieving a natural look.
| Lace Wig Type | Sheerness of Lace | Customization Ease | Durability | Price Range |
|---|---|---|---|---|
| Swiss Lace | High | Easy to customize and pluck | Delicate, less durable | Medium to High |
| French Lace | Medium | Moderate customization | Stronger than Swiss | Medium |
| HD Lace | Very High | Requires careful handling | More delicate than Swiss | High |
| Glueless Lace | High | Less adhesive needed | Moderate durability | High |
| 360 Lace Wig | High | Full perimeter customization | Moderate durability | High |
Frequently Asked Questions
How long does it take to make a lace wig look natural?
Depending on experience, making a lace wig look natural can take anywhere from 30 minutes to a couple of hours, considering trimming, plucking, tinting, and securing the wig.
Can I use regular makeup to tint lace wigs?
It's best to use foundation or powders designed for lace tinting as regular makeup may flake or rub off, reducing the natural effect and potentially damaging the lace.
Is it necessary to use adhesive to keep a lace wig secure?
Adhesive is common for secure fit and natural edges, but wig grips, adjustable straps, and silicone caps offer alternatives for those who prefer to avoid glue.
How often should I clean my lace wig?
Generally, wash your lace wig every 7 to 14 wears to keep it fresh and free from product buildup, depending on usage and styling products applied.
Can I style my lace wig with heat tools?
Heat styling is possible for human hair wigs and some heat-resistant synthetics. Always use low to medium heat and avoid applying heat near the lace base to prevent damage.
Key Takeaways
- Customize the hairline by plucking and creating baby hairs for realism.
- Tint the lace base to match your skin tone and blend edges with makeup.
- Secure the wig appropriately using adhesives or alternatives for a smooth finish.
- Maintain the wig properly to keep a natural appearance longer.
Conclusion
Crafting a natural look from a lace wig centers on attention to precise details: trimming the lace closely, customizing the hairline, matching the lace color to your skin tone, and securing the wig discreetly. Each step enhances the illusion that the hair is genuinely growing from your scalp, making a significant difference in authenticity. Understanding the properties of different lace types also guides your customization strategy to achieve the best possible integration with your skin.
If you want the smoothest application with high sheerness and customization, Swiss or HD lace wigs allow significant hairline plucking and tinting, ideal for close-to-skin natural looks. For those prioritizing durability alongside natural appearance, French lace or glueless lace wigs provide a balanced option. Moreover, 360 lace wigs offer advanced styling versatility, making them suitable for experimenting with updos while maintaining seamless lace visibility. Your choice should reflect your lifestyle, comfort preferences, and how you intend to style your wig.
Start by selecting a lace wig suited for customization, then invest time in customizing the hairline and tinting the lace. Use suitable adhesives or wig grips for secure wear and experiment with parting and baby hairs styling. Consistently care for your lace wig with cleansing and retouches to preserve its natural look over time. With patience and the right techniques, your lace wig can look impeccably real and boost confidence wherever you wear it.
2 Comments