How to Remove Braids Without Damaging Hair: A Step-by-Step Guide
Removing braids without causing hair damage requires patience, the right tools, and a gentle technique to prevent breakage and tangling. Start by softening the hair using a good leave-in conditioner or natural oil and work slowly from the ends upward to avoid pulling or tearing.
This matters because improper braid removal can lead to excessive hair loss, split ends, and scalp discomfort. Many people rush the process, which causes unnecessary stress on strands and roots. Safe removal preserves hair health and ensures your hairstyle transition is smooth.
This article will walk you through the best steps for taking down braids safely, including the tools to use, how to detangle after removal, and ways to protect and moisturize your hair once the braids are out.
Preparing to Remove Braids Without Damaging Hair
Gathering the Right Tools
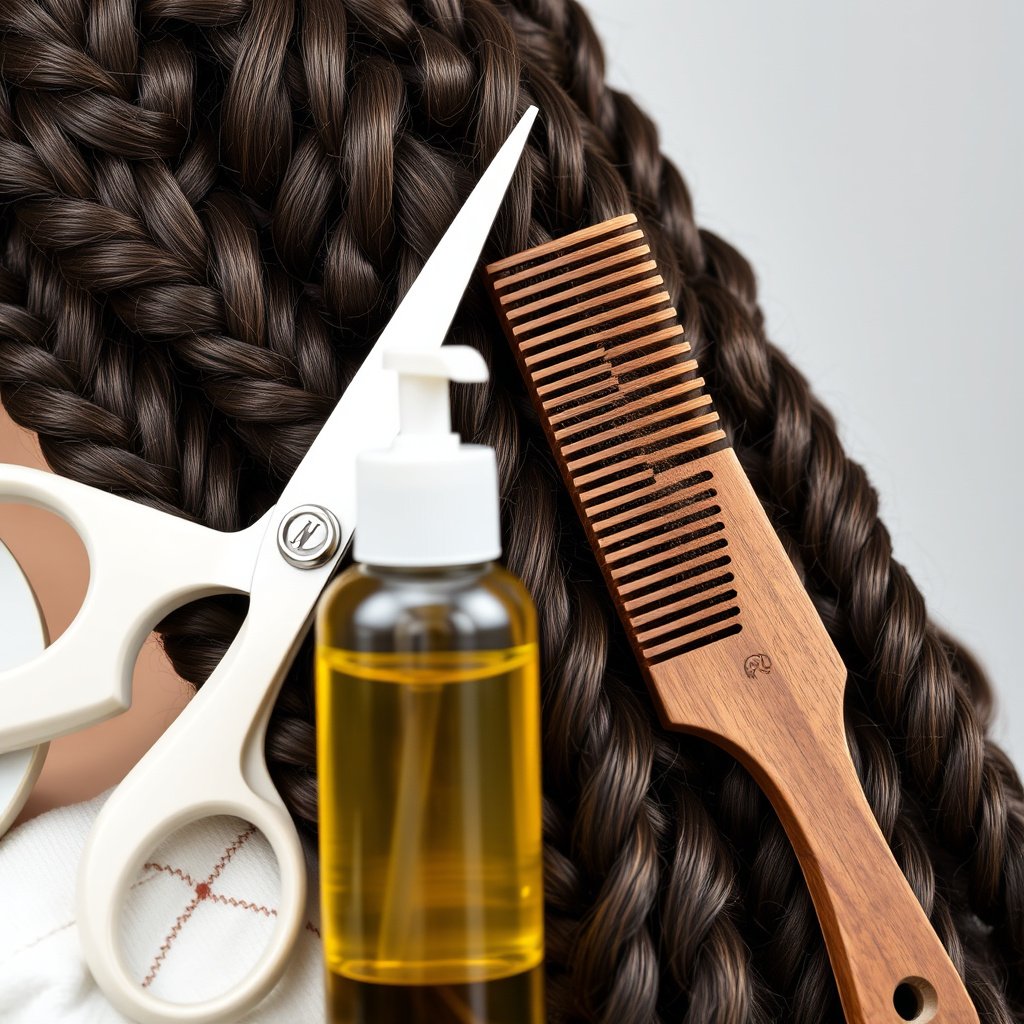
Using the right tools is essential for safe braid removal. You’ll need sharp hair scissors to carefully cut any extensions or knots, a wide-tooth comb to gently detangle, and a nourishing hair oil or leave-in conditioner to soften the strands.
Avoid tools such as fine-tooth combs or brushes initially, as they can cause tugging on knotted hair. Having everything within reach helps maintain control and reduces the chance of accidental pulling or snapping hair.
- Sharp hair scissors
- Wide-tooth comb
- Leave-in conditioner or natural oil
- Hair clips to section hair
Softening Hair Before Removal
Apply a moisturizing leave-in conditioner or natural oil like coconut or argan oil to the scalp and braids before starting. This helps loosen any dried styling product or build-up and softens the hair for more manageable detangling.
Leave the conditioner or oil sitting for 15 to 30 minutes to penetrate. This reduces friction during the removal process, helping to maintain hair strength and elasticity, which is key to avoiding breakage.
Step-by-Step Process to Remove Braids Safely
Section and Untwist Carefully
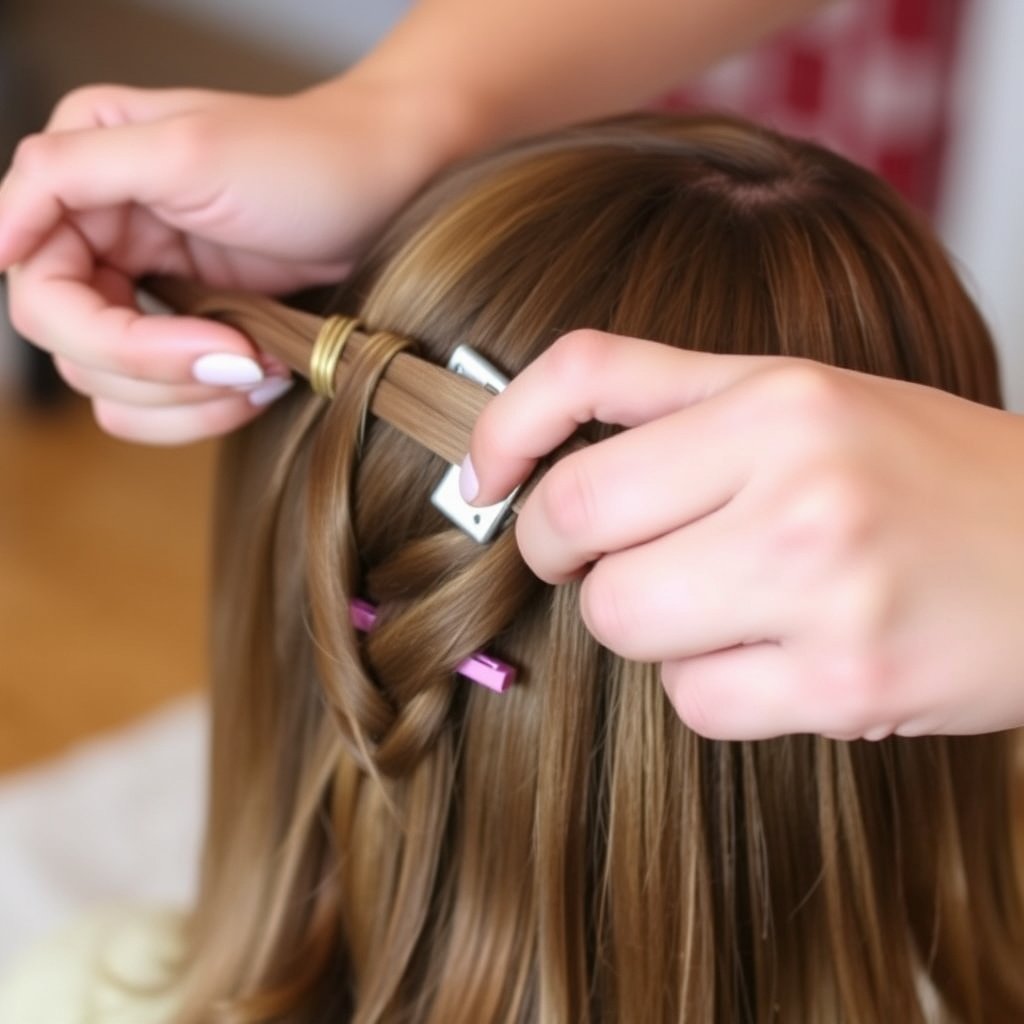
Divide the hair into small, manageable sections using clips. Start unbraiding at the ends, working your fingers gently through each section to unravel the braid gradually.
If you encounter knots, apply a bit more oil and use your fingers or a wide-tooth comb to ease out tangles rather than pulling hard, which can cause damage.
- Work from ends toward roots
- Use fingers before comb
- Apply oil to stubborn knots
Cut Extensions If Needed
If your braids include synthetic extensions, carefully snip the extensions close to where they are tied, without cutting your natural hair. This step makes unbraiding easier and safer.
Always cut in good lighting and avoid rushing. Removing extensions in small pieces helps prevent sudden tension on your natural hair.
- Cut extension strands only
- Use sharp scissors
- Work slowly and carefully
Detangling and Post-Removal Care
Gentle Detangling Techniques
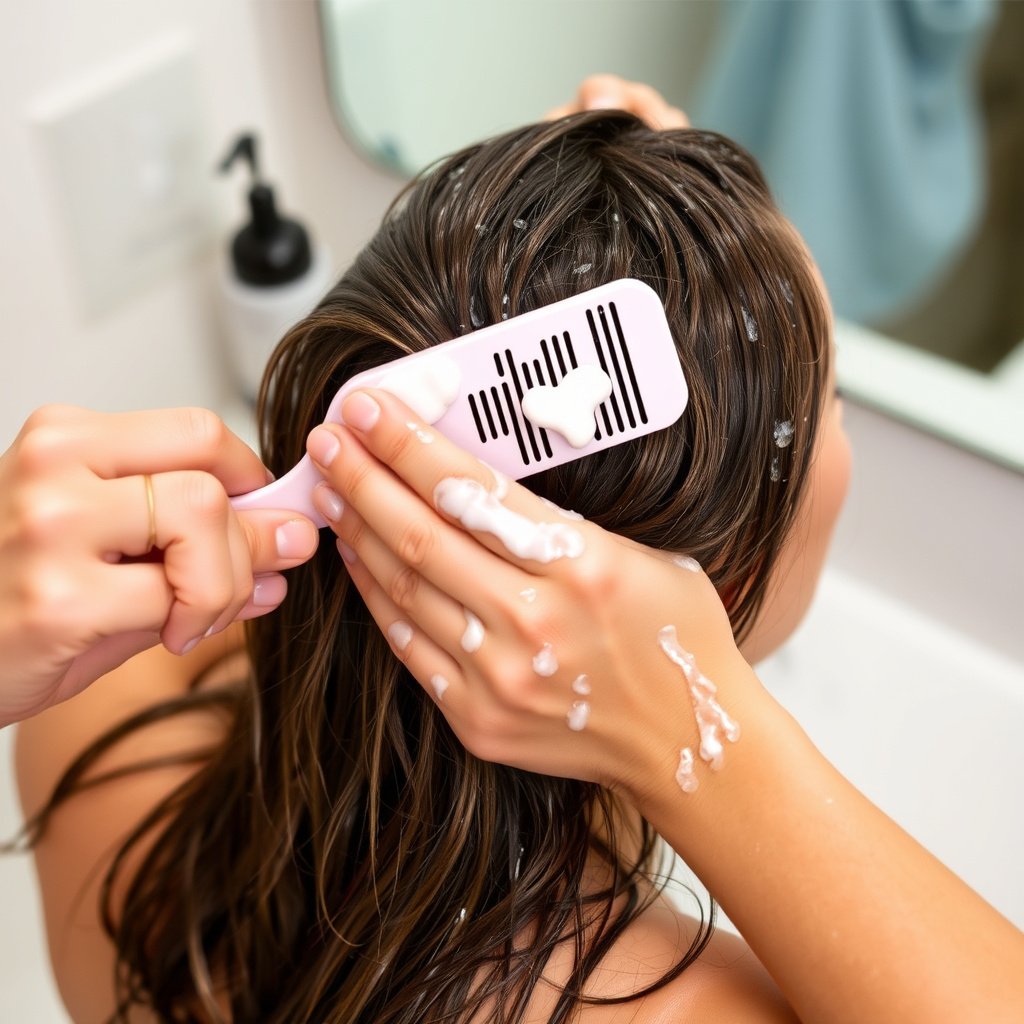
After braids are fully removed, detangle hair slowly using a wide-tooth comb starting from the ends and working upward. Apply more leave-in conditioner or a detangling spray if needed to ease combing.
Avoid rushing through detangling to prevent breakage. Part hair into sections and handle each segment with care, especially around the roots and hairline which may be more sensitive.
For more on this, see our related guide: How to Do Senegalese Twists: A Step-by-Step Guide to Stylish Protective Braids.
Deep Conditioning Treatment
Apply a deep conditioning treatment or hair mask immediately after detangling to restore moisture lost during the braiding process. This strengthens hair and improves its elasticity.
Leave the treatment on as directed, typically 20 to 30 minutes, then rinse thoroughly. This step is vital to replenish natural oils and keep hair resilient after braid removal.
- Use protein-rich deep conditioner
- Follow product instructions
- Rinse with lukewarm water
Protecting Hair After Removing Braids
Moisturizing and Sealing Hair
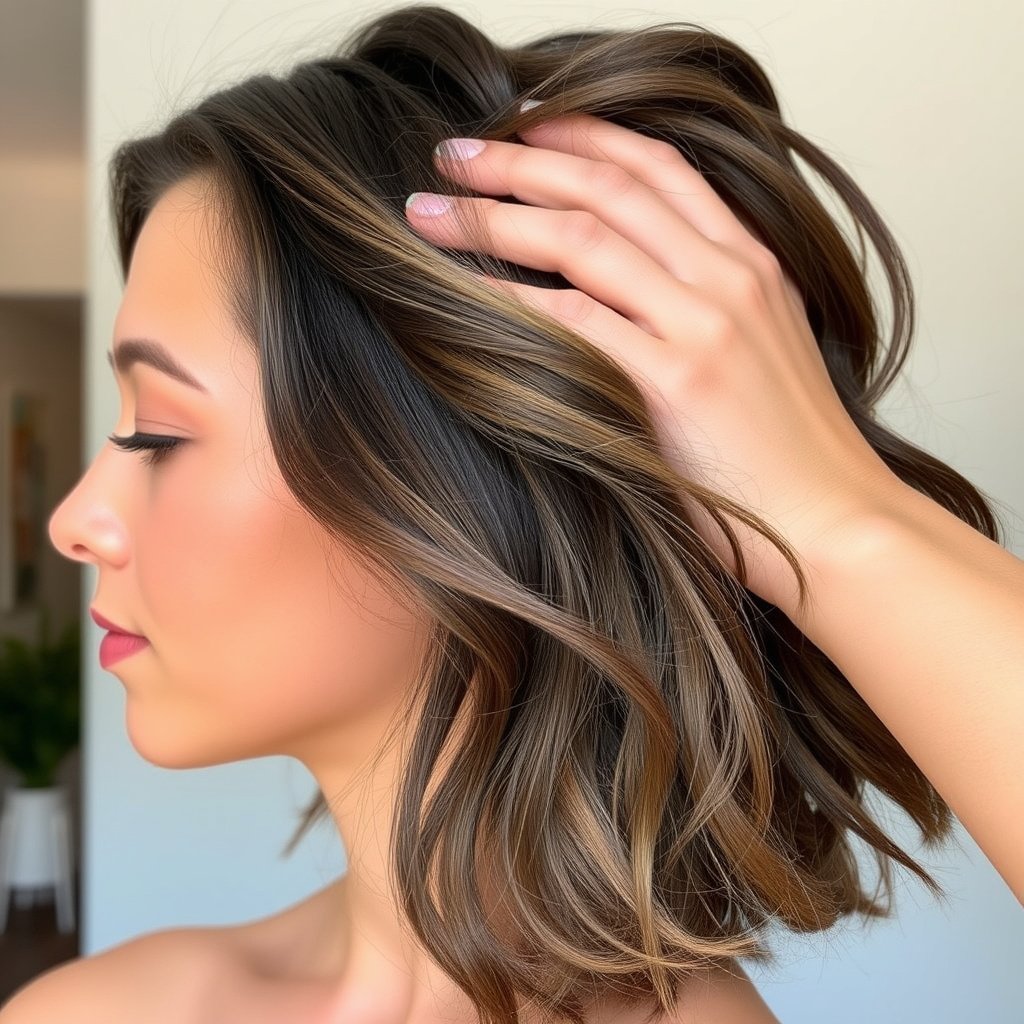
Maintain hydration by regularly applying water-based moisturizers and sealing with natural oils. Keeping hair moisturized prevents dryness that often follows braid removal.
Focus on the scalp and ends, as these areas tend to dry out faster and are more prone to breakage.
- Water-based moisturizer
- Seal with coconut or jojoba oil
Avoiding Excessive Styling and Heat
Give your hair a break from heavy styling or heat tools for at least a week after removing braids. This reduces stress and lets hair recover naturally.
Opt for loose, protective styles that don’t pull on the roots or disrupt the hair cuticle.
- No heat styling for 7 days
- Choose loose protective hairstyles
Common Mistakes to Avoid When Removing Braids
Rushing the Process
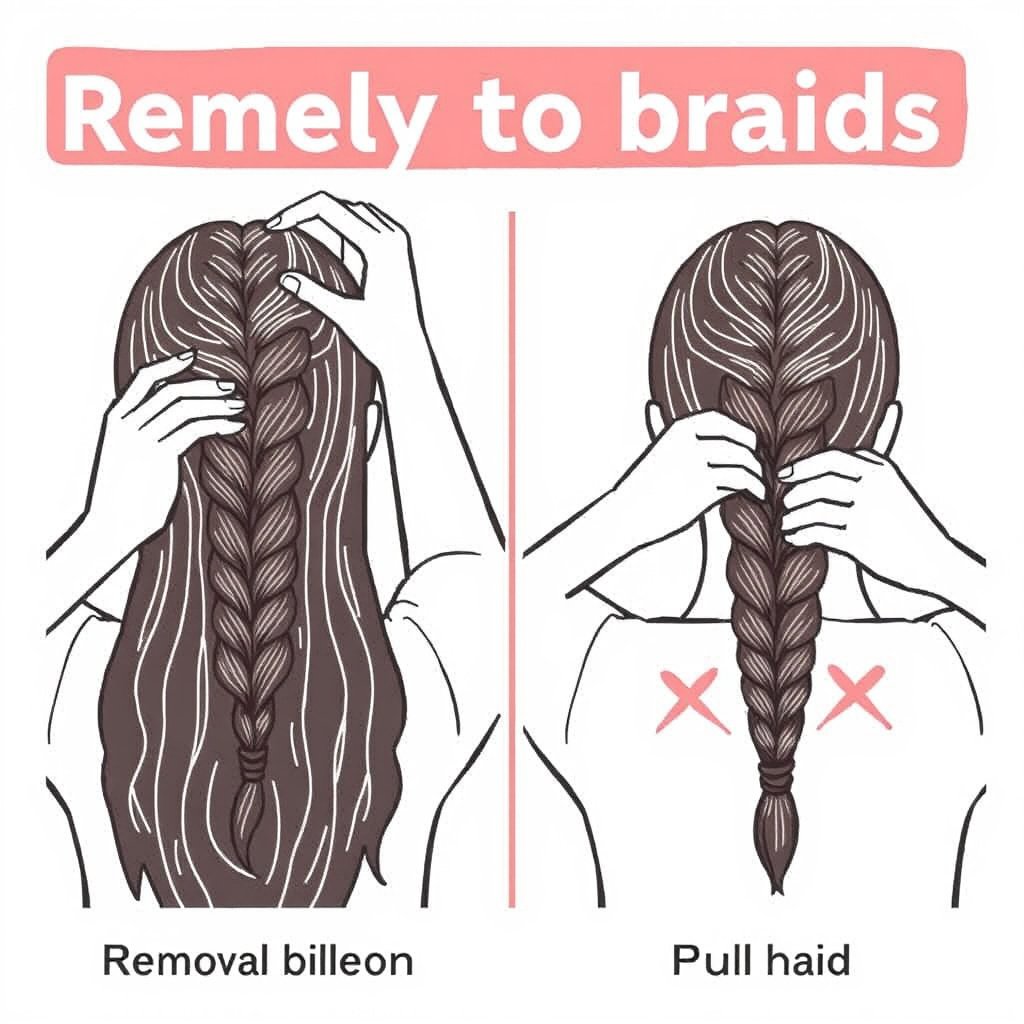
Hurrying through braid removal often leads to breakage and scalp irritation. Patience helps you carefully detangle and release each section without damaging strands.
Make time for the process and avoid multitasking to keep your focus on gentle handling.
For more on this, see our related guide: How to Do Goddess Braids: Step-by-Step Guide for Stunning Styles.
Pulling or Tugging Braids
Forceful pulling stresses hair follicles and can cause hair loss or thinning, especially along the hairline. Gentle finger detangling and applying oils reduce tension.
If a braid resists, soften it further with conditioner rather than yanking.
Maintaining Hair Health for Future Braid Styles
Routine Scalp and Hair Care
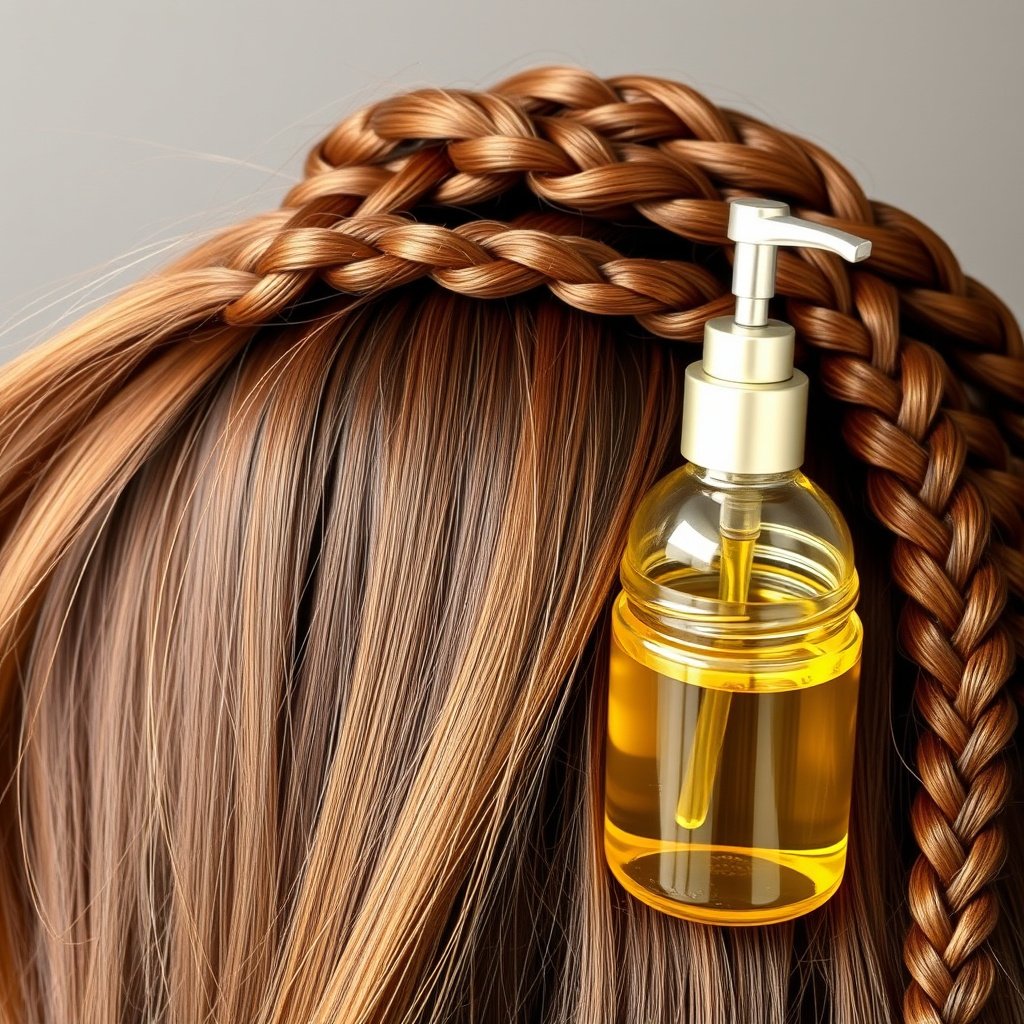
Regular scalp massages with oils and keeping the scalp clean promotes circulation and supports strong hair growth, which helps maintain healthy hair for future braids.
Use gentle shampoos suited to your hair type and consider protective styles to minimize daily wear and tear.
For additional expert advice on healthy hair practices and protective hairstyle care guidelines, visit the National Institute of Arthritis and Musculoskeletal and Skin Diseases. protective hairstyle care guidelines.
Planning Time Between Braids
Give your hair breaks between braided styles to recover moisture and strength. Over-braiding without rest can lead to damage despite careful removal.
Use this time to deep condition and nourish your hair well.
- Rest periods between braids
- Deep conditioning during breaks
Types of Braids and Their Impact on Hair Removal
This comparison highlights different braid styles and how each affects hair removal safety and potential for damage.
| Braid Type | Difficulty of Removal | Hair Damage Risk | Recommended Removal Method |
|---|---|---|---|
| Box Braids | Moderate | Low if careful | Section and slowly detangle with oil |
| Cornrows | High | Moderate due to tightness | Cut extensions and gently unbraid |
| Micro Braids | High | High due to density | Use conditioner and patience, avoid pulling |
| Ghana Braids | Moderate | Low | Apply oil, detangle carefully from ends |
| Fishtail Braids | Low | Low | Untwist gently, little product needed |
Frequently Asked Questions
How long should I wait before removing braids?
Most braid styles can be safely left in for about 6 to 8 weeks. Removing them too early or too late can increase breakage or scalp stress; listen to your hair’s condition.
Can I wash my hair with braids before removal?
Yes, washing with braids helps remove dirt and build-up but use a gentle cleansing method and dry thoroughly afterward to prevent mildew or scalp issues.
What if my braids are very tight and painful?
If braids are causing pain, apply warm oils to soothe the scalp. It’s best to remove tight braids sooner to prevent traction alopecia or hair loss.
Is it okay to cut my braids off?
Cutting braids is only advisable if detangling is impossible or if extensions are synthetic. Always cut extension hair only, not your natural strands.
How do I prevent frizz after removing braids?
Use moisturizing products, seal with oils, and avoid harsh brushing right after braid removal. Gentle detangling while hair is damp reduces frizz.
Key Takeaways
- Always use gentle techniques and proper tools to remove braids safely.
- Softening hair with oil or conditioner before removal reduces breakage.
- Section hair and work slowly from ends to roots for detangling.
- Rest and nourish hair between braiding styles to maintain health.
Conclusion
Removing braids without hair damage depends on patient, deliberate care paired with the right products and tools. Speed and force are the main culprits behind damage, so giving yourself time and using abundant moisture make a substantial difference. Paying attention to gentle detangling and cutting only synthetic extensions preserves your hair’s integrity and keeps it strong for future styles.
For those with dense braid styles like micro braids or cornrows, investing effort in conditioning beforehand and working through small sections is vital. Box braids and Ghana braids are somewhat easier to remove but still benefit greatly from oil application and slow detangling. Fishtail braids require the least effort but shouldn't be rushed either. Adopting a hair care routine that includes breaks between braids and regular deep conditioning ensures that your hair recovers fully and remains resilient against potential damage from repeated styling.
Start your braid removal routine by gathering appropriate tools, softening your hair thoroughly, then patiently unbraiding and detangling section by section. Follow up with deep conditioning and protective styling for best results. This thoughtful approach helps maintain your hair’s strength, shine, and health long-term — making it easy to enjoy braid styles repeatedly without damage.