How to Apply False Lashes Perfectly: A Step-by-Step Guide
Applying false lashes can elevate any makeup look, but doing it well requires the right technique. To apply false lashes, start by carefully removing them from the tray, measure them against your natural lash line, trim if needed, apply a thin layer of lash glue, wait until tacky, and then place them as close to your lash line as possible using tweezers or your fingers.
This process matters because a poorly applied lash strip can look unnatural, feel uncomfortable, or come loose during wear. False lashes add volume and drama that mascara alone cannot achieve, making them popular for special occasions, photography, or daily glam. Getting the application right boosts confidence and the overall effect.
In this guide, you'll find detailed steps on selecting, prepping, and applying false lashes, tips for using lash glue effectively, and advice for removing and maintaining lashes so they last longer. We'll cover common mistakes and solutions for beginners to achieve a flawless finish.
Choosing the Right False Lashes for Your Eyes
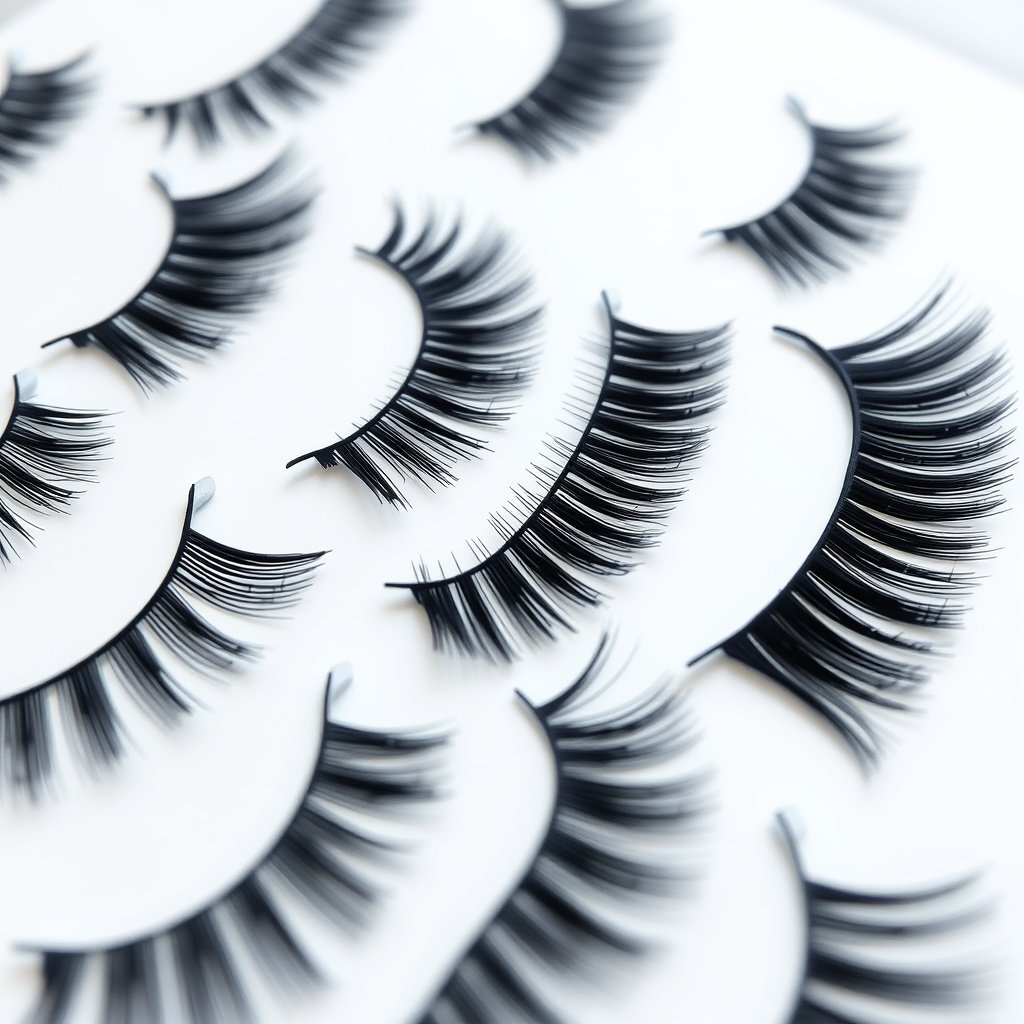
Types of False Lashes and Their Effects
False lashes come in styles ranging from natural and wispy to thick and dramatic. Mink and synthetic lashes vary in weight and texture; synthetic lashes tend to be firmer and more affordable, while mink feels softer but requires delicate care. Strip lashes span the full lash line, while individual lashes can be applied cluster by cluster for a customized look.
Choosing the right style depends on the occasion and your natural lash shape. For everyday wear, lighter, shorter lashes enhance without overpowering. For evening or photos, fuller lashes add intensity. Understanding these differences helps avoid discomfort and ensures your lash choice complements your eyes.
- Natural lashes: lightweight, subtle length
- Dramatic lashes: thicker, longer for bold looks
- Strip lashes: apply all at once
- Individual lashes: apply in sections
Measuring and Trimming False Lashes
Before applying, always measure the false lashes against your eyelid. Lashes designed for a different eye size can feel heavy or cause discomfort. Start by holding the strip up to your eye and noting where it extends past your natural lash line on the outer corner.
Trim excess length from the outer edge, not the inner corner. This preserves the natural taper and prevents lifting. Trimming ensures the lashes fit securely along your lash line without gaps or poking. Small mistakes in trimming can affect comfort and appearance.
- Align lash strip with natural lash line
- Trim excess from outer edge only
- Test fit before applying glue
Preparing Your Natural Lashes and Tools
Cleaning and Curling Your Natural Lashes
Start with clean, oil-free eyes to help lash glue adhere better. Remove any leftover makeup or oils using a gentle makeup remover. Then, use an eyelash curler to lift your natural lashes, giving the false lashes a better base to sit on and creating a seamless blend between natural and false.
Curling your natural lashes also prevents the false lashes from poking your eyelids or sticking straight out. For extra hold, apply a light coat of mascara before lash application, as this gives the strip something to cling to and hides the band.
- Remove oil and mascara residue
- Curl lashes gently but firmly
- Optional: apply a thin mascara coat
For more on this, see our related guide: How to Apply Makeup for Beginners: A Simple Step-by-Step Guide.
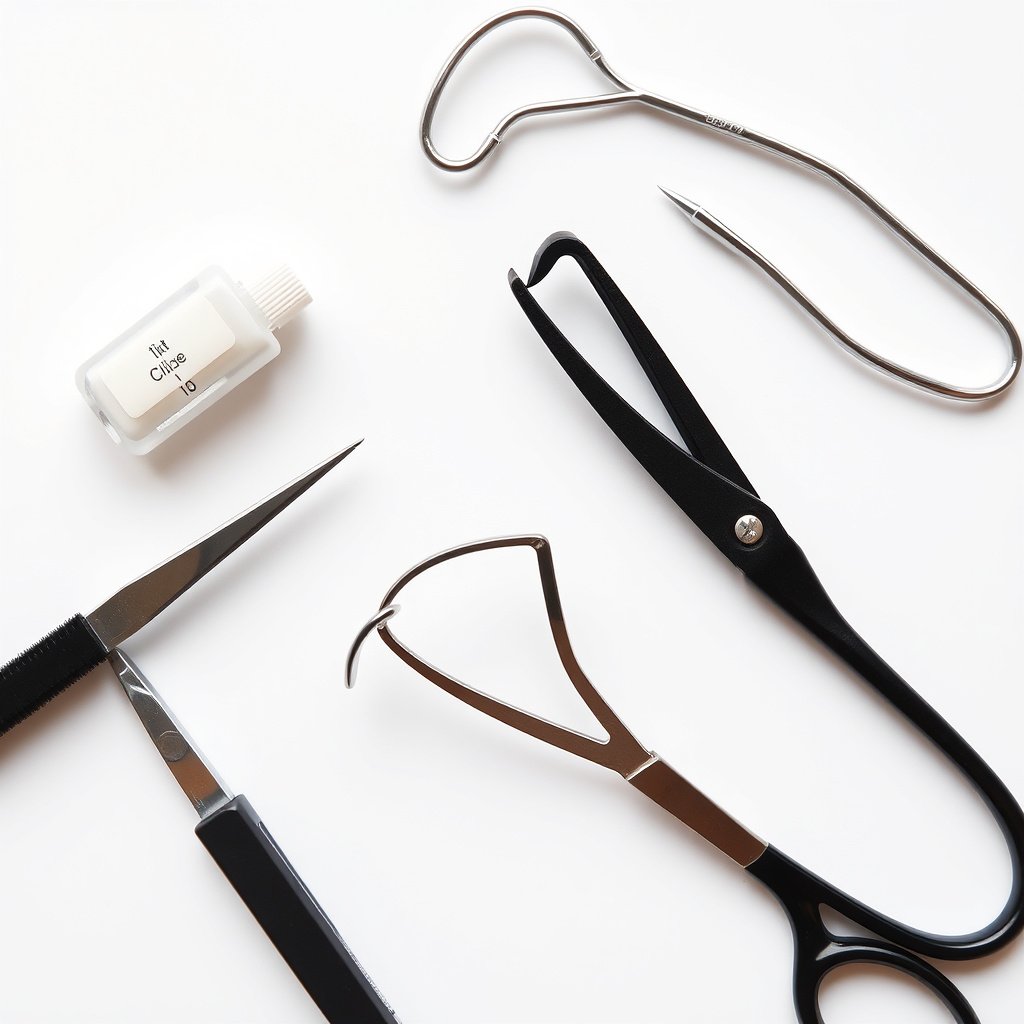
Tools Needed for False Lash Application
Having the right tools makes applying false lashes easier and more precise. Essential tools include tweezers or a lash applicator, lash glue (preferably latex-free if you have sensitivities), small scissors for trimming, and cotton swabs to clean up glue errors.
Tweezers provide better control over lash placement than fingers alone, particularly for beginners. Choosing the best glue for false lashes impacts the hold and comfort; some glues dry clear while others remain tinted black, blending with eyeliner.
- Tweezers or specialized applicator
- Lash glue suitable for sensitive eyes
- Scissors to trim lash strips
- Cotton swabs for clean-up
Applying False Lashes: Step-by-Step
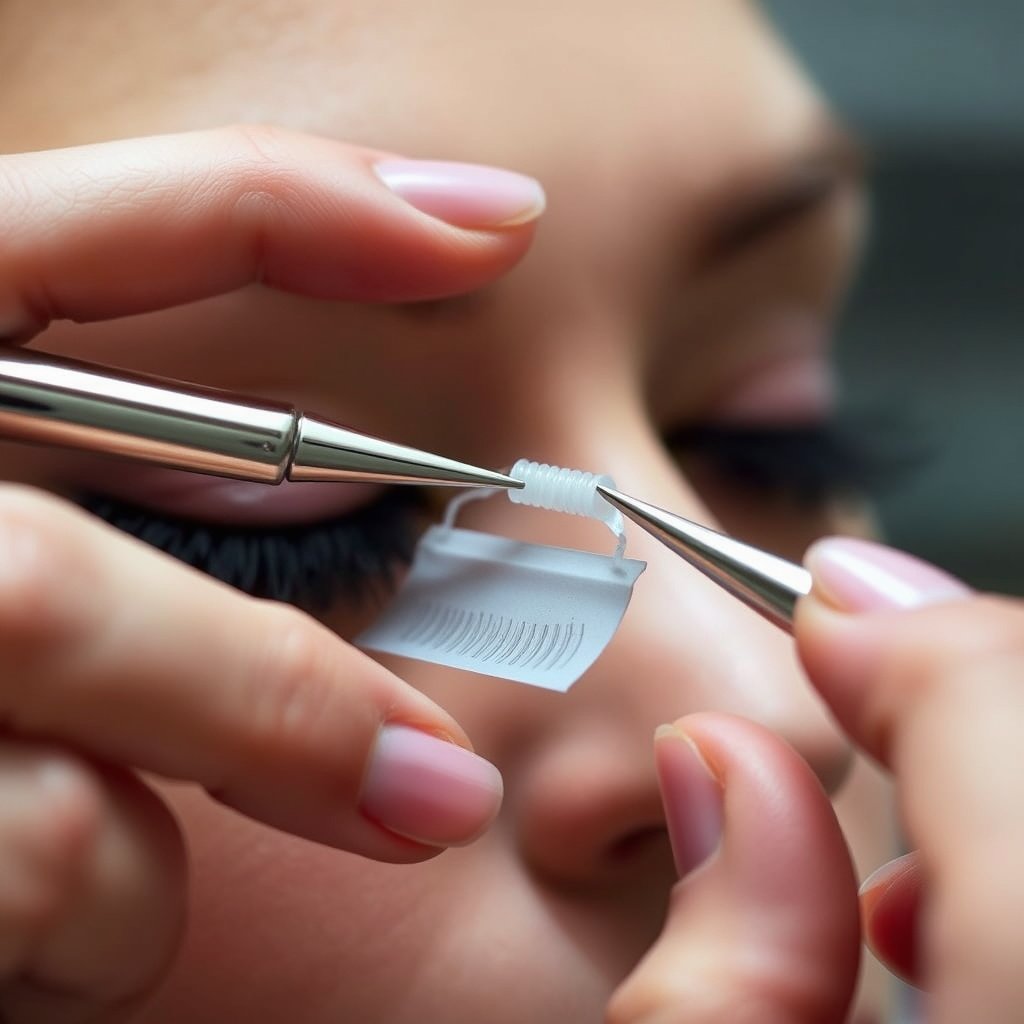
Applying Lash Glue Effectively
Apply a thin, even layer of lash glue along the false lash band. Too much glue causes mess and slower drying. Wait about 20-30 seconds for the glue to become tacky. This tacky stage is critical as it allows the lashes to adhere quickly without slipping, reducing the chance of repositioning.
If you rush, the glue will be wet and runny, making it hard to place the lashes close to your natural lash line. Avoid using glue that feels too thick or dried out, as that affects flexibility and bond strength.
- Use thin, even layer on lash band
- Wait 20-30 seconds until tacky
- Avoid excessive glue for clean application
Positioning and Securing the Lashes
Using tweezers or fingers, place the lash strip as close to your natural lash line as possible starting from the inner corner, then pressing gently along the band toward the outer corner. Adjust quickly if needed before the glue fully sets.
Once placed, hold the lashes down for a few seconds to ensure they stick firmly. To blend, press your natural lashes and false ones together, optionally using an eyelash curler after drying or applying eyeliner to hide the band.
- Start placement at inner corner
- Press gently along lash line to secure
- Blend with natural lashes using curler or liner
Removing and Caring for Your False Lashes
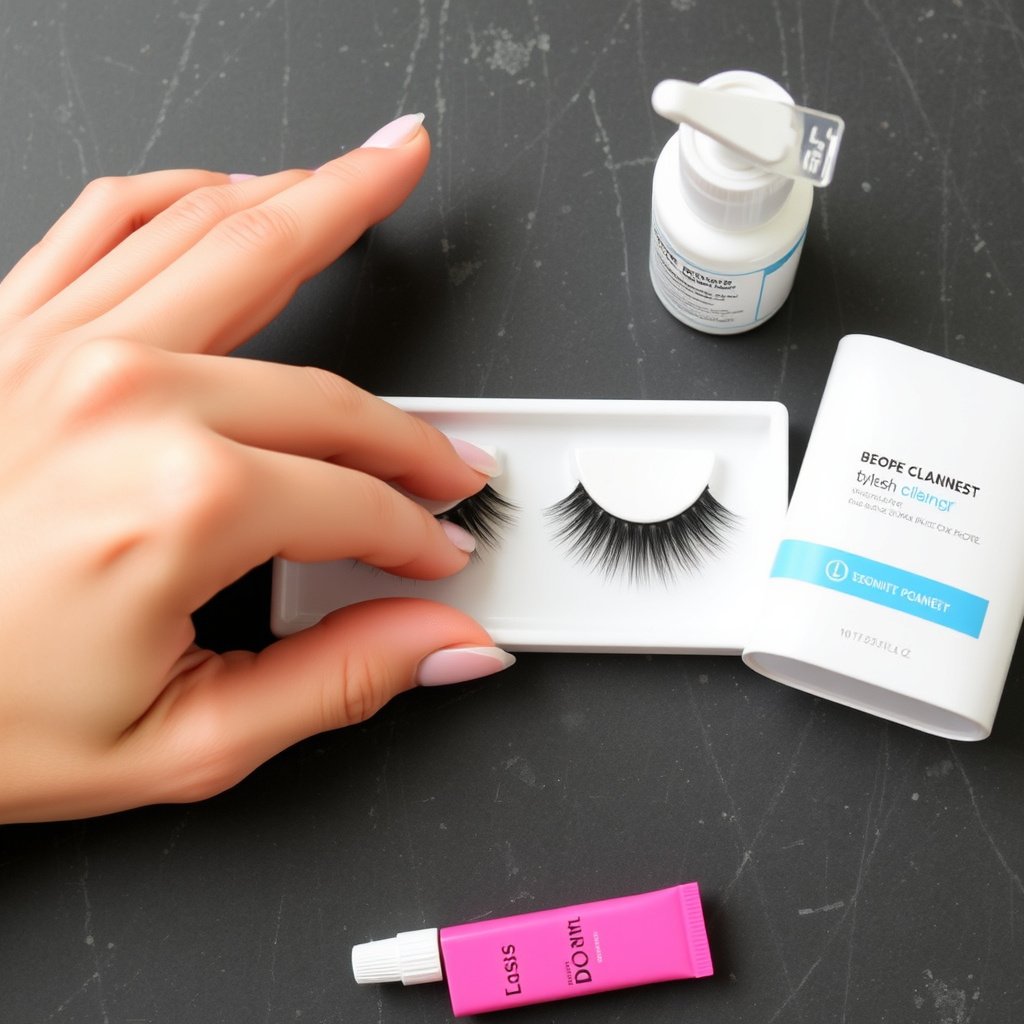
Safe Removal Techniques
To avoid damaging your lashes or irritation, remove false lashes gently. Start by applying a makeup remover or oil-based cleanser to soften the glue. Slowly peel off the strip from the outer corner inward, taking care not to pull on your natural lashes.
If lashes resist, apply more remover and give it a moment to loosen the adhesive. Avoid ripping off lashes as this can cause lash loss and discomfort.
- Use oil-based remover to loosen glue
- Peel lashes off inward gently
- Avoid pulling or tugging
Cleaning and Storing False Lashes
After removal, clean your false lashes by removing residual glue from the band with tweezers or your fingers. Use a cotton swab dipped in makeup remover to clear mascara or dirt on the lashes themselves.
Store lashes in their original tray or a clean container to maintain shape and hygiene. Proper care allows reuse multiple times, making them more cost-effective and sustainable.
- Remove glue from lash band carefully
- Clean lashes gently with makeup remover
- Store in original tray or plastic case
Common Mistakes and How to Avoid Them
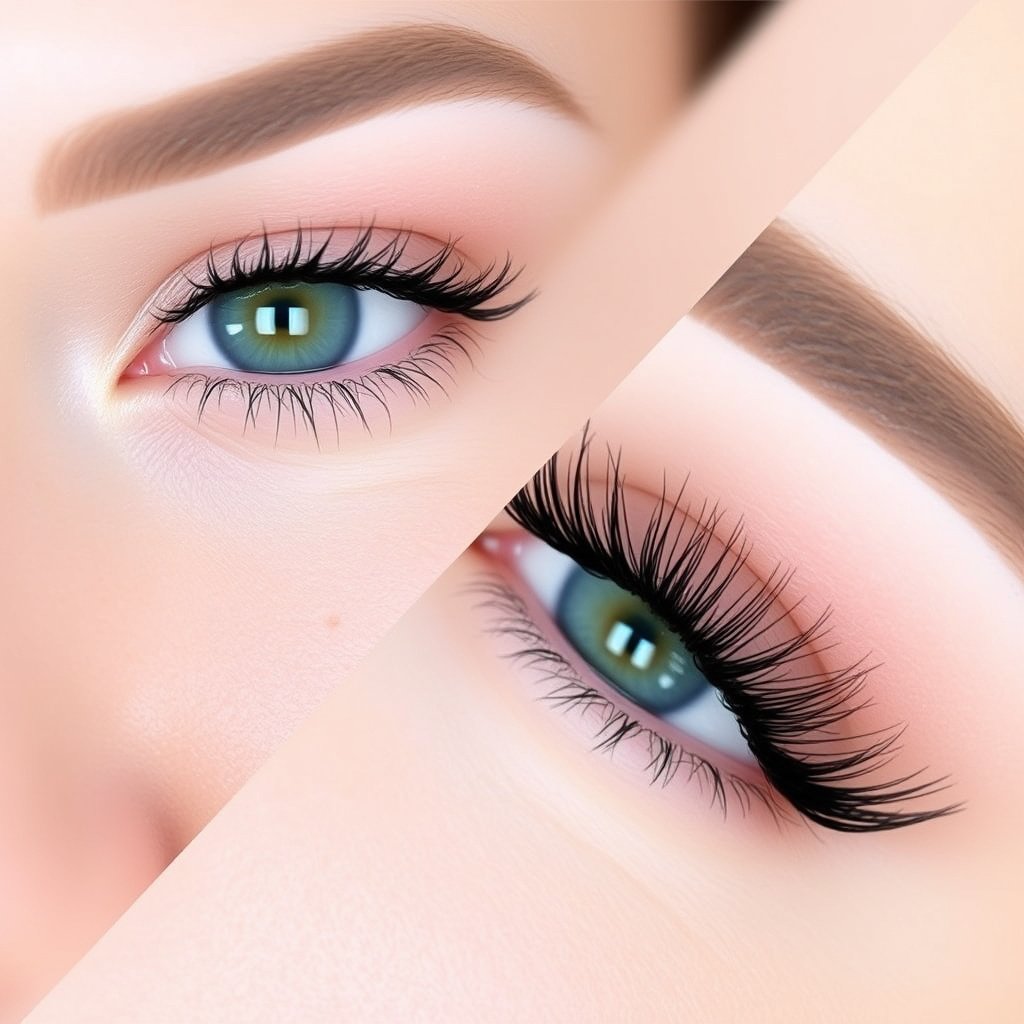
Avoiding Lash Glue Issues
A frequent problem is using too much or too little glue. Too much glue can cause lashes to slide or clump, while too little results in weak adhesion. Waiting for the glue to get tacky before applying is crucial for hold.
Another mistake is using expired or thick glue that no longer adheres well. Always check expiry and store glue in a cool place to preserve effectiveness.
- Apply thin, even glue layer
- Wait for glue to become tacky
- Use fresh, properly stored glue
For more detailed background on false lashes and their history, visit the False eyelashes overview on Wikipedia. False eyelashes overview on Wikipedia.
Improper Lash Placement Tips
Placing false lashes too far from the natural lash line creates an obvious band and can be uncomfortable. Ensure the strip sits right on top of your natural lashes.
Also, failing to trim the strips leads to excess length that lifts on the outer corner. Test-fit then adjust trimming before gluing for precise placement.
- Place lashes close to natural lash line
- Trim excess length from outer corner
- Adjust quickly before glue fully dries
False Lashes vs. Strip Lashes vs. Individual Lashes Comparison
Here’s how the main types of false lashes compare in terms of ease, look, and longevity to help you choose the best fit.
| Category | Ease of Application | Look | Longevity | Cost |
|---|---|---|---|---|
| Strip Lashes | Easy for beginners | Varies from natural to dramatic | Reusable 3-10 times | $5-$30 per pair |
| Individual Lashes | Requires practice | More natural and customizable | Reusable if cared for | $10-$50 per set |
| Magnetic Lashes | Moderate | Natural to bold options | Reusable many times | $15-$40 per set |
| Pre-glued Lashes | Very easy | Depends on brand/style | Usually single-use | $5-$15 per pair |
Frequently Asked Questions
How long should I wait for lash glue to become tacky?
Typically, wait about 20-30 seconds after applying the glue to the lash band before placing it. The glue should feel sticky but not wet, which helps the lashes adhere better and stay in place.
Can I wear false lashes if I have sensitive eyes?
Yes, but choose latex-free glue and synthetic lashes designed for sensitive eyes. Also, do a patch test with the glue before full application to prevent allergic reactions.
How do I remove false lashes without damaging my natural lashes?
Apply an oil-based makeup remover along the lash line to soften the glue, then peel off the false lashes gently from the outer corner toward the inside. Avoid pulling to protect your natural lashes.
How often can I reuse false lashes?
Strip lashes can typically be reused 5-10 times if properly cleaned and stored. Individual lashes can also be reused but require careful handling to maintain their shape.
What is the best glue for false lashes?
The best glue for false lashes adheres well, dries clear or black depending on preference, and is safe for the eyes. Latex-free options are ideal for sensitive eyes. Popular brands include Duo and Kiss.
Key Takeaways
- Trim false lashes to fit your eye shape before application
- Wait for lash glue to get tacky for better adhesion
- Use tools like tweezers for precise lash placement
- Clean and store lashes properly for multiple uses
Conclusion
Approaching false lash application methodically improves the outcome and comfort dramatically. Begin by selecting lashes that suit your eye shape and desired look, measure and trim them carefully, and prepare your natural lashes and tools. Waiting for the glue to become tacky and placing the lashes close to your lash line is critical for a seamless finish. This step-by-step approach minimizes common errors often made by beginners and makes the experience less frustrating.
For everyday enhancement, natural-looking strip lashes paired with a reliable black or clear drying glue offer quick, effective results. More experienced users or those wanting customizable volume might prefer individual lashes that allow building up density gradually. Magnetic lashes can be an alternative for those avoiding adhesives but require a slightly different technique. In any case, practicing and becoming familiar with your preferred style increases application speed and confidence.
Start by gathering all necessary tools and picking a lash style that appeals to you. Test the glue on your skin for sensitivity and try a practice run without makeup to build your technique. Once comfortable, false lashes become a go-to accessory that enhances your eyes beautifully for any occasion, giving you a polished, lifted look effortlessly.