
How to Install a Lace Wig: A Step-by-Step Guide for Beginners
Installing a lace wig involves preparing your natural hair, securing the wig base, and carefully blending the lace with your skin for a natural appearance. This process requires attention to detail to achieve a seamless and comfortable fit.
Proper lace wig installation not only enhances your look but also protects your natural hair underneath. Mastering the right technique can prevent damage and ensure that your wig stays put throughout the day, whether you prefer glue, tape, or other securing methods.
This article will cover the essential steps for installing a lace wig, discuss various adhesives and tools needed, offer maintenance tips for long-term wear, and review common mistakes to avoid for the best results.
Preparing Your Natural Hair for Lace Wig Installation
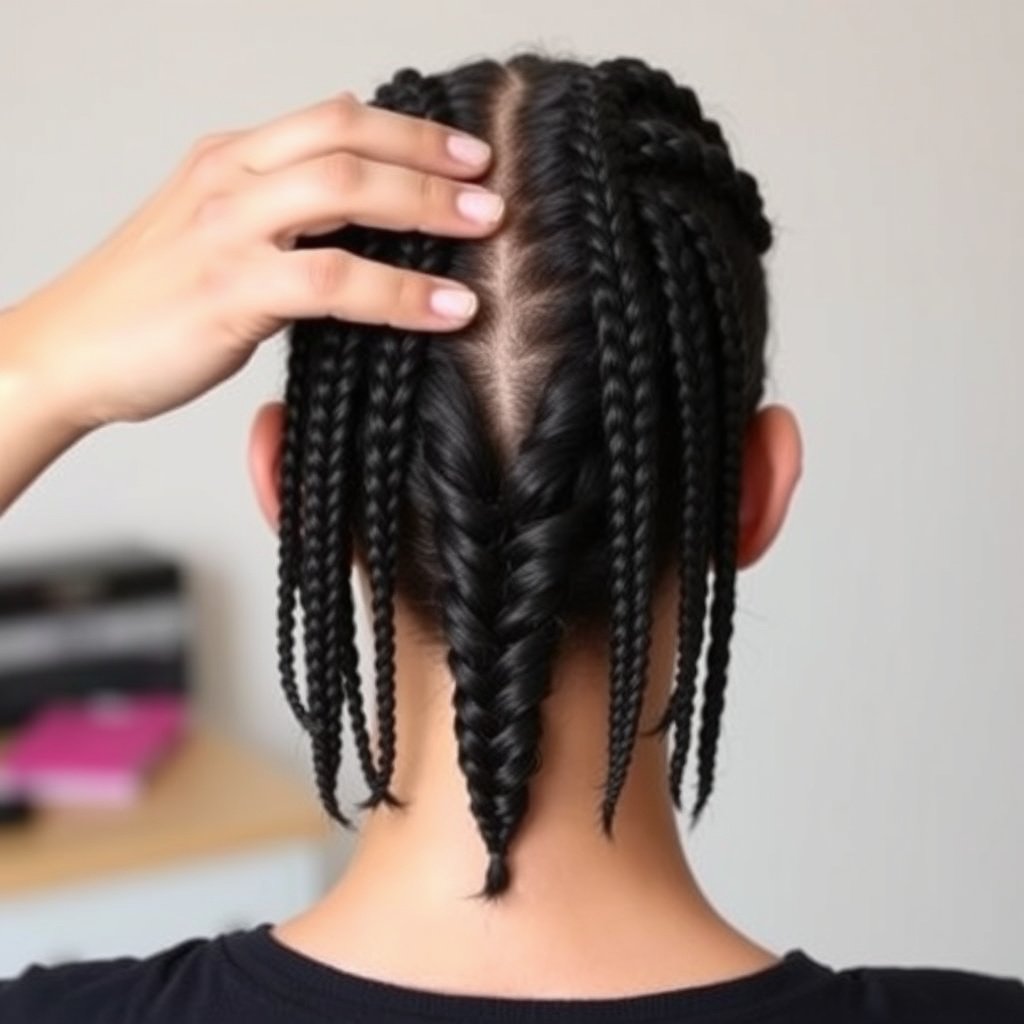
Braiding and Securing Natural Hair
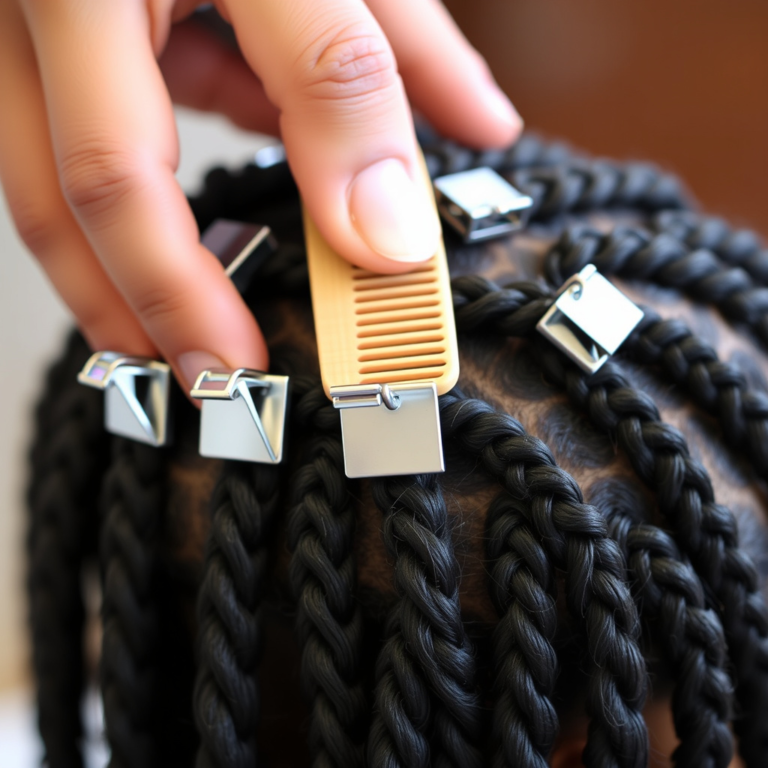
Prior to installing a lace wig, tightly braid your natural hair into cornrows or flat braids. This creates a flat surface, which helps the wig lay smoothly and look natural. Avoid bulky styles that may create bumps under the wig.
Securing the braids with small bands and applying a thin layer of wig cap over the hair will protect your natural strands from direct contact with adhesives and keep your scalp clean and dry.
- Use small, snag-free rubber bands to secure braids
- Apply a wig cap for extra protection
- Ensure hair and scalp are clean and dry
Cleansing and Conditioning Before Installation
Cleanse your scalp to remove oils, sweat, and residue, which can interfere with wig adhesives. Use a gentle shampoo and let your scalp dry completely before installation.
Conditioning your natural hair and moisturizing the scalp prevents breakage and irritation during wig wear. Avoid heavy products that can clog your pores or weaken the wig adhesive's hold.
- Use sulfate-free shampoo for scalp cleansing
- Apply lightweight moisturizer or scalp oil sparingly
- Avoid oily or greasy hair products before installation
Choosing Your Lace Wig and Tools for Installation

Selecting the Right Lace Wig
Pick a lace wig that matches your skin tone and desired hairstyle. Full lace wigs offer versatility but require more maintenance, while 360 lace wigs provide a natural hairline all around the head.
Pay attention to the lace type as well—Swiss lace is delicate and natural-looking, ideal for sensitive skin, while French lace offers more durability.
- Consider hair density and texture for a natural fit
- Match lace color to your scalp tone
- Think about lace type based on sensitivity and durability
For more on this, see our related guide: How to Install a Lace Wig: A Step-by-Step Guide for a Natural Look.
Essential Tools and Adhesives
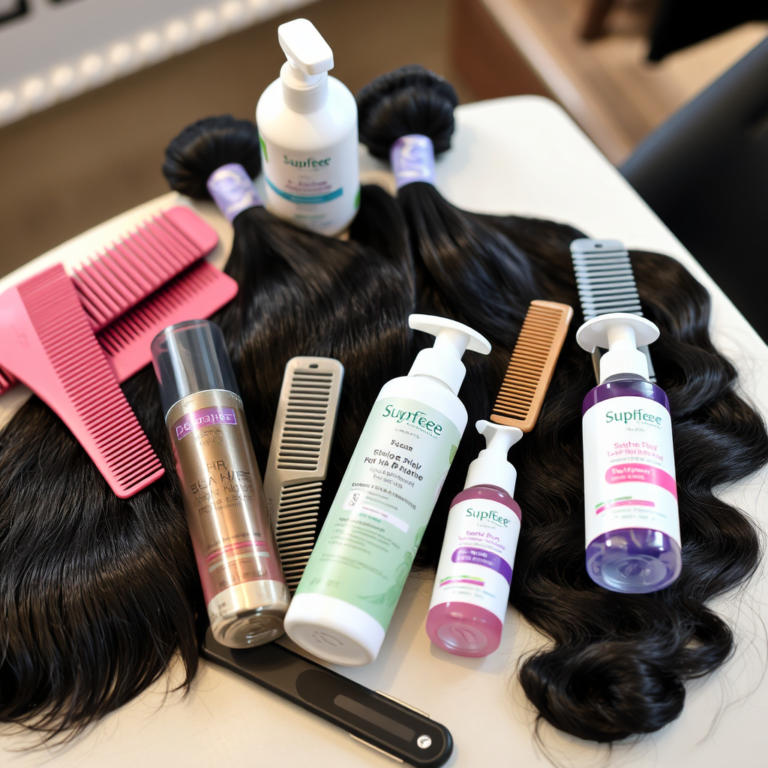
Gather necessary tools like wig adhesive glue, tape, a wig cap, scissors, a rat-tail comb, and alcohol wipes. The adhesive choice depends on your skin sensitivity and how long you want the wig to stay on.
Glue provides a stronger, longer-lasting hold but requires careful application. Tape offers a simpler, less damaging alternative but may need more frequent reapplication.
- Medical-grade adhesive glue or double-sided tape
- Alcohol wipes for scalp cleaning
- Scissors and tweezers for lace trimming
Step-by-Step Installation Process for a Lace Wig
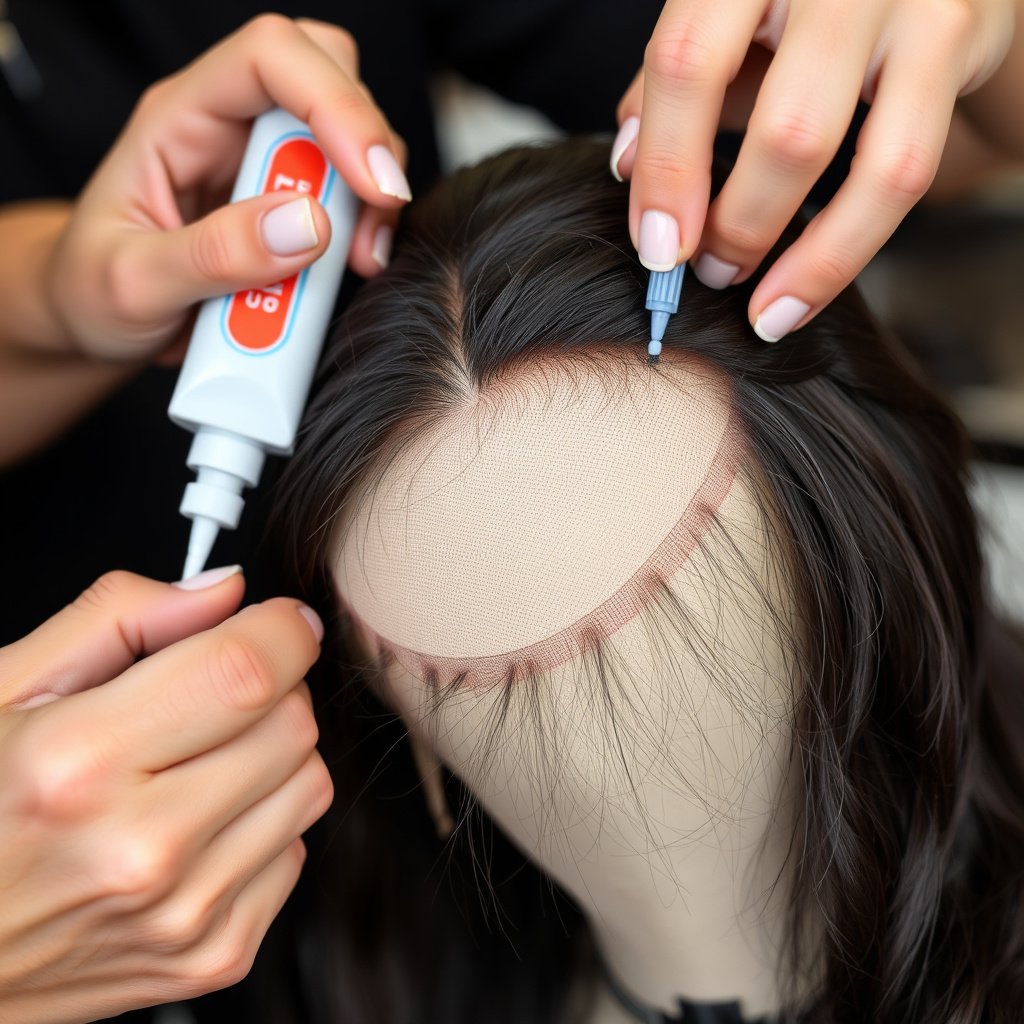
Preparing the Lace and Applying Adhesive
Begin by trimming excess lace carefully around the wig’s hairline to fit your scalp shape. Avoid cutting too close to the hairline to prevent fraying.
Apply adhesive glue or tape along your hairline in thin, even layers. Wait until it becomes tacky before positioning the lace wig, ensuring a secure yet gentle hold.
- Trim lace slowly and under good lighting
- Apply adhesive in small sections
- Let adhesive set to a tacky finish for better grip
Positioning and Securing the Wig
Place the lace wig starting from the front hairline and press down carefully onto the adhesive. Use a rat-tail comb or your fingers to smooth out any air bubbles or wrinkles.
Secure the wig with adjustable straps or wig clips inside for extra stability. Style the hairline with tweezers and foundation to blend the lace for a natural appearance.
- Align wig carefully before pressing down
- Use a flat comb to smooth lace edges
- Apply makeup to blend lace with skin tone
Maintaining Your Lace Wig After Installation
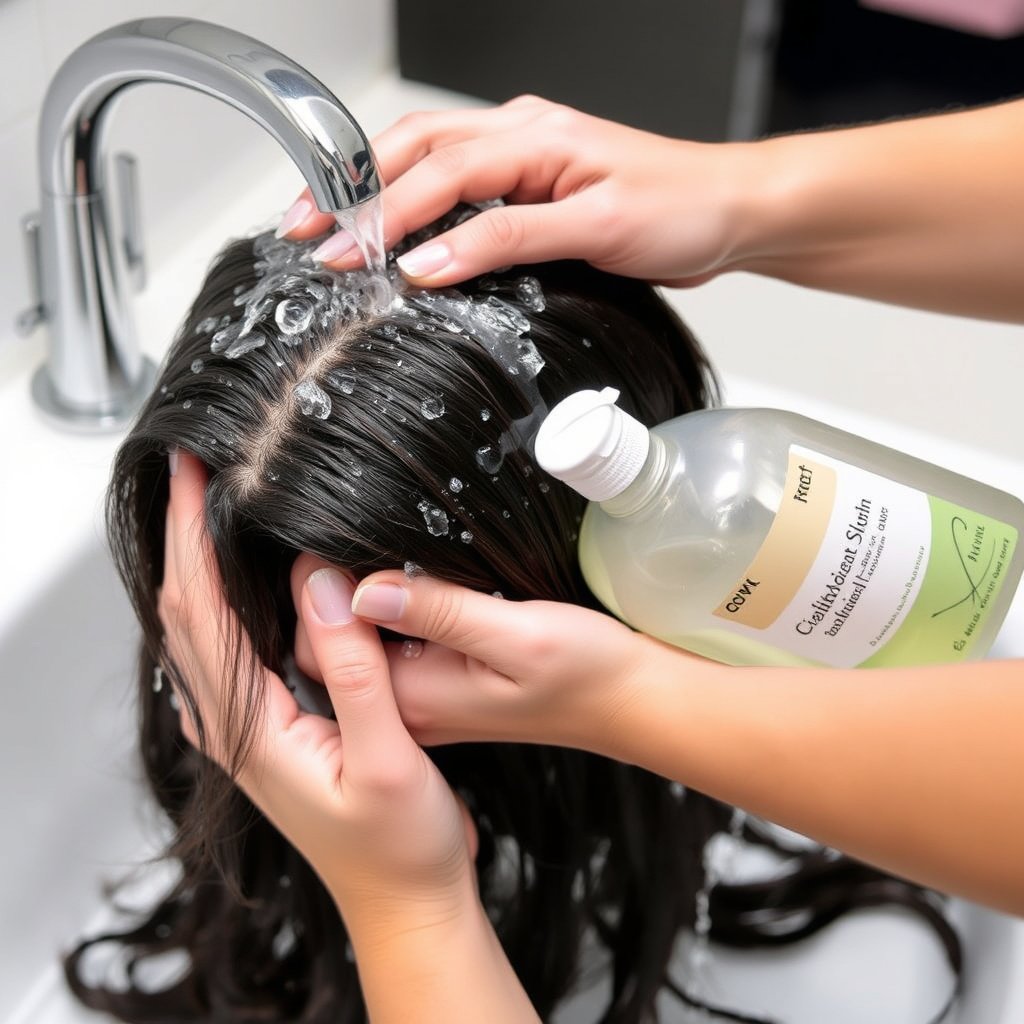
Cleaning and Styling the Wig
Wash your lace wig regularly with sulfate-free, wig-specific shampoos to maintain softness and prolong the lifespan. Avoid excessive heat and always use a heat protectant when styling.
Detangle the wig gently with a wide-tooth comb from ends to roots to minimize shedding or damage.
- Use cold or lukewarm water for washing
- Avoid harsh chemicals and excessive heat
- Store wig on a mannequin head to retain shape
For more on this, see our related guide: How to Wash a Wig: Step-by-Step Guide for Clean, Fresh Results.
Removing and Reinstalling the Wig Safely
When removing the lace wig, use adhesive remover to soften the glue and prevent hair loss or scalp irritation. Remove the wig slowly, supporting the lace to avoid tearing.
Clean your scalp and allow it to breathe before reinstalling a new lace wig. Proper removal and cleaning help extend both your natural hair health and the wig’s durability.
- Apply adhesive remover around hairline
- Remove wig gently without pulling
- Clean scalp thoroughly before new installation
Common Mistakes to Avoid When Installing a Lace Wig

Incorrect Adhesive Application
Using too much glue can cause the adhesive to seep onto your hair or scalp, causing buildup and damage. Conversely, too little adhesive may not hold the wig securely, leading to slippage.
Always apply a thin, even layer and allow it to dry to a tacky texture before laying the lace wig to avoid these issues.
- Avoid heavy glue application
- Test adhesive tolerance on a small skin area
- Use appropriate adhesive removal methods
For a broader understanding of wigs and related practices, you can consult this comprehensive lace wig installation guide. lace wig installation guide.
Improper Lace Cutting and Placement
Cutting lace too close to the hairline or unevenly can fray the lace and hinder natural blending. Incorrect alignment of the lace wig results in visible edges and an artificial look.
Trim lace gradually and check alignment carefully during installation to maintain natural hairline contours.
- Trim lace under good lighting
- Align lace with natural hairline
- Avoid jagged or uneven cuts
Lace Wig Installation Methods Comparison
Here's a breakdown of different lace wig installation methods to help you pick the best approach for your needs.
| Method | Hold Duration | Skill Level Required | Scalp Health Impact | Cost |
|---|---|---|---|---|
| Glue Adhesive | 7-14 days | Moderate | Medium (may cause irritation if misused) | Moderate |
| Double-Sided Tape | 3-7 days | Easy | Low (less residue) | Low |
| Elastic Band Method | 1-2 days | Easy | Low (no adhesive) | Free |
| Sew-In with Wig Cap | 2-4 weeks | Advanced | Low (protects hair) | Moderate to high |
| No Glue (Clip-in Wigs) | Daily wear only | Easy | Very Low (no adhesives) | Low |
Frequently Asked Questions
Can I install a lace wig without adhesive?
Yes, you can use elastic bands, wig clips, or sew-in methods to secure your lace wig without adhesive. These methods are gentler on the scalp and easier for daily wear but may not provide as long-lasting hold.
How do I make my lace wig look natural?
To achieve a natural look, trim the lace carefully, blend the edges with foundation or concealer, and customize the hairline with tweezing or plucking. Matching the lace color to your scalp is also important.
How often should I remove and clean my lace wig?
It’s recommended to remove and clean your lace wig every 1 to 2 weeks depending on wear frequency to prevent buildup and maintain scalp health. Clean both the wig and scalp during each removal.
Is it safe to sleep with a lace wig on?
It’s better to remove your lace wig before sleeping to avoid tangling, matting, and unnecessary stress on your natural hairline. Use a satin bonnet or pillowcase if you choose to sleep with the wig.
What should I do if my skin reacts to wig adhesive?
If you experience irritation or allergies, discontinue use immediately and try hypoallergenic adhesives. Always conduct a patch test before full application and consult a dermatologist if reactions persist.
Key Takeaways
- Proper preparation of natural hair is vital for a smooth lace wig installation.
- Choosing the right adhesive and tools affects the wig's hold and scalp health.
- Careful lace trimming and blending create a natural hairline appearance.
- Routine maintenance and gentle removal extend wig lifespan and protect skin.
Conclusion
Approaching lace wig installation methodically can transform the experience into an enjoyable beauty routine. By understanding your hair’s condition, selecting a quality lace wig that complements your look, and applying adhesives correctly, you minimize damage and maximize wear time. Attention to detail from braiding your natural hair to blending the lace seamlessly is essential for a realistic and comfortable result.
For daily or extended wear, glue adhesive provides the strongest hold but requires skill and scalp care. Beginners may prefer double-sided tape or clip-in wigs for an easier time while protecting scalp skin. Meanwhile, sew-in methods shield hair beneath but need more professional skill. Choosing a Swiss or French lace wig based on personal sensitivity also contributes significantly to your comfort and look.
To start installing your lace wig successfully, prepare your natural hair thoroughly, pick your preferred adhesive method based on your lifestyle, and practice trimming and blending the lace. Over time, building these skills will give you confidence and the ability to customize styles as desired. Remember to prioritize scalp health by cleaning regularly and removing wigs gently.




One Comment