How to Pluck a Closure: A Simple Guide to Flawless Hairline Edges
Plucking a closure is the process of thinning out the hairline of a wig or sewn-in closure to create a more natural, realistic appearance. This involves carefully removing some hairs along the hairline to mimic the density of natural scalp hair, softening the look so it blends with your real hair and skin. You use tweezers to selectively pluck hairs, typically starting at the front edge and working inward for subtle, gradual density reduction.
Achieving a seamless hairline matters because an unplucked, dense closure can look artificial and noticeable, breaking the illusion of natural hair growth. Plucking your closure allows your wig or weave to frame your face perfectly, avoiding the conspicuous bulky hairlines many wearers dislike. It also gives you control to customize density based on your hair texture and personal style preferences.
This article will walk you through the steps of how to pluck a closure properly, covering the tools and techniques you need, tips on where and how much to pluck, and advice on maintaining your plucked closure. You’ll learn practical methods to ensure your closure looks as natural as possible without causing damage.
Preparing to Pluck a Closure for Natural Hairlines
Choosing the Right Tools
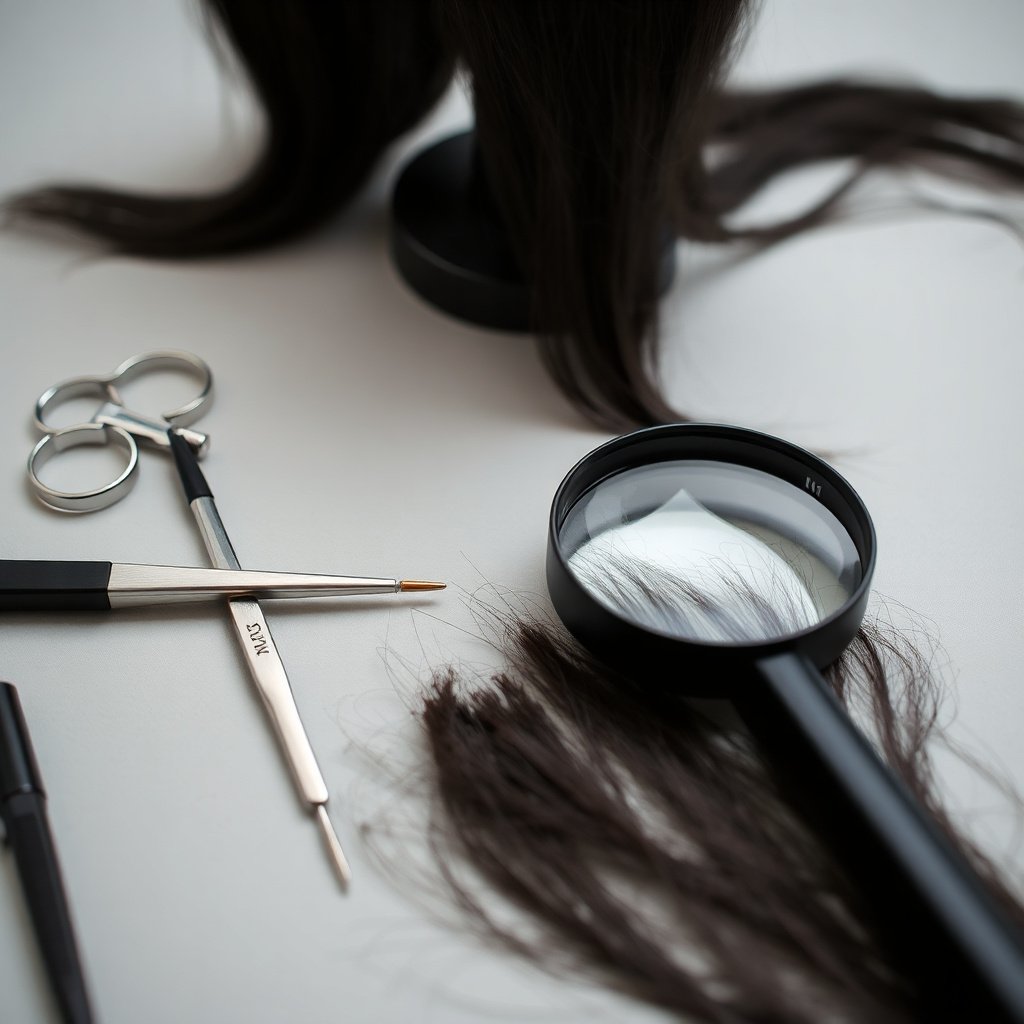
Having the right tools makes plucking a closure easier and more precise. The primary tool is a high-quality pair of fine-tipped tweezers, which allow you to grasp individual hairs without pulling or tearing. You may also want a magnifying mirror or close-up magnifier to see small strands clearly. Some stylists use small scissors to trim tiny hairs left behind after plucking for a smoother finish.
Prepare your workspace with good lighting to avoid accidentally removing too many hairs. Using clamps or wig stands to hold the closure steady also helps maintain control during the process, reducing mistakes.
- Fine-point tweezers
- Magnifying mirror or lens
- Good lighting source
- Wig stand or clamps
Cleansing the Closure Before Plucking
Cleaning the closure before you start plucking is important to remove any dirt, oils, or product buildup that could affect your grip on the hair. Wash the closure gently with a mild shampoo and allow it to air-dry completely. This prevents damage and prepares the hairs for easier removal.
Avoid using vigorous rubbing or brushing after washing. Instead, pat dry and detangle softly with your fingers or a wide-tooth comb before you begin.
Step-by-Step Process for How to Pluck a Closure

Identifying Where and How Much to Pluck
Start by visually inspecting the hairline of your closure to identify areas of unnatural density or uniformity. Natural hairlines often have sparse, uneven hairs rather than a thick, solid band. Begin plucking around the perimeter to create a soft, tapered edge.
Avoid removing too many hairs at once. The goal is subtlety—remove a few strands, step back to check the look, then continue gradually. Over-plucking can create bald patches or uneven spots that are hard to repair.
- Focus on hairline perimeter
- Remove hairs selectively and gradually
- Aim for a soft, irregular edge
Plucking Technique and Angle
Use your tweezers to grasp hairs close to the base, pulling gently in the direction of hair growth to avoid breakage. Pulling against the grain may cause the hair to snap rather than come out cleanly. Work small sections at a time, focusing on thinner areas first.
After plucking a section, brush the hairs back into place to check the effect before continuing. This method keeps your closure looking natural and prevents over-thinning any specific spot.
- Pull hairs in direction of growth
- Work slowly and section-by-section
- Check progress frequently
Aftercare and Maintenance Tips for a Plucked Closure

Protecting Your Closure Post-Plucking
After plucking, treat your closure delicately to preserve the new hairline. Avoid excessive heat styling or chemical treatments that could damage the sheared hairs. Using a light leave-in conditioner or serum can keep the strands soft and prevent drying.
Store the closure on a wig stand when not in use to maintain shape and avoid tangling or crushing the delicate plucked areas.
- Avoid harsh styling immediately after plucking
- Use gentle moisturizing products
- Store on a wig stand
For more on this, see our related guide: Transparent Lace Closure Guide: What to Know Before You Buy.
When to Repluck Your Closure
Over time, closures can regain fullness as hairs shift or additional shedding occurs. Replucking helps maintain a natural look but should be done sparingly. Typically, reassessing every 4–6 weeks is ideal. Remove only a few hairs during each session to avoid damaging the lace or base.
Continuous over-plucking might loosen the closure or cause damage, so exercise restraint and care.
Common Mistakes to Avoid When Plucking a Closure
Overplucking and Creating Bald Spots
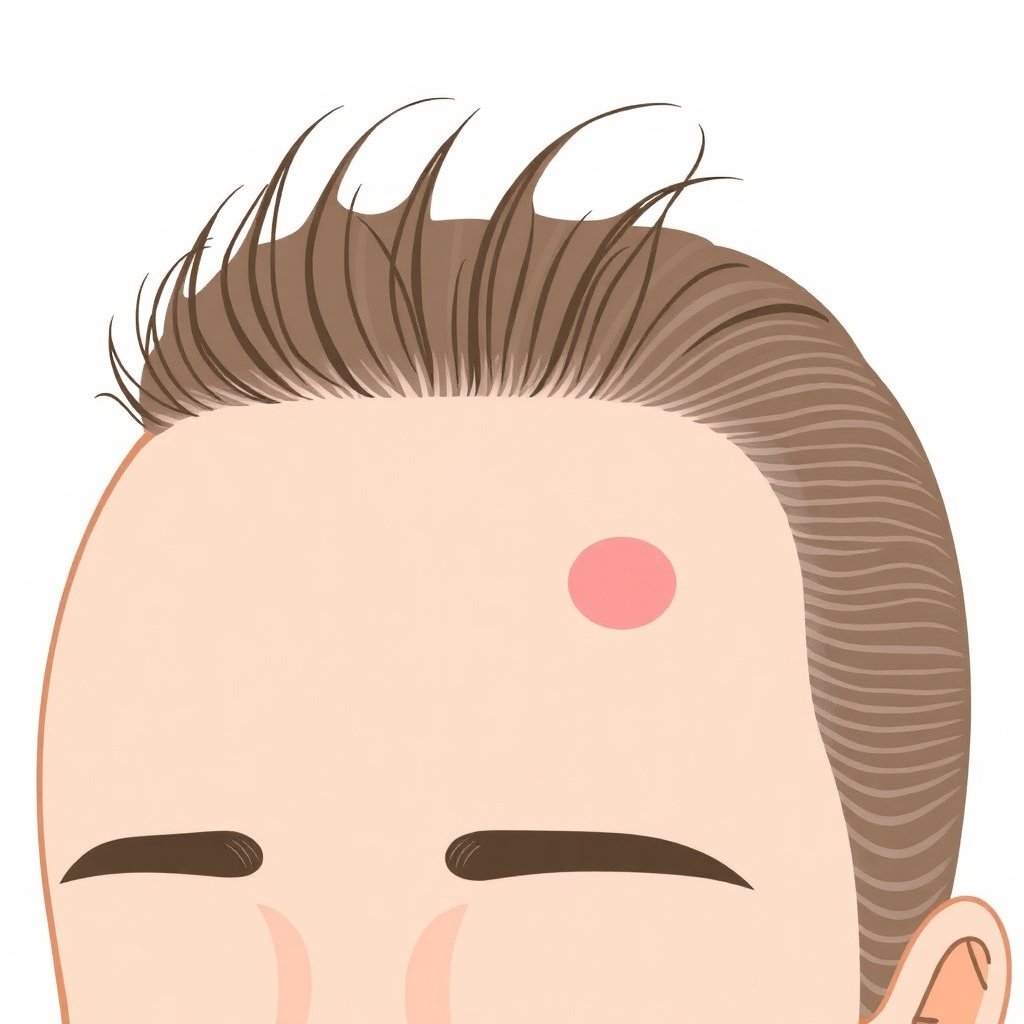
One of the biggest errors is plucking too many hairs in one area, leading to bald patches. This can make the hairline look unnatural or cause irreparable damage to the lace base. Always remove a few strands at a time and step back to evaluate frequently.
Taking breaks during plucking sessions helps maintain perspective and reduces the chance of overdoing it.
- Avoid quick, aggressive plucking
- Pluck gradually with breaks
Ignoring Hair Growth Direction
Pulling hairs against their natural growth direction can cause snapping instead of removal, damaging the closure and resulting in uneven density. Observing and following the growth angle ensures cleaner plucks and healthier retention of the remaining hair.
Carefully positioning your tweezers to match the hair angle gives a smoother final look.
Advanced Tips for Natural-Looking Closures
Using Baby Hairs to Enhance Realism
Creating baby hairs from a plucked closure’s perimeter adds to the illusion of natural hair. Use small scissors or razors to trim a few strands shorter around the edge, then style them gently with gel or mousse to mimic natural growth.
Baby hairs break up straight lines and edges, which is essential for flawless blending with your natural hair or forehead.
For more on this, see our related guide: Your Guide to Lace Frontal Closure: Choosing With Confidence.
Tinting the Lace for Skin Tone Matching
Sometimes plucking alone isn’t enough. Tinting or dyeing the lace base to match your scalp shade reduces the visibility of the lace and complements the plucked hairline. Apply lace tint sprays or fabric stains carefully to avoid discoloring the hair.
A customized lace color with plucking produces one of the most natural closure results.
Styling Your Plucked Closure for Maximum Effect
Styling Techniques to Highlight the Hairline
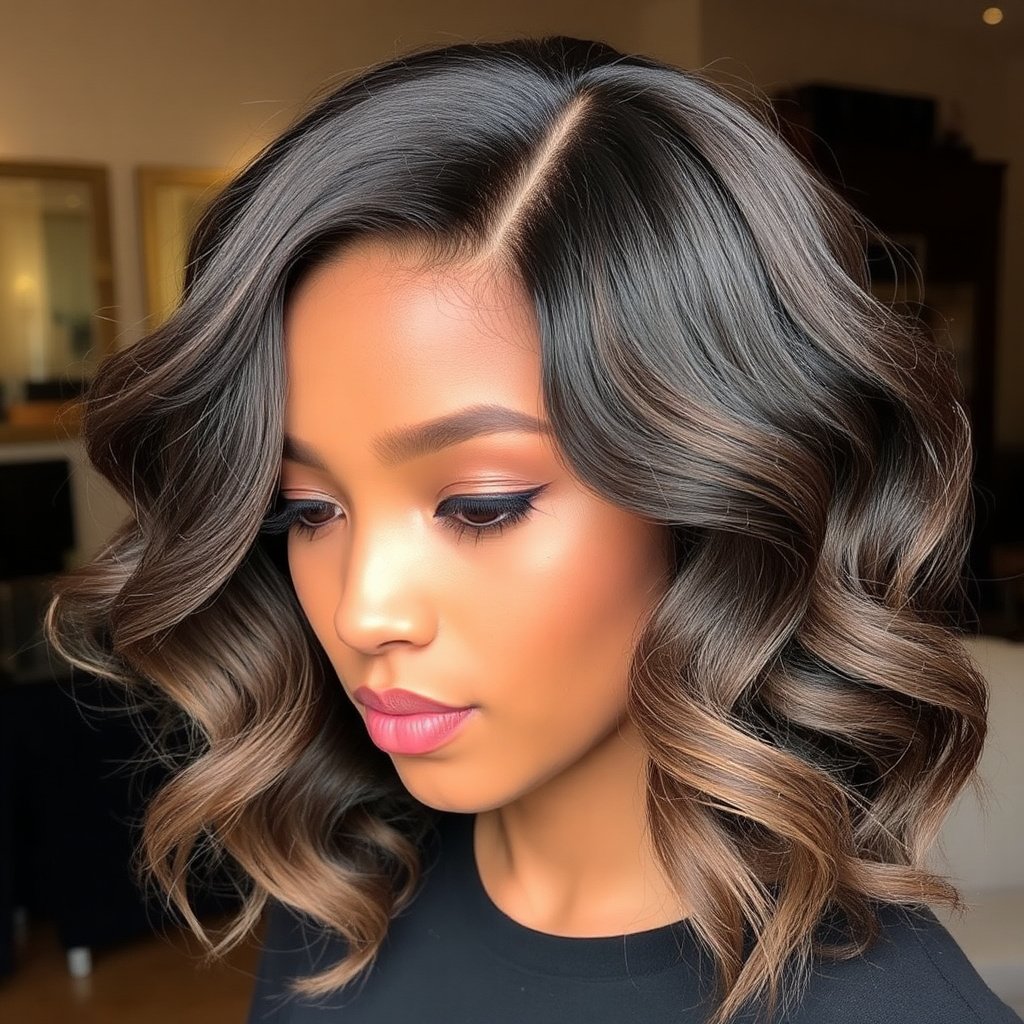
Using parting gels or edge control allow you to lay and shape the plucked hairline and baby hairs for a polished appearance. Soft waves or curls blend well with the plucked closure areas, disguising any imperfect transitions between the lace and skin.
Switching part positions and slightly teasing at the roots near the hairline can add volume around the closure, enhancing a natural look.
For more details on hair closures and similar hair integration techniques, check out closure hairline tips on Wikipedia. closure hairline tips on Wikipedia.
Choosing Hairstyles that Complement a Plucked Closure
Loose waves, soft curls, or updos that expose the hairline showcase your well-plucked closure best. Avoid overly straight or slicked-back looks without baby hairs, as they can highlight any irregularities along the edges.
Experiment with different styles to find what frames your face while celebrating the life-like hairline you've achieved.
Types of Hair Closures Compared for Plucking
Here’s a comparison of popular closure types to help you decide which works best for plucking and natural hairline creation.
| Closure Type | Ease of Plucking | Natural Look | Cost Range | Durability |
|---|---|---|---|---|
| Swiss Lace Closure | High – delicate but easy to pluck | Very Natural | $20-$60 | Moderate |
| French Lace Closure | Moderate – slightly thicker lace | Natural | $15-$50 | High |
| HD Lace Closure | High – ultra-thin lace for realism | Most Natural | $30-$70 | Moderate |
| Polyurethane (PU) Closure | Low – lace base not designed for plucking | Less Natural | $10-$40 | High |
| Silk Base Closure | Moderate – covers knots well | Natural | $25-$65 | Moderate |
Frequently Asked Questions
How many hairs should I pluck from my closure?
Start by removing just a few strands at a time, especially along the perimeter. The goal is to soften the line, so plucking gradually and checking frequently helps avoid over-thinning.
Can I pluck a closure multiple times?
Yes, you can re-pluck every few weeks as the closure regains fullness or if the hairline becomes too dense again, but avoid aggressive, frequent plucking to preserve the lace.
Is it better to pluck before or after bleaching the knots?
Pluck the closure gently before bleaching to maintain hair strength, as bleaching can weaken hair, making accidental breakage more likely.
What should I do if I pluck too much hair off my closure?
If you remove too many hairs, try styling the closure with baby hairs or lace tinting to mask sparse areas. Consult a professional for repairs if needed.
Does plucking a closure damage it?
When done carefully, plucking does not harm the closure. Improper technique or excessive plucking, however, can weaken the lace base and cause hair shedding.
Key Takeaways
- Plucking softens the hairline for a more natural closure look.
- Use fine tweezers and good lighting for precise plucking.
- Pluck gradually and sparingly to avoid bald spots.
- Pair plucking with baby hairs and lace tinting for best results.
Conclusion
When learning how to pluck a closure, the best approach balances patience and precision. By removing only small sections of hair gradually and following hair growth directions, you can refine your hairline for a believable, natural edge. The process becomes easier with practice and familiarity with your specific closure type, and combining plucking with aftercare ensures long-lasting results without damaging the lace or base.
Closures like Swiss lace and HD lace work particularly well for plucking because they offer the thin, flexible bases that mimic natural scalp conditions. If you want a seamless hairline for a day-to-day look or special occasions, investing time in gradual plucking paired with creating subtle baby hairs helps blend the closure flawlessly. Avoid thicker lace options like polyurethane for plucking, as they do not offer the same natural appearance or flexibility.
To get started, set up your tools in a well-lit space and begin carefully plucking small areas along the closure’s edge. Wear and test the closure between sessions to track progress. If unsure, watching tutorial videos or consulting stylists experienced in wig customization can be helpful next steps toward mastering the technique and achieving a hairline that looks effortlessly realistic.