How to Customize a Frontal: A Complete Guide to Perfecting Your Hairpiece
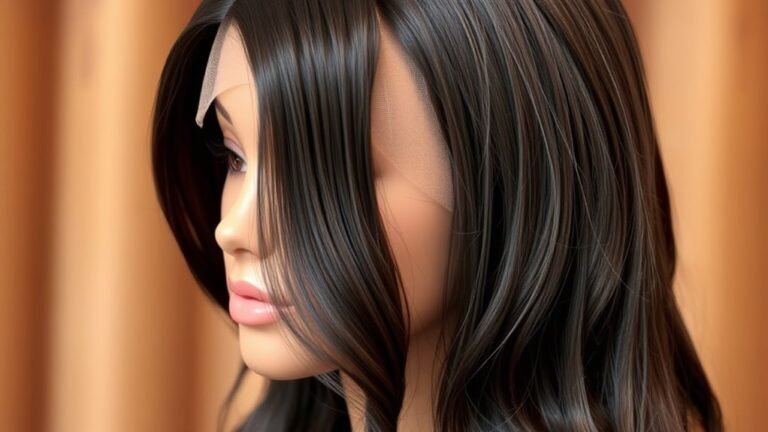
Customizing a frontal involves steps like cutting the lace, bleaching the knots, tinting the lace, and styling the hair to achieve a natural look that blends seamlessly with your scalp. The process makes the frontal look more like your natural hairline, giving an undetectable finish.
This matters because a frontal that isn’t adjusted properly can appear unnatural or bulky. Proper customization makes a significant difference in how the frontal fits and looks, helping elevate your overall hairstyle.
This article covers key steps in frontal customization: choosing the right tools, preparing the frontal, cutting and shaping the lace, bleaching knots to reduce visibility, tinting the lace to match skin tone, and styling tips for a flawless finish.
Preparing Your Frontal for Customization
Selecting the Right Frontal and Tools
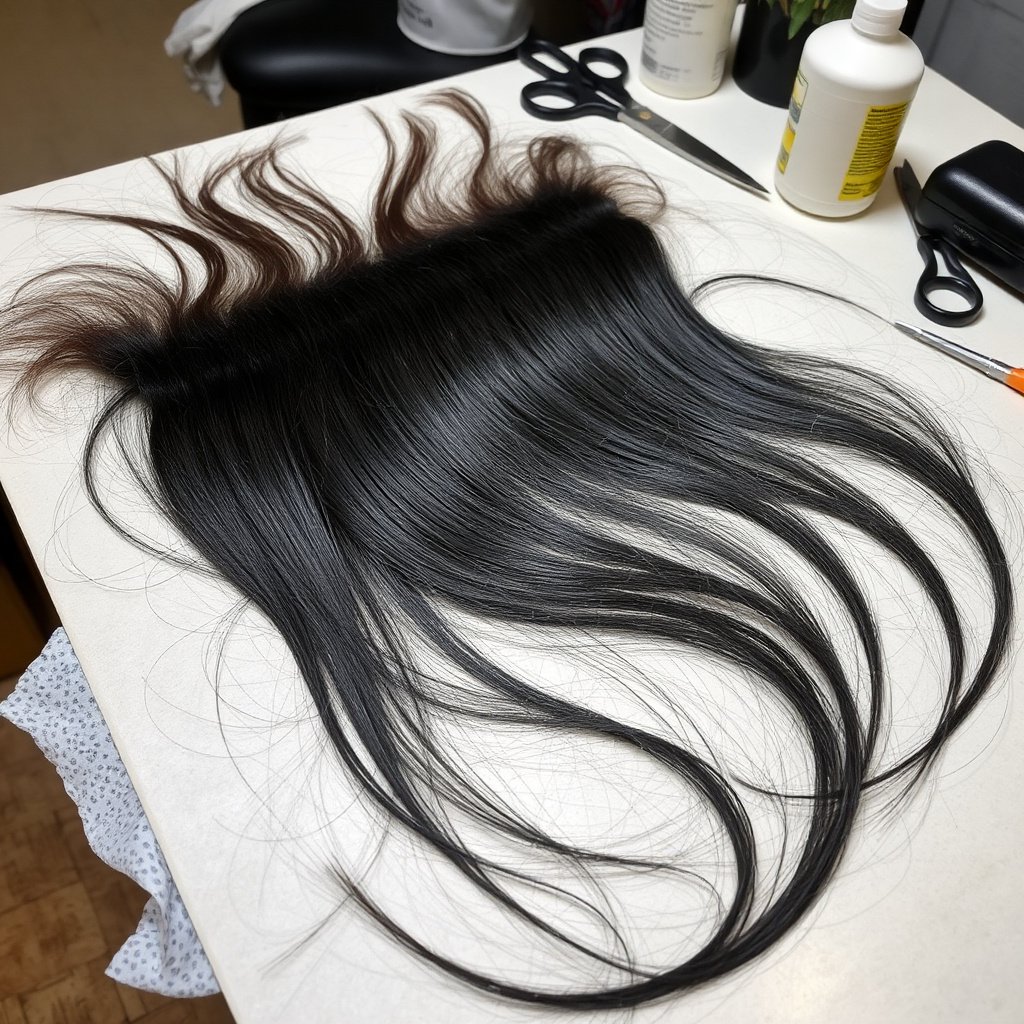
Start by choosing a frontal that matches your desired hair density, texture, and parting style. Having good-quality lace and hair fiber is key for a natural finish.
Gather tools including sharp scissors, bleach powder, developer, a tint spray or foundation, a rat-tail comb, and adhesive supplies if you plan on securing it with glue or tape.
- High-quality lace frontal
- Bleach powder and developer
- Tint spray or foundation
- Sharp scissors and tweezers
Cleaning and Detangling the Frontal
Before customization, wash the frontal gently with sulfate-free shampoo to remove dust and residue. Detangle it carefully with a wide-tooth comb to prevent hair loss or damage during styling.
This clean starting point ensures bleaching and tinting products adhere evenly and styling looks smooth without frizz or tangling.
Cutting and Shaping the Lace Frontal
Trimming the Lace for a Custom Fit
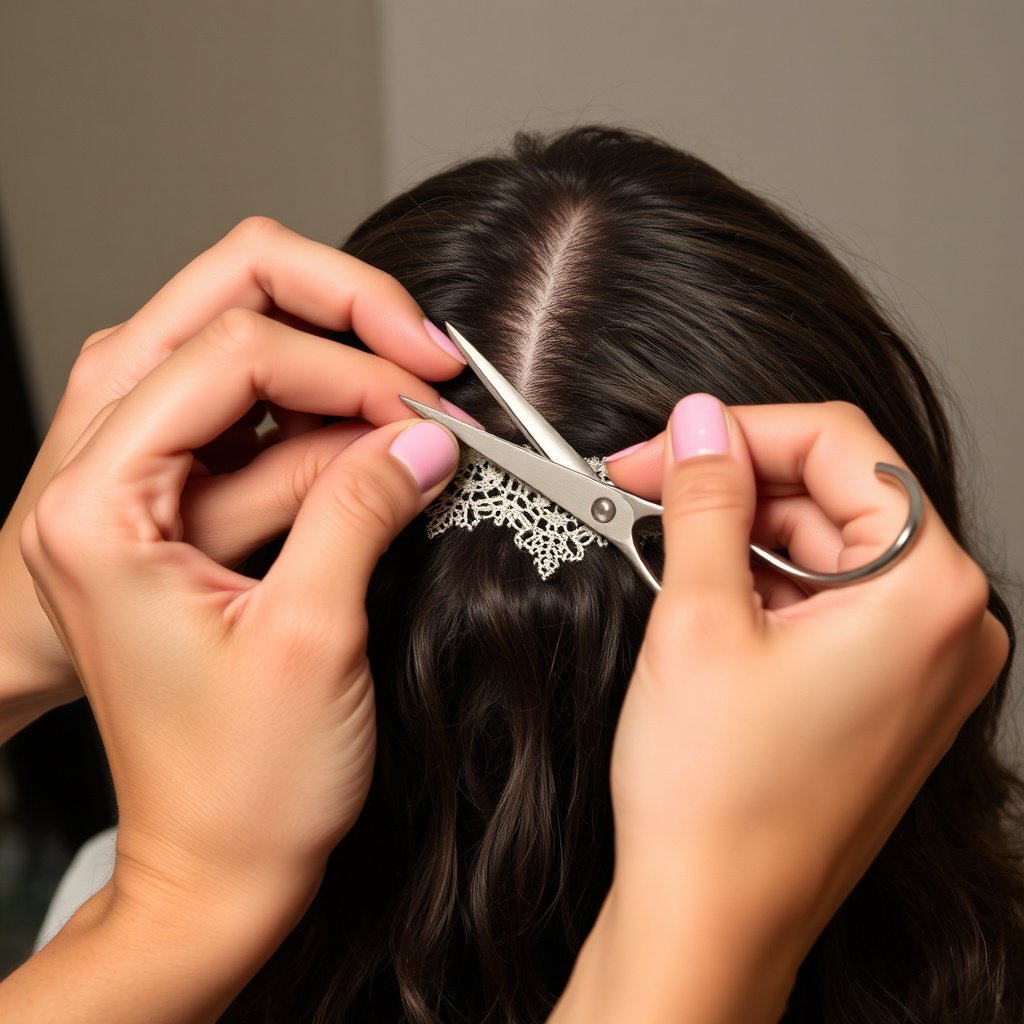
Measure your natural hairline and carefully trim the lace around the frontal to match it. Leave about a quarter-inch of lace beyond the hairline for attachment, but avoid cutting too close to the hair to prevent damage.
Using sharp scissors with precision helps avoid jagged edges that may be visible after installation.
- Allow extra lace for adhesive
- Cut slowly for accuracy
- Avoid cutting hair strands
For more on this, see our related guide: HD Lace Frontal: A Complete Buying Guide.
Tweezing the Hairline for a Natural Look
Use tweezers to gently thin out the hairline by removing excess knots. This softens the hairline and mimics natural hair density, making the frontal appear less bulky.
Focus on the front edge and parting area, but avoid over-plucking to maintain fullness and avoid unnatural gaps.
- Pluck gradually and evenly
- Avoid over-thinning
- Enhances realism
Bleaching the Knots

Preparing the Bleach Mixture
Mix bleach powder with developer in a 1:2 ratio using a non-metallic bowl. A creamy consistency helps prevent dripping and gives control during application.
Wear gloves and apply the bleach carefully to only the knots, avoiding roots to preserve hair integrity.
- Use 20-volume developer for controlled bleaching
- Test on a small area first
- Apply with a fine brush
Bleaching Process and Aftercare
Leave the bleach on the knots for 20-30 minutes or until they lighten sufficiently; check frequently to prevent over-processing. Rinse thoroughly with cool water and use deep conditioner on the hair to maintain softness.
Proper bleaching minimizes dark knot visibility through lace, enhancing the natural scalp appearance.
- Do not exceed recommended time
- Rinse and condition well
- Avoid bleach contact with roots
Tinting and Matching Lace to Your Skin
Choosing the Right Tint or Foundation
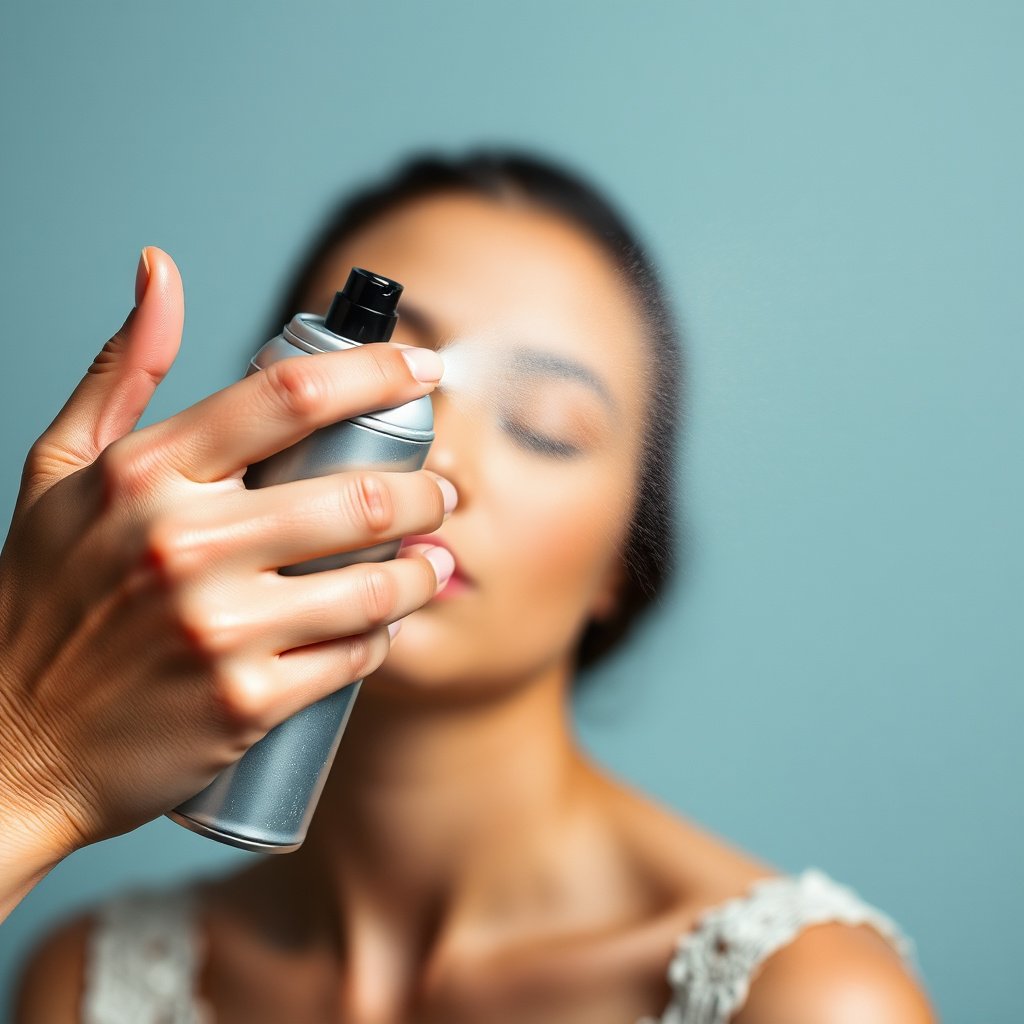
Select a lace tint or foundation shade that matches your skin tone closely. This color matching is essential for blending the lace naturally with your scalp.
Some use specialized lace tint sprays, while others use liquid foundation diluted with water for a customized shade.
- Test tints in natural light
- Consider warm or cool undertones
- Use thin layers to avoid buildup
For more on this, see our related guide: Your Guide to 13X4 Lace Frontal: Choosing With Confidence.
Application Techniques for Seamless Blending
Apply the tint sparingly with a spray or makeup sponge directly onto the lace side facing the scalp. Avoid saturating the hair itself. Allow to dry completely before installation.
Repeat if needed for deeper tinting but keep it subtle for the best effect.
- Spray or dab lightly
- Dry fully before use
- Adjust shade gradually
Styling Tips for Customized Frontals
Creating Baby Hairs and Softening the Hairline
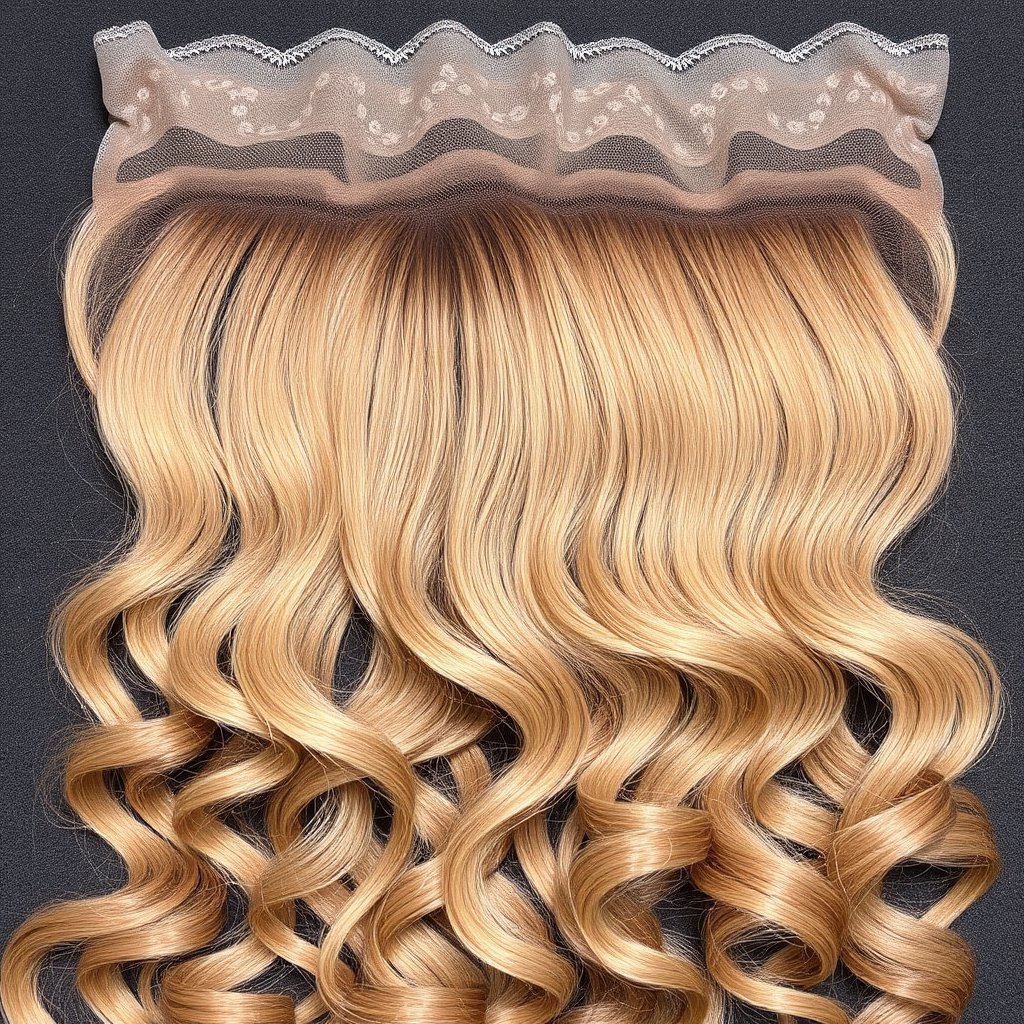
Use small scissors to trim short strands at the hairline to create baby hairs. Style them using gel or edge control to frame the face naturally.
These details help disguise the edges of the lace and mimic natural hair growth patterns.
- Trim mildly for subtle baby hairs
- Use edge control gel for shaping
- Comb with a small toothbrush
You can find more detailed information about hairpieces and their types, including frontals, in this comprehensive resource on wig construction and styles. hair frontal customization techniques.
Heat Styling and Hair Care for Longevity
Apply heat protectant before straightening, curling, or blow-drying your frontal. Avoid excessive heat to prevent damage and preserve the frontal’s integrity.
Regular deep conditioning maintains moisture, softness, and extends the lifespan of your customized frontal.
- Use heat protectant sprays
- Limit heat exposure duration
- Deep condition weekly
Types of Frontal Customizations Compared
Here is a comparison of common frontal customization approaches based on complexity, cost, and natural appearance.
| Customization Type | Difficulty Level | Cost Estimate | Natural Look | Durability |
|---|---|---|---|---|
| Basic Lace Trimming | Easy | $5-$10 | Moderate | High |
| Bleaching Knots | Moderate | $10-$20 | High | Medium |
| Tinting Lace | Moderate | $10-$15 | Very High | Medium |
| Tweezing Hairline | Moderate | $0 (DIY) | High | High |
| Full Customization (All Steps) | Advanced | $30-$50 | Very High | High |
Frequently Asked Questions
Can I bleach the knots on any type of frontal?
Bleaching knots works best on light or medium brown hair fronts. Extremely dark hair or synthetic fibers may not bleach well and could be damaged, so always check the frontal material before bleaching.
How long does a customized frontal typically last?
With proper care, a customized frontal can last 2–4 weeks with daily use or up to several months if worn occasionally and maintained carefully.
Is it safe to peel back lace after bleaching to avoid irritation?
Yes, peeling back the lace slightly during the bleach application helps prevent direct scalp contact. Always rinse thoroughly and avoid prolonged exposure to chemicals.
What products help the lace blend better with my skin?
Lace tint sprays and diluted liquid foundations specifically designed for hair application provide excellent skin-tone matching without clogging the lace.
How should I style baby hairs on a frontal for a natural effect?
Trim baby hairs lightly and use a soft-bristle brush or toothbrush with edge control gel to lay them flat and mimic natural hair growth patterns closely.
Key Takeaways
- Customizing a frontal involves trimming, bleaching knots, tinting lace, and styling.
- Proper tool selection and preparation enhance the customization outcome.
- Bleaching knots and tinting lace significantly improve natural appearance.
- Styling baby hairs and using heat protectants extend the frontal's lifespan.
Conclusion
Approaching frontal customization methodically ensures the hairpiece blends with your natural scalp and complements your overall hairstyle. By addressing lace trimming, bleaching knots, lace tinting, and customizing the hairline, you refine the frontal’s fit and appearance. Consider your skill level and time availability to choose which steps to perform yourself or seek professional help.
For those who want a straightforward upgrade, trimming and tweezing the hairline provide quick, impactful results with low cost. If you want an even more natural look and don’t mind moderate investment, bleaching knots and tinting lace add realism by reducing visibility. Combining all techniques suits users prioritizing the highest quality finish. Always balance the customization type with your budget and maintenance plan.
Begin your customization journey by planning with the right tools and cleaning your frontal thoroughly. Practice caution when bleaching and tinting, and style the baby hairs for that perfect polished effect. Whether customizing at home or working with a stylist, these steps offer a roadmap to achieving a natural, flattering frontal that enhances your beauty.