How to Install a Lace Front Wig: A Step-by-Step Guide
Installing a lace front wig begins with preparing your natural hair, securing the wig with adhesive or tape, and carefully aligning the lace along your hairline for a natural appearance. This process gives you control over the fit and look, ensuring the wig feels secure and looks seamless.
Many people want their wigs to appear as natural as possible, and this largely depends on how well the lace front wig is installed. Proper installation not only maintains your comfort but also enhances the durability of the wig and protects your hair underneath from damage.
This article guides you through the essential steps to install a lace front wig, including hair preparation, securing methods, lace trimming techniques, and tips for maintaining your wig so it looks flawless day after day.
Preparing Your Hair for Lace Front Wig Installation

Braiding or Flattening Your Natural Hair
Starting with clean, detangled hair is necessary for a smooth base. Most wearers opt to braid their hair into cornrows or create flat twists to keep hair as flat as possible under the wig. This prevents bulk and creates a natural contour for the wig to sit on.
If braiding isn't an option, using gel or a wig-cap can help flatten hair strands. The goal is to avoid bumps that can make the wig look unnatural or cause discomfort during wear.
- Cornrow braids for a flat, compact base
- Using a wig cap to secure and protect hair
- Gel flattening method for shorter hair
Cleaning and Prepping the Skin and Hairline
Your scalp and hairline should be free of oils and dirt before installing the wig. This ensures that the adhesive or tape sticks properly and reduces the risk of irritation.
Use an alcohol-based cleanser or scalp wipes to clean the perimeter of the hairline. Avoid moisturizers or oils near the edge to prevent lifting of the lace.
- Use alcohol-based cleanser
- Avoid applying oil or moisturizer before installation
- Patch test adhesive on skin to check for allergies
Applying Adhesive and Securing the Lace Front Wig

Choosing the Right Adhesive for Your Skin
There are different adhesives designed for lace front wigs, including glue, tape, and adhesive strips. Selecting a product compatible with your skin type is critical to avoid irritation and prolong wear.
Glue offers the strongest hold, ideal for extended wear. Tape is easier to apply and remove, suited for daily or short-term use. Always read product instructions and perform a patch test to prevent allergic reactions.
- Water-based glue for sensitive skin
- Double-sided tape for easy application
- Adhesive strips for short-term wear
For more on this, see our related guide: Frontal vs. Closure: Which Is Better?.
Applying Adhesive and Securing the Lace
Once your skin is clean and dry, apply a thin, even layer of adhesive along your hairline where the lace will sit. Let it become tacky—this usually takes 2-3 minutes—before placing the lace edge on top.
Press down gently along the edges and use a scarf or elastic band to secure the wig firmly as the adhesive dries, usually about 10-15 minutes. This ensures the lace sticks evenly and prevents lifting.
- Apply adhesive thinly and evenly
- Wait for adhesive to become tacky
- Press lace gently with fingers or brush
- Use scarf to hold lace while drying
Trimming and Styling the Lace for a Natural Look
Cutting the Excess Lace Carefully
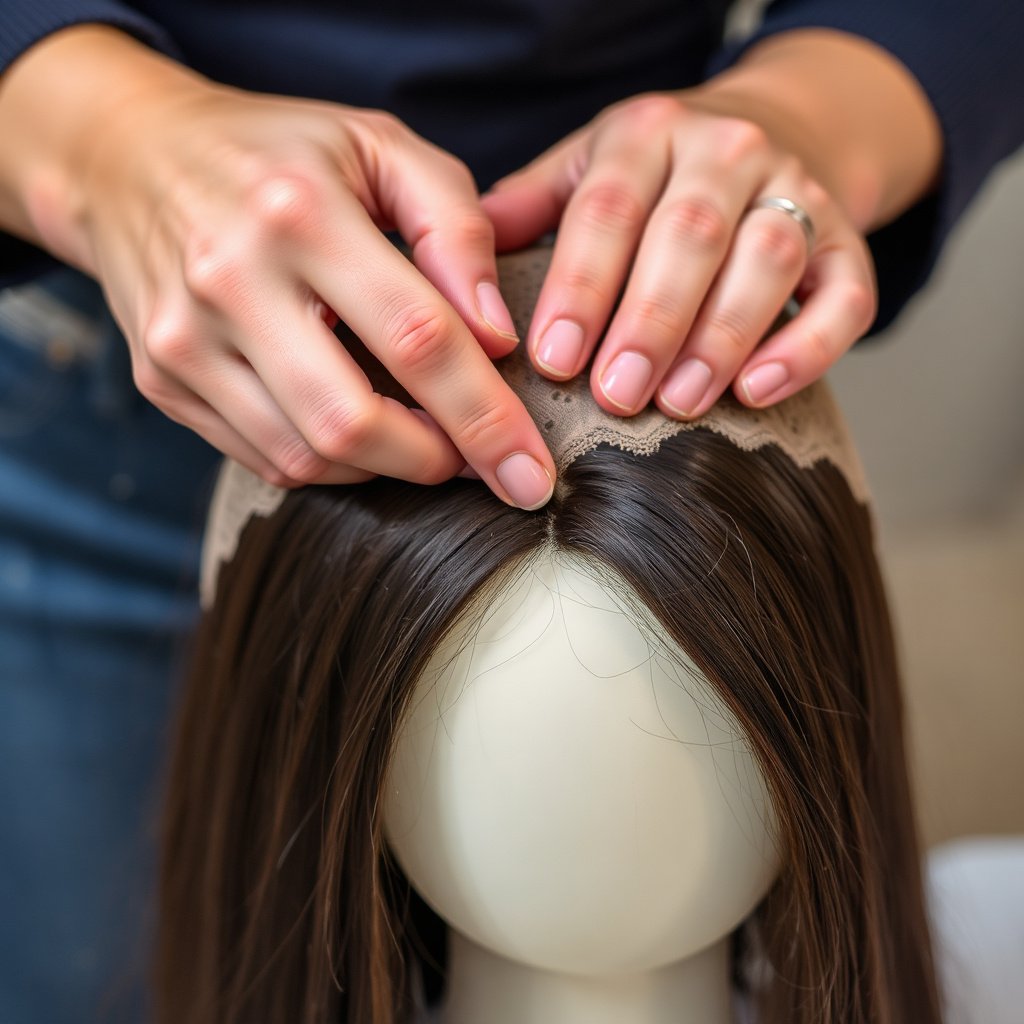
After the adhesive has dried and the wig is secured, trim the excess lace as close to the hairline as possible using small scissors. Cutting too far from the hairline can appear unnatural, while cutting too close requires precision to avoid damaging hair strands.
Use small, sharp scissors and cut slowly following the natural curve of your hairline. You can leave a tiny margin to blend the lace with your skin using makeup or concealer.
- Cut lace slowly in small sections
- Follow natural hairline curve
- Leave minimal lace for blending
Blending the Lace and Creating Baby Hairs
To make the lace virtually invisible, blend it with your skin tone using foundation or powder matching your complexion. Creating baby hairs along the hairline softens the edge and mimics a natural hair growth pattern.
Use a fine-tooth toothbrush or edge brush to style the baby hairs and apply a small amount of gel or mousse to hold them in place without stiffness.
- Use matching foundation or powder
- Create baby hairs for natural finish
- Lightly style edges with gel or mousse
Maintaining Your Lace Front Wig and Removal Tips
Cleaning and Caring for the Wig
Regular cleaning of the lace front wig preserves its quality and appearance. Use gentle shampoos specifically made for wigs and avoid harsh chemicals. Detangle gently with a wide-tooth comb and store the wig on a stand to maintain shape.
Proper maintenance extends the life of the wig and keeps it looking fresh, ensuring a good investment over time.
- Use sulfate-free wig shampoo
- Detangle carefully with wide-tooth comb
- Store on wig stand away from sunlight
For more on this, see our related guide: Transparent Lace Closure Guide: What to Know Before You Buy.
Safe Removal Techniques to Protect Hair and Wig
Removing a lace front wig carefully avoids damaging your hair or the wig. Use an adhesive remover designed for your glue or tape to loosen the lace edges gently. Never pull or tug hard on the wig.
Take your time during removal and wash both your scalp and the wig thoroughly afterward to prevent product buildup.
- Apply adhesive remover generously
- Wait for glue to dissolve before lifting lace
- Avoid pulling or tugging on lace
Advanced Tips for a Professional Finish with Lace Front Wigs

Customizing the Hairline for Realism
Professionals often pluck hairs along the wig’s hairline to create a thinner, more natural-looking edge that mimics real hair growth. This customization removes the uniform dense look and adds dimension.
It requires patience and eye for detail to avoid over-plucking. Practice on a wig before attempting on an expensive piece.
- Use tweezers to thin hairline
- Work slowly to avoid over-plucking
- Create uneven natural hair growth patterns
For more detailed background on lace front wigs and their construction, you can refer to the Lace front wig article on Wikipedia. Lace front wig article on Wikipedia.
Using Heat and Styling Products Safely on Lace Front Wigs
Heat styling tools can enhance the appearance and blend authenticity but should only be used on wigs made with heat-resistant fibers or human hair. Using high heat on synthetic fiber could cause damage.
Select styling products designed for wigs to preserve texture and moisture without buildup or discoloration.
- Use low to medium heat settings
- Choose heat-resistant synthetic or human hair wigs
- Apply wig-safe styling products
Lace Front Wig Installation Methods Comparison
This table compares common lace front wig installation methods to help you find the best fit for your lifestyle and comfort.
| Installation Method | Hold Strength | Application Difficulty | Duration of Wear | Skin Sensitivity |
|---|---|---|---|---|
| Glue Adhesive | Very Strong | Moderate | 7-14 days | Possible Irritation |
| Double-sided Tape | Strong | Easy | 3-7 days | Usually Gentle |
| Adhesive Strips | Medium | Very Easy | 1-3 days | Gentle |
| No Adhesive (Wig Cap) | Low | Easy | All-day | Very Gentle |
| Elastic Band Method | Medium | Easy | All-day | Very Gentle |
Frequently Asked Questions
How do I choose the right adhesive for my lace front wig?
Consider your skin sensitivity, how long you want to wear the wig, and the hold strength you need. Glue offers the strongest hold but may irritate sensitive skin, while tape and adhesive strips are gentler but last shorter.
Can I install a lace front wig without adhesive?
Yes, you can use a wig cap or elastic band method to secure the wig without adhesive. This is less secure but gentler on the skin and easier to remove daily.
How often should I clean my lace front wig?
Cleaning every 10-15 wears or when buildup is noticeable helps maintain the wig's condition. Use wig shampoo and handle gently to preserve fibers and lace quality.
Is it necessary to trim the lace front wig before wearing it?
Yes, trimming the excess lace after installation makes the hairline look natural. Cutting carefully following your hairline shape prevents an obvious lace edge.
How can I make my lace front wig look more natural?
Plucking the hairline, blending the lace with makeup, and styling baby hairs help the wig mimic natural hair growth and avoid a 'wiggy' look.
Key Takeaways
- Prepare hair flat for a smooth wig base
- Select adhesive based on skin type and wear duration
- Trim lace carefully to match your hairline
- Maintain wig and remove gently to extend lifespan
Conclusion
Mastering how to install a lace front wig requires understanding several practical steps including prepping your natural hair, selecting the right adhesive, applying the lace carefully, and trimming for a natural finish. A good installation balances comfort and aesthetics, making the wig look like an extension of your own scalp. Taking your time during preparation and installation pays off in long-lasting, confident wear.
For those wanting a secure, long-term hold, using glue adhesive combined with careful lace trimming and baby hair styling creates a highly natural look and durable fit. If you prefer easier removal for daily use, double-sided tape or adhesive strips paired with a wig cap provide gentler, flexible options. Each method fits a lifestyles from special occasions to everyday wear, letting you customize your wig experience.
If you're just starting, try the tape method with cleanly prepped hair and gradually experiment with glue or advanced styling techniques like lace plucking. Practice and patience are key to perfecting installation. Remember that caring for your lace front wig through proper cleaning and safe removal extends its life and keeps it looking natural and beautiful. Begin with small steps and soon you'll confidently enjoy the versatility that lace front wigs offer.