How to Do a Quick Weave with Leave Out: Step-by-Step Guide
A quick weave with leave out is an effective hair extension method that blends natural hair with sewn-in wefts, allowing a natural scalp appearance and versatile styling. It usually involves straightening the leave out section so it seamlessly blends with the quick weave, creating a smooth and natural look.
This technique matters because it gives you the ability to maintain your natural edges and parting space, which keeps your hairstyle looking authentic while extending length or volume. Properly done, a quick weave with leave out balances protective styling advantages with a polished finish.
This article will cover all the necessary tools, preparation steps, installation methods, styling advice, and maintenance practices. It will guide you through how to prepare leave out, secure bundles properly, and care for your quick weave so it lasts, feels comfortable, and looks natural.
Understanding Quick Weaves and Leave Out
What Is a Quick Weave?
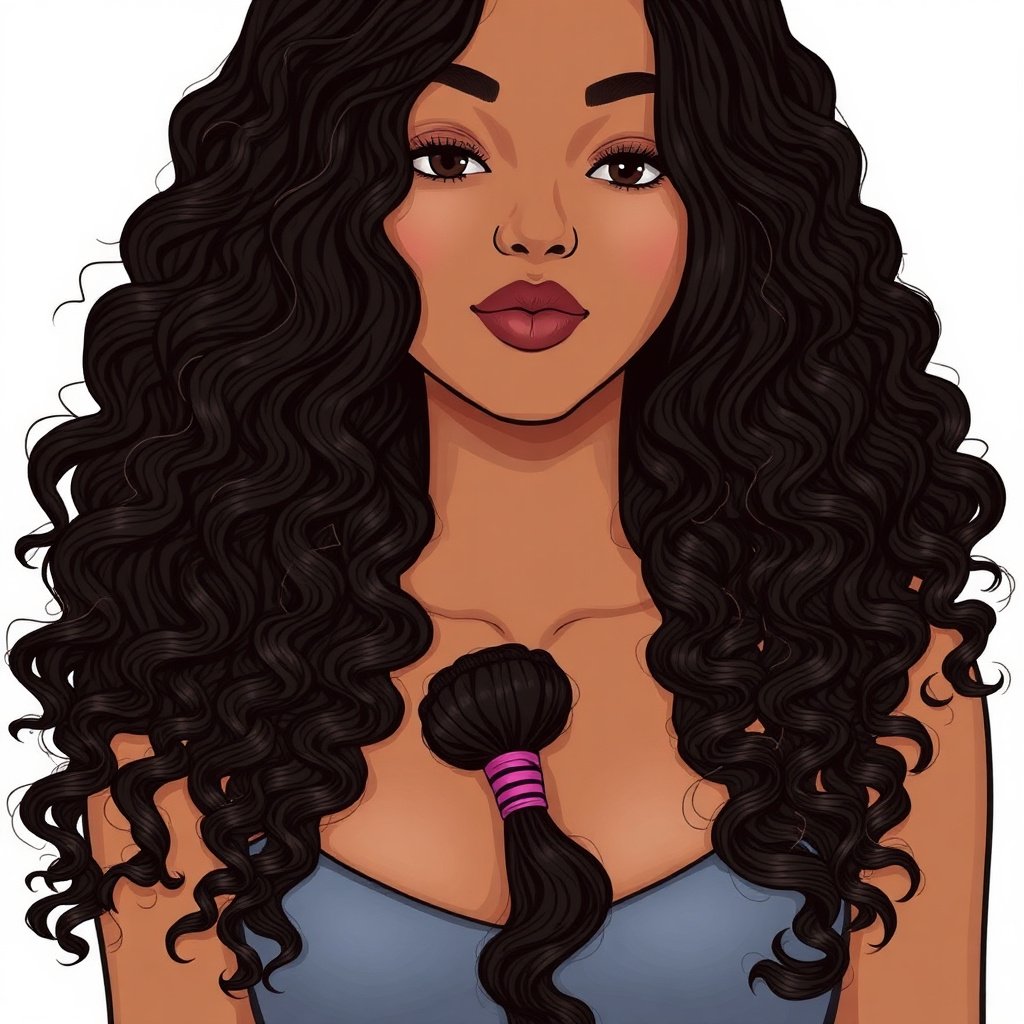
A quick weave involves bonding or sewing hair extensions onto cornrowed natural hair using glue or thread, offering a fast way to achieve longer or fuller hair without heat. It’s a popular protective style due to its relatively short installation time and natural appearance.
Because quick weaves don’t rely on clip-ins or tape-ins, they can last longer and allow for various hair textures to be incorporated. However, proper installation is key to avoid damage or discomfort.
Purpose of Leave Out in Quick Weaves
Leave out is the portion of your natural hair left out intentionally so that it blends with the weave, creating a natural hairline or part. Maintaining a defined leave out helps the overall style look seamless and avoids the appearance of a wig.
Leave out also enables you to showcase your natural edges and parting pattern, preserving your hair’s health by reducing tension from the weave on sensitive areas.
Preparing Hair for a Quick Weave with Leave Out

Cleaning and Detangling
Start with thoroughly washing and conditioning your hair to remove buildup. Clean hair provides a better base for the weave and prevents scalp irritation. Detangle gently to avoid breakage, focusing especially on the leave out section.
Using a moisturizing conditioner or light oil on your natural hair helps maintain hydration, which is crucial for healthy leave out hair during the wearing period.
- Use sulfate-free shampoo
- Apply deep conditioner
- Use wide-tooth comb or detangling brush
Braiding and Leave Out Sectioning
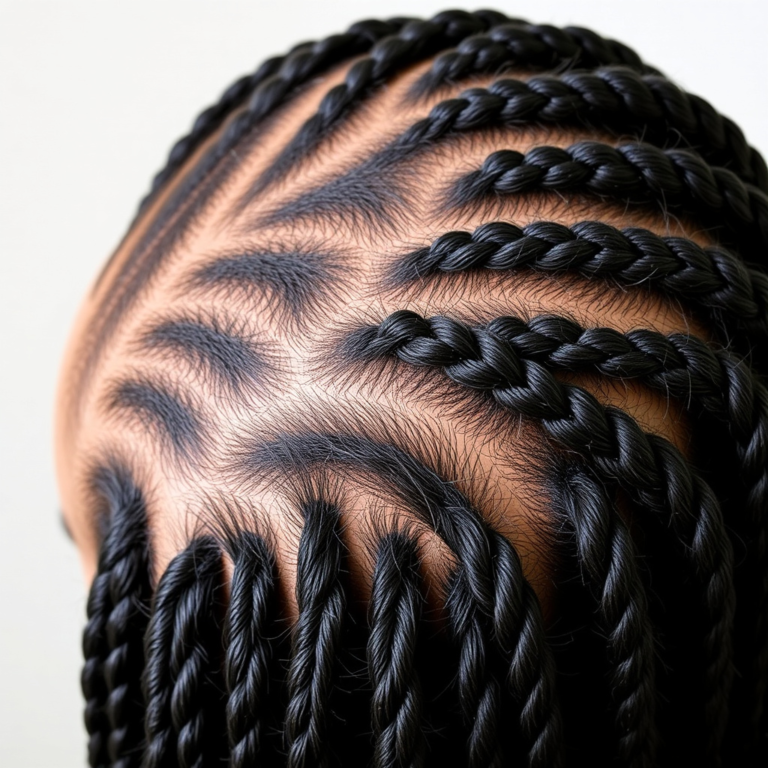
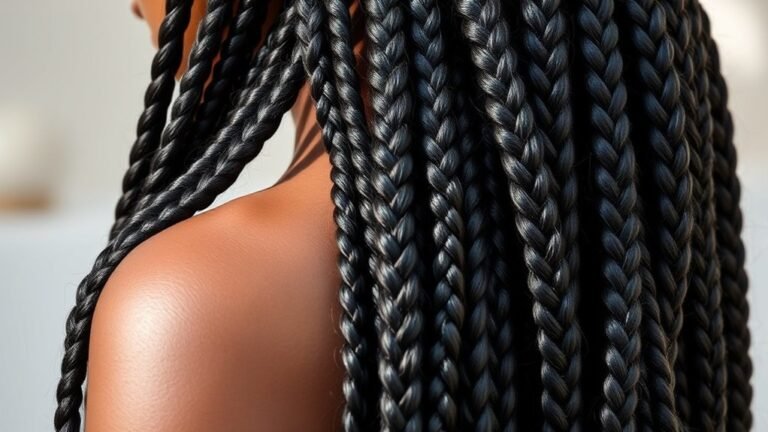
Braid the hair into cornrows close to the scalp, leaving out the designated amount of hair at the front or crown area. The braids should be neat and tight enough to secure the weave but not so tight to cause scalp pain.
The leave out section should be clearly separated using clips or parting comb to prevent sew-in thread or glue from sticking to it. Section size depends on desired style and natural hair texture.
- Determine size of leave out area
- Create clean parts with a rat-tail comb
- Use clips to hold leave out in place
Installing the Quick Weave with Leave Out
Securing Weft Bundles
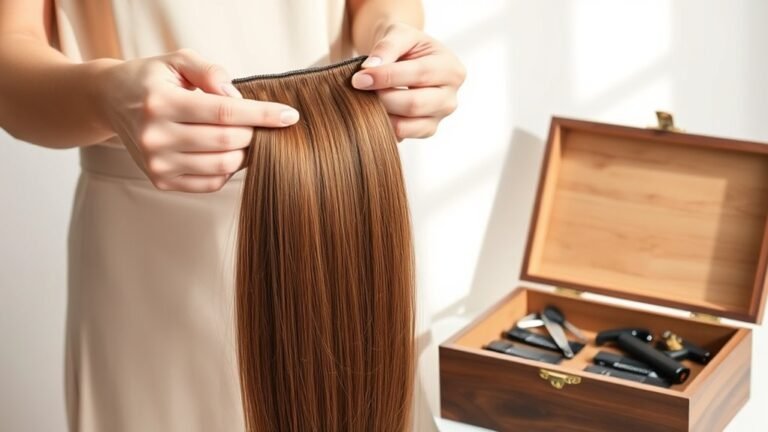
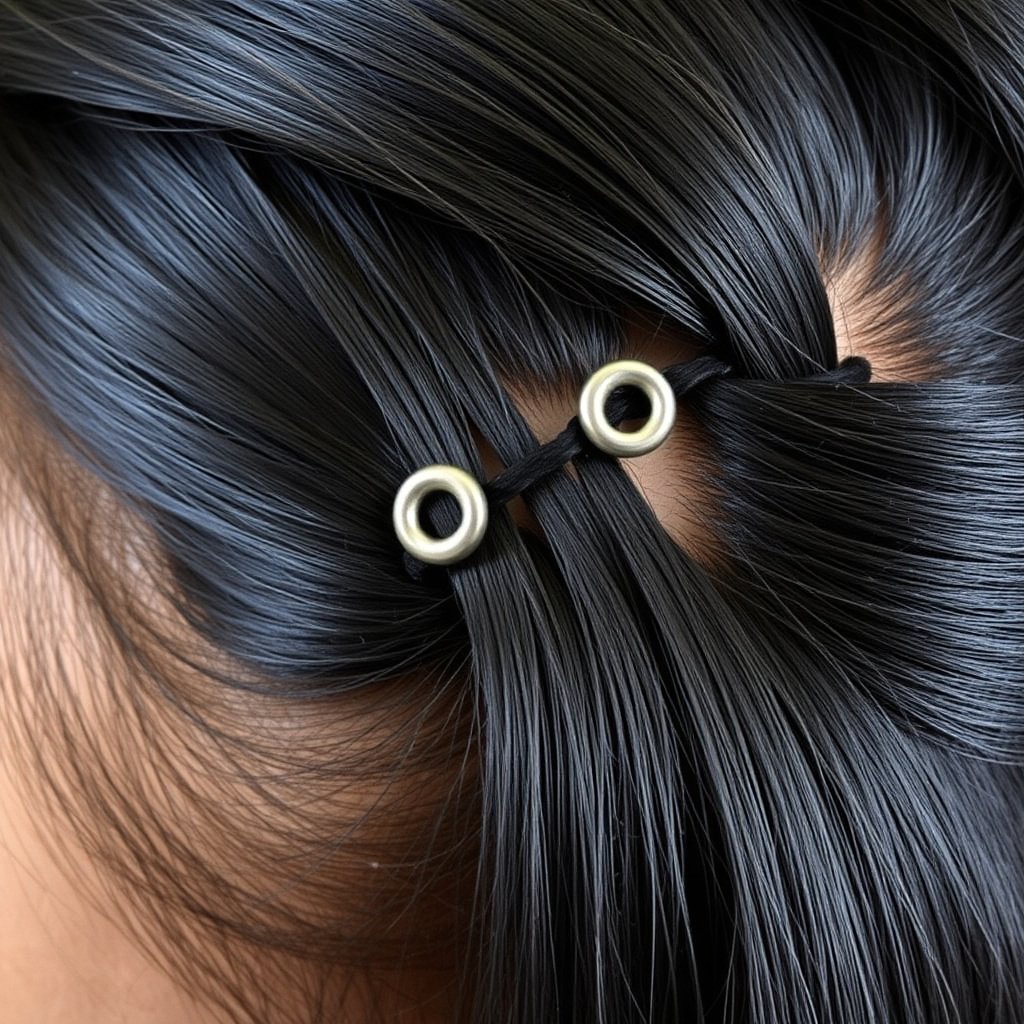
Weft bundles are sewn onto the cornrows using a weaving needle and strong thread. Start at the nape and move upward in horizontal rows, ensuring that the weave lies flat without bumps or loose threads.
Avoid sewing into the leave out section. The bundles should stop cleanly before reaching the natural hair to avoid pulling or damage. Use thread color that blends with the weave for discreet stitching.
- Use curved weaving needle
- Tie a secure knot before stitching
- Sew bundles in tight, even rows
For more on this, see our related guide: Services Offered by Kelly’s Dominican Hair Salon Matthews: A Complete Guide.
Blending Leave Out and Weave
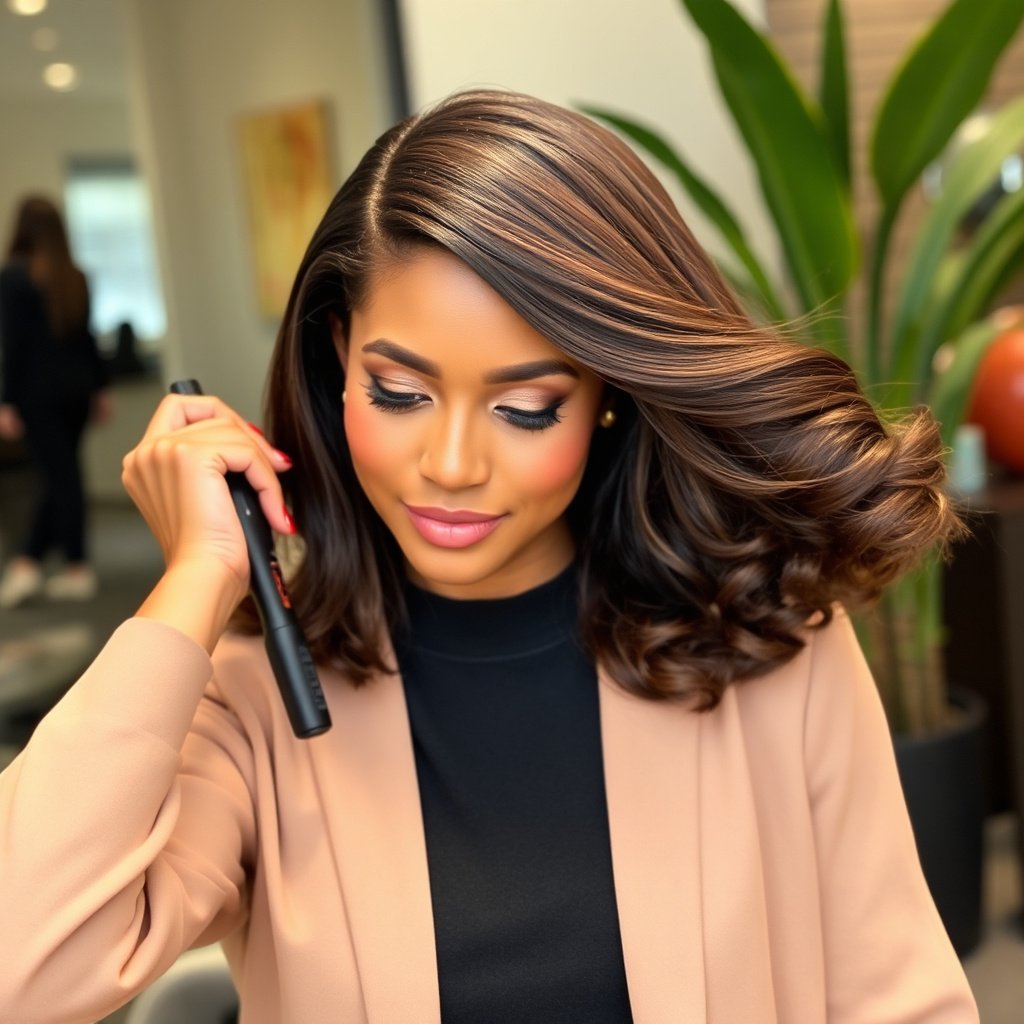
Once the bundles are installed, straighten your leave out hair to match the texture of the weave. This step is essential for a natural blend, avoiding a stark contrast between natural hair and extensions.
Use a heat protectant and flat iron at moderate temperature to prevent heat damage. Light styling products help the leave out stay sleek and aligned with the quick weave.
- Apply heat protectant spray
- Use flat iron or curling wand carefully
- Use lightweight oils or serums
Styling and Maintaining a Quick Weave with Leave Out
Styling Tips for Natural Appearance
To keep the leave out looking natural, touch up the edges daily with edge control gels and a soft brush. Avoid heavy products that can weigh down the hair or leave buildup.
You can also experiment with parting your leave out differently or curling it slightly to create soft waves that complement the weave’s texture.
- Use edge brush or toothbrush
- Light hold edge control gels
- Avoid greasy or heavy pomades
Cleaning and Wearing Duration
Regularly cleanse your scalp with a diluted shampoo or scalp spray to remove product buildup. Be gentle around the leave out to prevent disturbance of the weave.
Quick weaves with leave out generally last 2–4 weeks, depending on hair growth and care. Prolonged wear can lead to matting or scalp irritation, so timely removal is advised.
- Use a spray scalp cleanser
- Wear a silk or satin scarf at night
- Wash weave gently as needed
Common Challenges and How to Solve Them

Dealing with Leave Out Frizz
Frizzing of the leave out can happen due to humidity, product buildup, or improper heat styling. Using anti-frizz serums and lightweight oils helps maintain smoothness without stiffness.
Also, protective styling like loosely wrapping the leave out with a silk scarf overnight reduces friction and frizz formation.
- Use anti-frizz serum
- Avoid overuse of heat tools
- Wrap hair at night with silk scarf
For more on this, see our related guide: How Long Does a Weave Last? the Complete Answer.
Preventing Weave Slippage or Lifting
If the weave starts lifting, it often means the stitching is loosening or glue is weakening. Retightening sew-in threads or applying appropriate adhesive can fix this issue.
Avoid heavy manipulation or wetting the scalp too often, which can loosen bonds prematurely.
- Check stitching regularly
- Avoid excessive wetting
- Schedule professional repairs when needed
Tools and Products Recommended for a Quick Weave with Leave Out
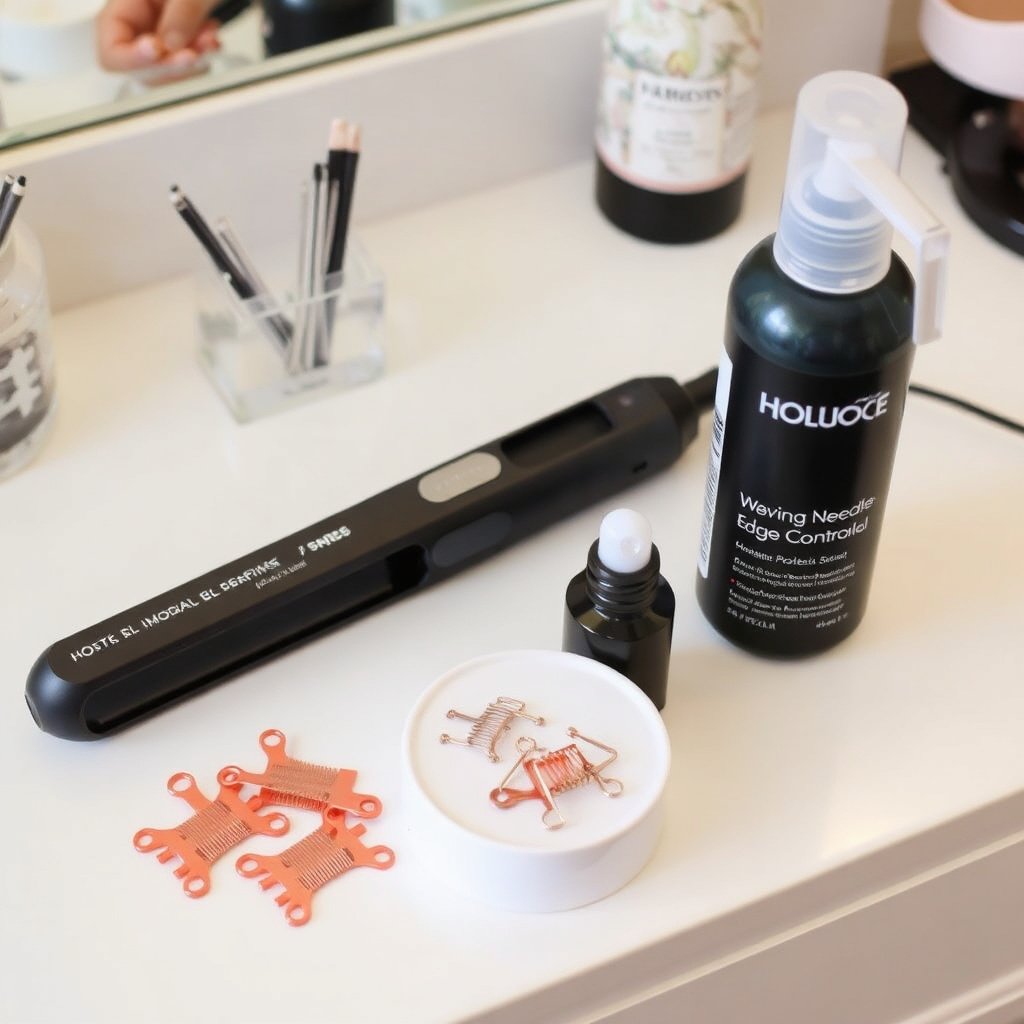
Essential Installation Tools
A high-quality weaving needle and thread made specifically for hair weaving are vital to secure bundles firmly. Good rat-tail combs and sectioning clips help create clean parts for the leave out area.
Flat irons with temperature control and heat protectants prevent damage when styling the leave out.
- Weaving needle and thread
- Sectioning clips and combs
- Flat iron with adjustable heat
For more insights into different protective hair styles, see this detailed resource on protective hairstyle information. Protective hairstyle information.
Recommended Styling Products
Edge control gels with flexible hold keep hair slicked without flaking. Lightweight serums or oils provide shine and control frizz on the leave out without weighing down the quick weave.
Spray scalp cleansers help keep the scalp fresh, promoting longer weave wear.
- Alcohol-free edge control gel
- Lightweight hair serum or oil
- Scalp cleansing spray
Quick Weave Installation Methods Comparison
Compare different quick weave installation techniques, highlighting their pros and cons in installation time, durability, and cost.
| Method | Installation Time | Durability | Cost | Effect on Leave Out |
|---|---|---|---|---|
| Sew-in Quick Weave | 2-4 hours | 3-6 weeks | $50-$150 | Protects leave out with cornrows, minimal damage |
| Glue-in Quick Weave | 1-2 hours | 1-2 weeks | $40-$100 | Risk of glue touching leave out, potential irritation |
| Bonding Quick Weave | 1-3 hours | 1-4 weeks | $30-$120 | More contact with leave out, careful application needed |
| Clip-in Quick Weave | 10-30 minutes | Removable daily | $20-$80 | No effect on leave out, temporary style |
Frequently Asked Questions
Can I do a quick weave with leave out on natural hair without relaxing it?
Yes, a quick weave with leave out works well on natural hair regardless of texture. Ensure you carefully straighten or style the leave out to blend naturally with your extensions.
How often should I wash my scalp with a quick weave and leave out?
It is best to gently cleanse your scalp every 7–10 days using a diluted shampoo or scalp spray to maintain hygiene without loosening the weave.
Is it possible to reuse quick weave bundles after removal?
Depending on the condition, quick weave bundles can be reused if carefully removed and cleaned, but reinstallation quality might decrease after multiple uses.
What is the best way to protect my leave out overnight?
Wrap your leave out with a silk or satin scarf or bonnet each night to reduce friction and frizz, helping maintain the smoothness of your natural hair.
Can quick weaves cause damage to the leave out or natural hair?
Improper installation or prolonged wear can strain the leave out and scalp, potentially causing breakage. Proper technique and timely removal minimize risks.
Key Takeaways
- Quick weave with leave out blends extensions with natural hair for a natural look.
- Proper preparation and braiding of cornrows protect the leave out area.
- Straightening and styling leave out are essential for seamless blending.
- Regular maintenance and gentle care extend the lifespan of the quick weave.
Conclusion
Choosing to do a quick weave with leave out requires understanding both protective styling and blending techniques to maintain your natural hair's health and appearance. The decision focuses on balancing style longevity, ease of installation, and hair preservation. This method allows for customization in leave out size and hair texture, making it suitable for many hair types. Careful sectioning, braiding, and sewing ensure the weave stays secure without pulling on the natural hairline.
If you prefer longer-lasting styles and durability, the sew-in quick weave method offers a solid option that respects the leave out by protecting it with cornrows. For faster installations, glue-in or bonding methods can work but require caution to prevent irritation or damage to the leave out. Temporary clip-in weaves pose no risk to leave out hair but provide only short-term styling flexibility. Assess your hair type, lifestyle, and how often you want to style when choosing your approach.
To get started, gather the necessary tools like weaving needles, quality thread, heat protectants, and straighteners for the leave out. Begin by prepping and braiding your hair carefully, keeping the leave out cleanly sectioned. During installation, focus on consistent sewing and smooth leave out styling. Finally, follow maintenance tips such as scalp cleansing and nighttime silk wraps to preserve both your quick weave and leave out hair between appointments.