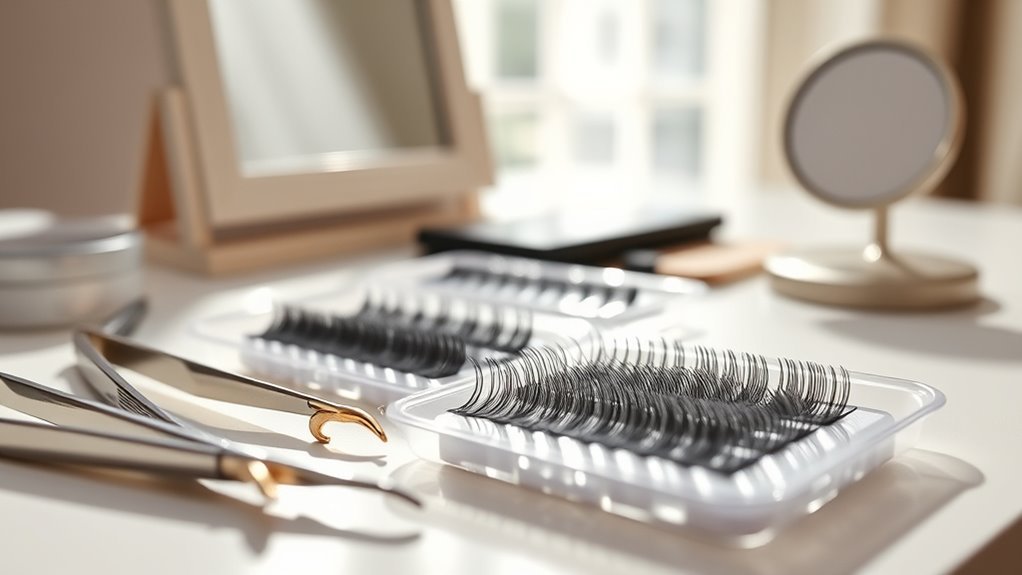
Your Guide to DIY Lash Extensions: Choosing With Confidence
If you’ve ever struggled to get salon-quality lash extensions at home, you’re not alone. Many people find it tricky to choose the right products and techniques that deliver great results without damaging their natural lashes.
Finding the perfect balance between ease, safety, and style can feel overwhelming, but it doesn’t have to be.
You can confidently master DIY lash extensions by choosing the right type—classic for natural looks, volume for drama, or hybrids for texture—and picking adhesives suited for your sensitivity and skill level.
Remember to work in a clean, ventilated space, avoid excess glue, and follow safe removal methods to protect your natural lashes.
With practice, you’ll save money and customize your style easily.
Keep exploring to uncover expert tips that perfect your application and care techniques.
Key Takeaways
- Choose lash types based on your eye shape and desired style for a natural or dramatic look. This helps you achieve the best effect that suits you.
- Use hypoallergenic, latex-free adhesives if you have sensitive eyes. Also, avoid using too much glue to prevent irritation.
- Maintain cleanliness by sterilizing your tools and washing your hands before application. This step reduces the risk of infection.
- Apply extensions carefully, isolating each natural lash. Avoid overlapping to ensure comfort and make them last longer.
- When removing extensions, do it safely using steam or gentle oils. Stay away from harsh tools to protect your natural lashes.
Benefits of DIY Lash Extensions
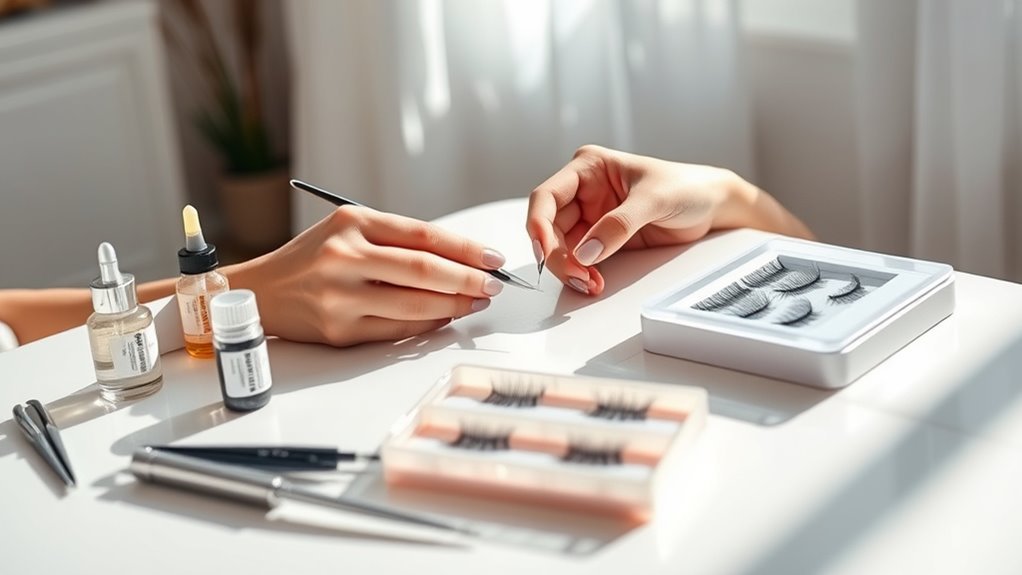
Although professional lash extensions offer convenience, doing them yourself saves you time and money. When you choose DIY lash extensions, you enjoy significant cost savings by cutting out salon fees.
You also gain customization options, tailoring the lashes’ length, volume, and style exactly to your preference. This application flexibility means you can create a look that suits your unique aesthetic, enhancing your natural beauty.
Managing maintenance requirements becomes easier since you control how often and how carefully you care for your lashes. Over time, applying your own extensions boosts your confidence as you master the technique.
Plus, skill development in this area can make the process quicker and more enjoyable. You’ll find that with practice, your time efficiency improves, letting you achieve salon-quality results without the wait.
DIY lash extensions combine beauty, convenience, and personal growth, making them an empowering choice for enhancing your look.
Types of Lash Extensions Explained
When choosing DIY lash extensions, understanding the different types available helps you pick the perfect style for your look. Lash extensions vary by material, style, and application method, giving you plenty of options to suit your preferences.
Here’s a quick breakdown:
Classic lashes: Single individual lashes applied for a natural, defined look.
Volume lashes: Multiple lightweight lashes fanned out for fullness and drama.
Hybrid lashes: A mix of classic and volume for texture and volume.
Silk lashes: Smooth, lightweight, and mid-weight with a natural sheen.
Mink and faux lashes: Mink offers softness and natural appearance; faux lashes are cruelty-free with similar effects.
You’ll also choose between individual lashes or strip lashes, depending on your comfort and skill level. Don’t forget to reflect on lash curls and lash lengths to customize your look further. This knowledge guarantees you’ll confidently select the right lash extensions for your DIY beauty routine.
Choosing the Right Lash Extensions for Your Eye Shape
Picking the right type of lash extensions is just the start. You’ll also want to evaluate your eye shape to make certain your lashes elevate your natural features.
For round eyes, longer lash length at the outer corners creates a cat-eye effect. Almond eyes suit most lash styles, balancing curl types and volume options for either a natural look or dramatic effect.
Hooded eyes benefit from curls that lift upward, like C or D curls, to open up your eyes. If you have monolid eyes, opt for volume options that add fullness, making your lashes stand out without overpowering your eye shape.
Color choices also matter. Darker shades amplify boldness, while softer hues keep things subtle.
Picking the Right DIY Lash Extension Adhesive
Choosing the right adhesive is key to keeping your lash extensions secure and safe. You’ll find different types designed for various wear times and sensitivity levels, so just pick one that suits your needs. And remember, always follow safety tips to avoid irritation and make sure your application goes smoothly.
Types Of Lash Adhesives
You’ll find several types of lash adhesives on the market, each designed for different needs and skill levels. Choosing the right adhesive type is vital for a successful DIY lash extension experience. Here are common adhesive types to take into account:
Latex-based adhesive: Flexible and easy to work with, ideal for beginners.
Latex-free adhesive: Suitable for sensitive eyes and skin.
Fast-drying adhesive: Perfect if you want quick application but requires steady hands.
Slow-drying adhesive: Gives you more time to adjust lashes during application.
Waterproof adhesive: Great for long-lasting wear, especially in humid conditions.
Your choice should align with your preferred application techniques and sensitivity level to guarantee comfort and durability.
Safety Tips For Application
Since lash adhesives come in various formulas, selecting one that suits your skin sensitivity and skill level is essential to avoid irritation and guarantee a safe application. Always choose adhesives labeled safe for sensitive eyes to minimize the risk of eye irritation.
Before applying, conduct a patch test on your skin to check for allergic reactions. Maintain strict hygiene practices by washing your hands and using clean tools to prevent infections. Avoid touching the adhesive tip directly to keep it uncontaminated.
Apply the glue in a well-ventilated space to reduce inhaling fumes, which can cause discomfort. If you experience redness, swelling, or burning during application, stop immediately and remove the lashes. Prioritizing these safety steps guarantees a comfortable and successful DIY lash extension experience.
How to Apply Lash Extensions at Home
Before you start, make sure your workspace is clean and well-lit so you can keep everything organized. It really helps to have good lighting when you’re working with tiny lashes! Then, follow a clear step-by-step process to apply each lash extension carefully and safely. Take your time—there’s no need to rush. And finally, learn some simple aftercare tips to help your lashes last longer and stay looking great. Trust me, a little extra care goes a long way!
Preparing Your Workspace
Although applying lash extensions at home can be exciting, setting up a clean and organized workspace is essential for achieving professional results. Proper workspace organization helps you focus and reduces mistakes during the application.
Before you start, gather all essential tools to keep everything within reach.
Here’s what your workspace should include:
- A well-lit area with a bright, adjustable lamp
- A clean, flat surface like a vanity or table
- Disposable tweezers and lash adhesive
- Lash trays sorted by length and curl type
- Cotton pads and gentle cleanser for prepping lashes
Step-by-Step Application Process
Applying lash extensions at home involves a few key steps that you’ll want to follow carefully for the best results. First, gather your lash extension tools, including tweezers, adhesive, and lash trays.
Start by cleaning your natural lashes to remove oils. Next, use tweezers to isolate a single natural lash, then pick up an extension with another tweezer. Dip the extension’s base lightly in adhesive, avoiding excess glue.
Carefully place the extension on the isolated lash, about 1 mm from the eyelid, making sure it doesn’t stick to your skin. Repeat this process, working from the outer corner inward.
Mastering precise application techniques, like steady hand placement and lash isolation, will help you achieve a natural, long-lasting look without clumping or discomfort.
Aftercare Tips for Longevity
Once you’ve carefully applied your lash extensions, keeping them looking fresh and intact depends on how you care for them afterward. Proper aftercare extends their life and keeps your natural lashes healthy.
Incorporate these tips into your routine:
Use gentle, oil-free cleansers daily to avoid breaking down adhesive during cleaning. Apply nourishing serums designed for lashes to strengthen and promote growth.
Avoid rubbing or pulling your lashes because it can cause premature shedding. Skip waterproof mascara since it’s tough to remove and can damage your extensions.
Try sleeping on your back or use a silk pillowcase to reduce friction and tangling overnight.
Follow these simple steps, and you’ll enjoy beautiful, long-lasting lash extensions every day.
Common DIY Lash Extension Mistakes to Avoid
When you try DIY lash extensions, you might make mistakes that can damage your natural lashes or ruin the look. One common issue is application errors, such as using too much glue or not allowing it to dry properly. This can cause lashes to clump together or fall off prematurely.
Another frequent mistake is incorrect lash placement. If you attach extensions too close to the eyelid or overlap them on your natural lashes, it can lead to discomfort, irritation, or even lash loss. Avoid applying extensions on lashes that are too short or weak, as this stresses them unnecessarily.
Moreover, skipping the step of isolating each natural lash before attaching an extension often results in sticky, tangled lashes. By paying close attention to these details, using minimal adhesive, placing extensions carefully, and isolating lashes, you’ll prevent common mishaps and achieve a professional-looking finish every time.
How to Remove Lash Extensions Safely
When it’s time to remove your lash extensions, you want to be gentle to protect your natural lashes. Using the right removal products can make the process easier and safer. So, let’s go over some techniques that keep your lashes healthy while getting rid of the extensions.
Gentle Removal Techniques
Although lash extensions can improve your look, removing them improperly can damage your natural lashes. To protect your eyes and keep your lashes healthy, you should use gentle removal techniques.
Start with steam removal to soften the adhesive by holding your face over a bowl of warm water for 5-10 minutes. Then, apply a gentle oil, like coconut or olive oil, to break down the glue without harsh chemicals. Avoid pulling or tugging on the extensions.
Here are some tips for gentle removal:
- Use a clean cotton swab dipped in gentle oil
- Gently massage the lash line to loosen glue
- Avoid using sharp tools or excessive force
- Pat lashes dry with a soft towel
- Give your natural lashes a break before reapplying extensions
These steps guarantee your natural lashes stay intact and healthy.
Avoiding Natural Lash Damage
Since improper removal can cause lasting damage, you should always handle lash extensions with care to protect your natural lashes. Prioritizing lash health means avoiding harsh rubbing or pulling, which can weaken your natural lash follicles.
Use gentle techniques and avoid DIY removal methods that may cause trauma. Remember, patience is key. Rushing the process often leads to broken lashes.
Incorporate regular lash maintenance tips like cleansing your lashes daily with a gentle, oil-free remover and avoiding waterproof mascara, which can be harder to take off. Keeping your natural lashes healthy guarantees they grow strong and resilient.
Recommended Removal Products
Taking care to remove lash extensions gently protects your natural lashes from damage. To guarantee safe removal, you’ll want to choose the right products and follow proper removal techniques. Avoid pulling or tugging, which can weaken your lashes over time.
Instead, try these product recommendations designed for gentle, effective removal:
- Oil-based makeup remover to dissolve adhesive
- Lash extension remover gel for targeted breakdown
- Micellar water for sensitive eyes
- Coconut or olive oil as natural alternatives
- Warm compress to loosen adhesive before removal
Using these products properly helps prevent irritation and lash loss. Always follow instructions carefully and be patient. If unsure, consult a professional to avoid compromising your natural lashes while removing extensions safely.
Keeping Your DIY Lash Extensions Comfortable and Safe
When you apply DIY lash extensions, maintaining comfort and safety is essential to prevent irritation and damage. To guarantee lash comfort, avoid using excessive adhesive and steer clear of products that cause stinging or redness. Always work in a well-ventilated area to minimize inhaling fumes.
Follow safety measures by thoroughly cleaning your tools and washing your hands before application to prevent infections. Be gentle when applying and removing extensions to avoid pulling out natural lashes.
If you notice any discomfort, swelling, or redness, remove the extensions immediately and consult a professional. Avoid sleeping with wet lashes and resist rubbing your eyes, as this can weaken bonds and cause lashes to fall out prematurely.
Prioritize hypoallergenic adhesives designed for sensitive eyes to reduce the risk of allergic reactions. By sticking to these lash comfort and safety measures, you’ll protect your eyes and enjoy your DIY lash extensions confidently and comfortably.
Best DIY Lash Extension Kits and Brands for Beginners
Ensuring comfort and safety is just the start of your DIY lash extension journey. Choosing the best brands and kits will set you up for success. Look for kits that include essential tools like tweezers, adhesive, and lash trays designed for beginners. High-quality products reduce irritation and make application easier.
Here are some top DIY lash extension kits and brands perfect for beginners:
- Lashify: Offers customizable lashes with user-friendly tools.
- Duo: Known for strong, skin-safe adhesives.
- Ardell: Affordable kits with a variety of lash styles.
- Velour Lashes: Premium lashes with gentle adhesives.
- Blink Lash Professional: Complete kits with essential tools included.
These brands prioritize safety and ease, helping you achieve salon-worthy results without the hassle. Focus on kits that provide clear instructions and include the essential tools to get started confidently.
Caring for Your Lash Extensions to Make Them Last Longer
Although lash extensions can instantly elevate your look, you’ll need to care for them properly to keep them looking fresh and full. Start by following essential lash maintenance tips, like avoiding oil-based products around your eyes, which can weaken the adhesive.
Be gentle when cleansing your face. Use a lash extension-safe cleanser and avoid rubbing or pulling on your lashes. Incorporate extension hygiene practices by regularly brushing your lashes with a clean spoolie to prevent tangling and buildup.
Avoid sleeping on your face to reduce friction that can cause lashes to fall out prematurely. Also, steer clear of heat sources like saunas or steam rooms, as excessive moisture can loosen the glue.
Frequently Asked Questions
Can I Wear Mascara With DIY Lash Extensions?
Yes, you can wear mascara with DIY lash extensions, but you’ll want to choose the right mascara types. Opt for water-based formulas, as they’re gentler and won’t break down the adhesive. Avoid waterproof mascaras since they’re harder to remove and can damage your extensions.
When applying, use a light hand and brush from the base to the tip, keeping your lashes separated to prevent clumping. Always remove mascara gently to maintain your extensions’ longevity.
How Long Do DIY Lash Extensions Typically Last?
DIY lash extensions typically last about 2 to 3 weeks, almost like magic that fades if you don’t care for it! To keep them looking fresh, follow application tips closely, ensuring you apply lashes to clean, dry skin.
Stick to a maintenance routine that avoids oil-based products and gently brushes your lashes daily. With the right care, you can stretch their lifespan and keep your eyes looking stunning longer than you’d expect!
Are DIY Lash Extensions Safe for Sensitive Eyes?
Yes, DIY lash extensions can be safe for sensitive eyes if you follow proper application techniques and aftercare tips. You’ll want to use hypoallergenic glue and avoid getting adhesive in your eyes. Applying lashes gently and precisely reduces irritation risks.
Aftercare includes keeping lashes clean, avoiding rubbing your eyes, and steering clear of oil-based products. If you notice redness or itching, stop immediately and consult a professional.
Can I Swim or Shower With Lash Extensions On?
Think of your lash extensions like delicate flowers in a garden. Water can either nourish them or cause damage. You can swim or shower with lash extensions on, but you need to follow swimming precautions to avoid loosening the glue.
Aftercare tips include avoiding harsh soaps and rubbing. Stick to a gentle maintenance routine by gently patting your lashes dry after showering. This will keep your extensions looking fresh and lasting longer, protecting your investment and your natural lashes.
How Do I Fix a Lash Extension That Falls off Early?
If a lash extension falls off early, don’t panic. You can fix it by gently cleaning your lashes to maintain lash health and avoid irritation. Avoid rubbing or pulling on your lashes, and schedule a touch-up appointment to replace the lost extension.
To prevent future issues, follow proper extension maintenance like avoiding oil-based products and keeping lashes dry for the first 24 hours after application. Consistent care keeps your lashes looking full and healthy.
Conclusion
Now that you’re equipped with all the essentials, applying DIY lash extensions can be as easy as a breeze on a sunny day. With the right tools, adhesive, and care, you’ll improve your natural beauty confidently and safely.
Remember, patience and practice make perfect, so treat your lashes gently and keep them clean to enjoy stunning results that last. Your DIY lash journey is just beginning—embrace it with excitement and choose your DIY lash extensions with confidence!