How to Use Hair Relaxer Safely and Effectively for Smooth, Manageable Hair
Using hair relaxer involves applying a chemical formula to straighten naturally curly or textured hair. To start, you must prepare your hair by washing it thoroughly without conditioner, then section it carefully. Apply the relaxer evenly from roots to ends following the product instructions, and closely monitor processing time to avoid scalp burns or hair damage. After processing, rinse thoroughly and neutralize to stop the chemical action.
This method matters because improper relaxer use can cause breakage, scalp irritation, or uneven results. Understanding how to use a hair relaxer properly helps maintain hair health while achieving desired straightness. Relaxers alter the hair’s protein structure, so timing and technique play a key role in safe and effective application.
This article will cover preparation, step-by-step application, timing guidelines, necessary aftercare, common mistakes to avoid, safety tips, and recommendations for different hair types, providing everything you need to handle hair relaxer confidently.
Preparing Hair for a Hair Relaxer Treatment
Washing and Sectioning Hair
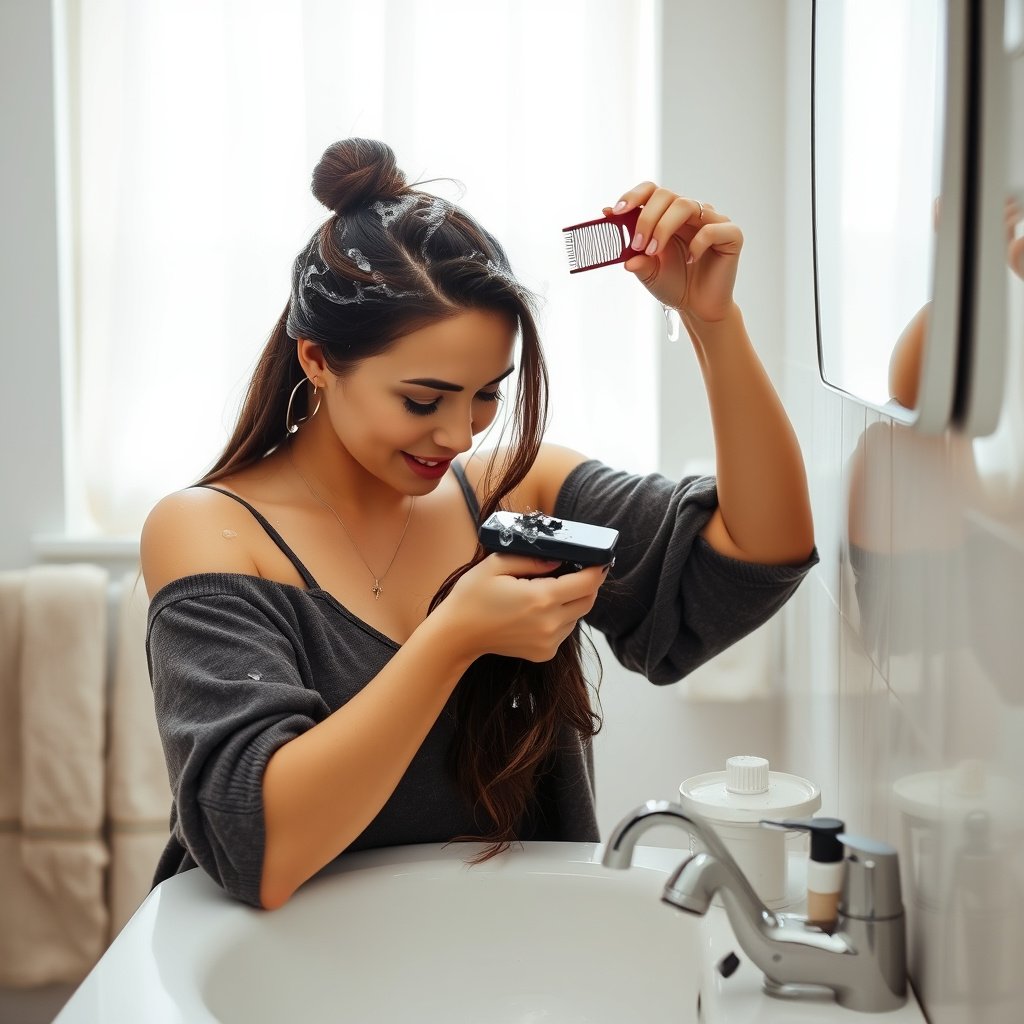
Start by washing your hair with a gentle shampoo to remove dirt and oils. Do not use conditioner before applying the relaxer, as it can interfere with the chemicals. Towel dry hair so it’s damp but not dripping. Section your hair into at least four parts using clips to ensure even application and better control during the relaxer process.
Creating sections makes it easier to apply the relaxer evenly and reduces the chances of missing spots or overlapping previously relaxed hair, which can cause damage. Clear parts also support quicker and more accurate application, especially important for beginners.
- Use a gentle, moisturizing shampoo
- Avoid conditioner before treatment
- Divide hair into 4-6 sections
- Use sturdy clips or hair ties
Protecting the Scalp and Skin
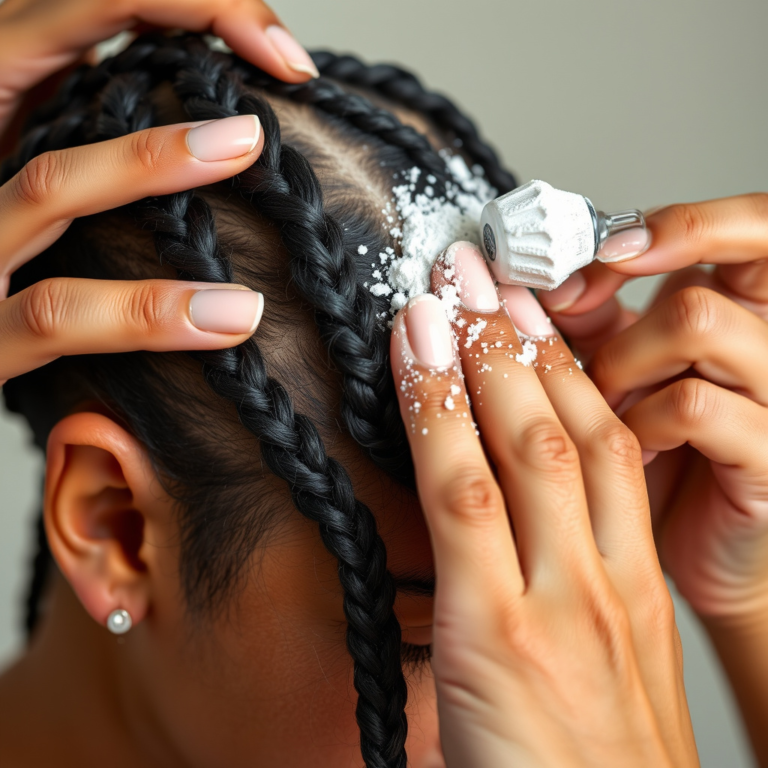
To prevent irritation, apply a protective base such as petroleum jelly or a thick conditioner along the hairline, ears, and neck. This barrier helps shield sensitive skin from the chemical relaxer. Wear gloves and work in a ventilated space to avoid prolonged chemical exposure.
Proper protection reduces the risk of chemical burns, redness, and itching. Failing to protect these areas can lead to discomfort and prolonged healing time after the relaxer treatment.
- Use petroleum jelly on scalp edges
- Wear disposable gloves
- Keep towels or cloths handy for spills
Applying Hair Relaxer Correctly
Selecting the Right Relaxer and Tools
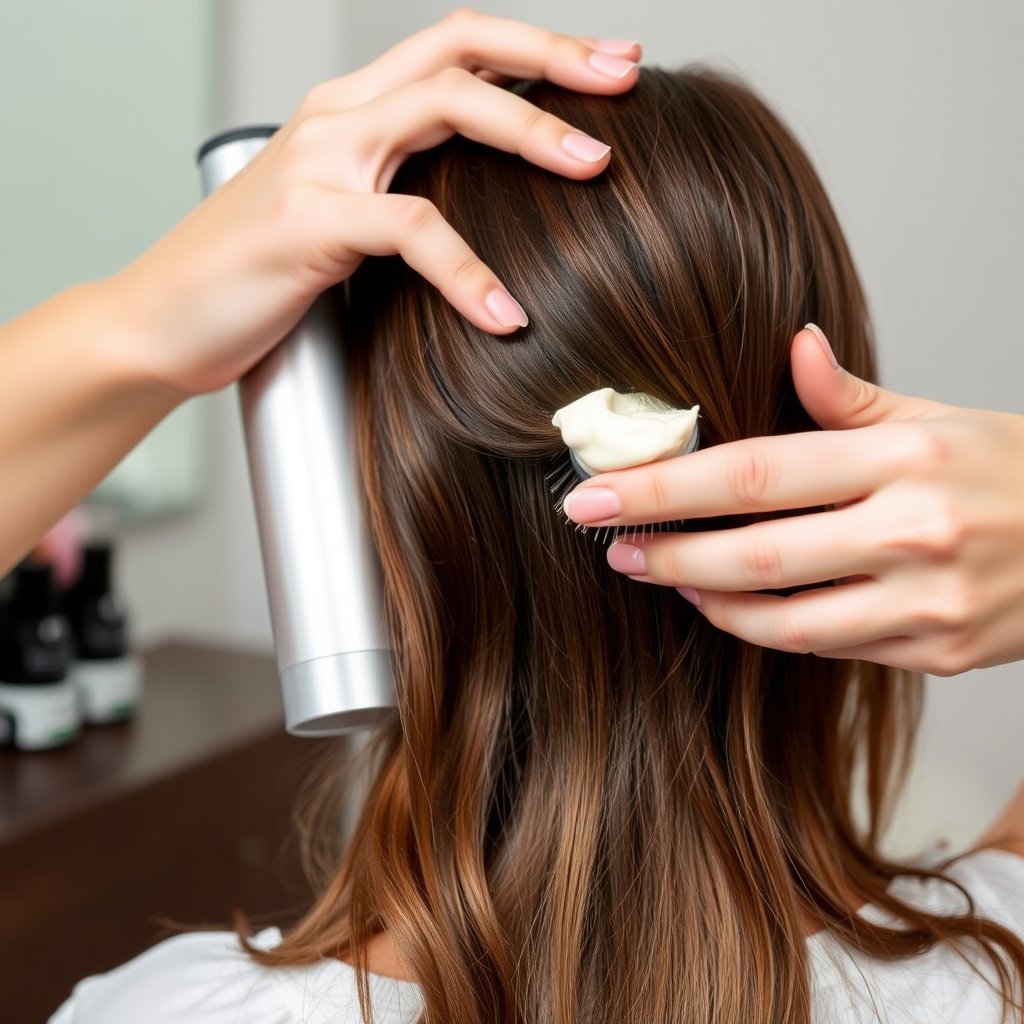
Choose a relaxer type suitable for your hair texture and any prior chemical treatments. Cream relaxers are common for sensitive scalps, while no-lye relaxers may be gentler for some hair types. Use an application brush and a wide-tooth comb for spreading the product smoothly and evenly.
Having the right relaxer and tools avoids excessive damage and improves results. Using an incorrect formula or inadequate tools can make it hard to control the treatment and increase potential for uneven straightening.
- Pick cream or no-lye relaxer based on hair and scalp
- Have a wide-tooth comb for smoothing
- Use an applicator brush
- Wear gloves for protection
Step-by-Step Application Process
Start applying the relaxer to the back sections of hair first, then work toward the sides and front. Use the applicator brush to coat hair about half an inch from the scalp to avoid burns initially, then carefully apply closer after a few minutes following manufacturer's timing. Comb through each section gently to distribute the product evenly.
Avoid overlapping onto already relaxed hair to prevent damage. Constantly check the hair texture and scalp condition during processing. Stop immediately if irritation occurs. Rinse thoroughly with warm water once the recommended processing time is over.
- Apply to new growth first
- Avoid scalp contact during initial application
- Comb hair after application for even spread
- Rinse as per instructions after timing
Understanding Processing Time and Monitoring Hair
Timing Guidelines by Hair Type
Hair relaxers typically require 10 to 20 minutes of processing depending on hair thickness and texture. Coarser, tightly coiled hair generally needs longer processing, while finer or chemically treated hair requires less time. Follow the relaxer package instructions for minimum and maximum timing carefully.
Overprocessing can lead to hair breakage and scalp burns, while underprocessing results in uneven straightening. Adjust timing based on your hair’s response during treatment and previous relaxer history.
- Fine hair: 8-10 minutes
- Medium hair: 10-15 minutes
- Coarse hair: 15-20 minutes
- Follow manufacturer’s directions
Signs to Watch During Processing
As the relaxer works, the hair will begin to feel straighter and smoother. Check the hair texture regularly by gently stopping the timer to test a strand. If hair begins to feel mushy or overly soft, rinse immediately to prevent damage.
Keep an eye out for scalp tingling or burning. Mild tingling is normal, but sharp pain or redness means stop and rinse. Proper monitoring helps safely achieve straight hair without adverse effects.
- Test strand every few minutes
- Stop if hair feels too soft
- Rinse immediately if scalp burns
- Watch for even texture change
Post-Relaxer Care for Healthy Hair
Neutralizing and Rinsing After Treatment
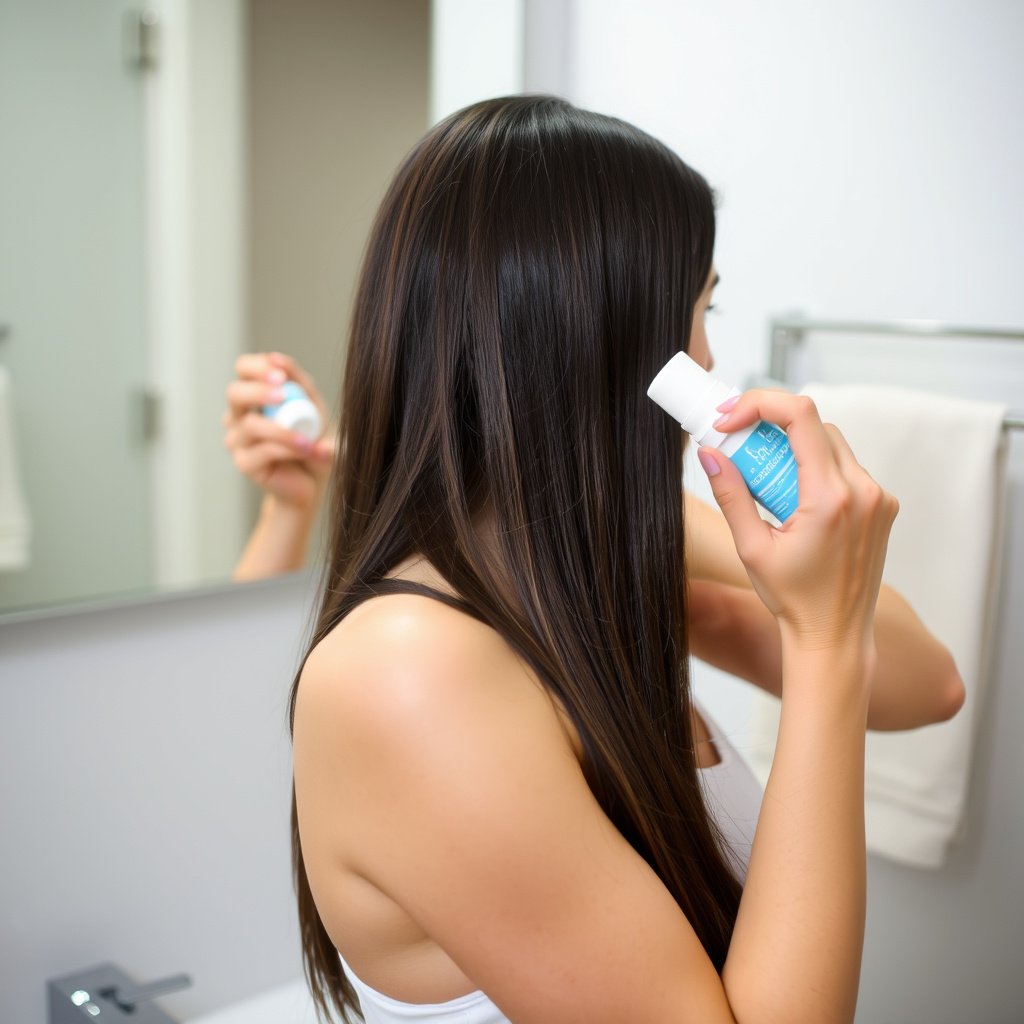
After rinsing the relaxer thoroughly, apply a neutralizing shampoo or conditioner recommended by the product. This stops the chemical action completely and restores hair’s pH balance. Follow the neutralizer with a deep conditioning treatment to replenish moisture and smooth cuticles.
Skipping neutralization can lead to continued chemical processing that weakens hair. Proper rinsing and conditioning help hair recover strength and retain shine after straightening.
- Use product-specific neutralizer
- Rinse hair thoroughly with warm water
- Apply deep conditioner afterwards
- Allow deep conditioner to sit 10-15 minutes
Ongoing Maintenance and Moisturizing
Relaxed hair needs gentle care to prevent dryness and breakage. Use moisturizing shampoos and conditioners regularly. Avoid excessive heat styling and apply leave-in conditioners or oils to keep hair hydrated and glossy. Trim split ends promptly to maintain healthy hair.
Consistent moisturizing preserves the straightened hair’s look and reduces damage risk from daily styling or environmental factors.
- Use sulfate-free moisturizing shampoos
- Apply leave-in conditioners
- Minimize heat styling frequency
- Regular trims every 6-8 weeks
Common Mistakes and Safety Tips for Hair Relaxer Use
Mistakes That Cause Damage
Overlapping the relaxer on previously treated hair causes severe breakage due to weakened protein bonds. Leaving the relaxer on too long or applying to a sensitive scalp leads to burns or hair loss. Also, skipping the neutralizer step can cause ongoing damage post-treatment.
Understanding these pitfalls helps avoid costly mistakes and keeps hair strong. Proper timing, sectioning, and protective measures directly affect the outcome and hair health.
- Never overlap relaxed hair
- Do not exceed recommended processing time
- Always use neutralizer
- Avoid relaxer on irritated scalp
Safety Precautions to Follow
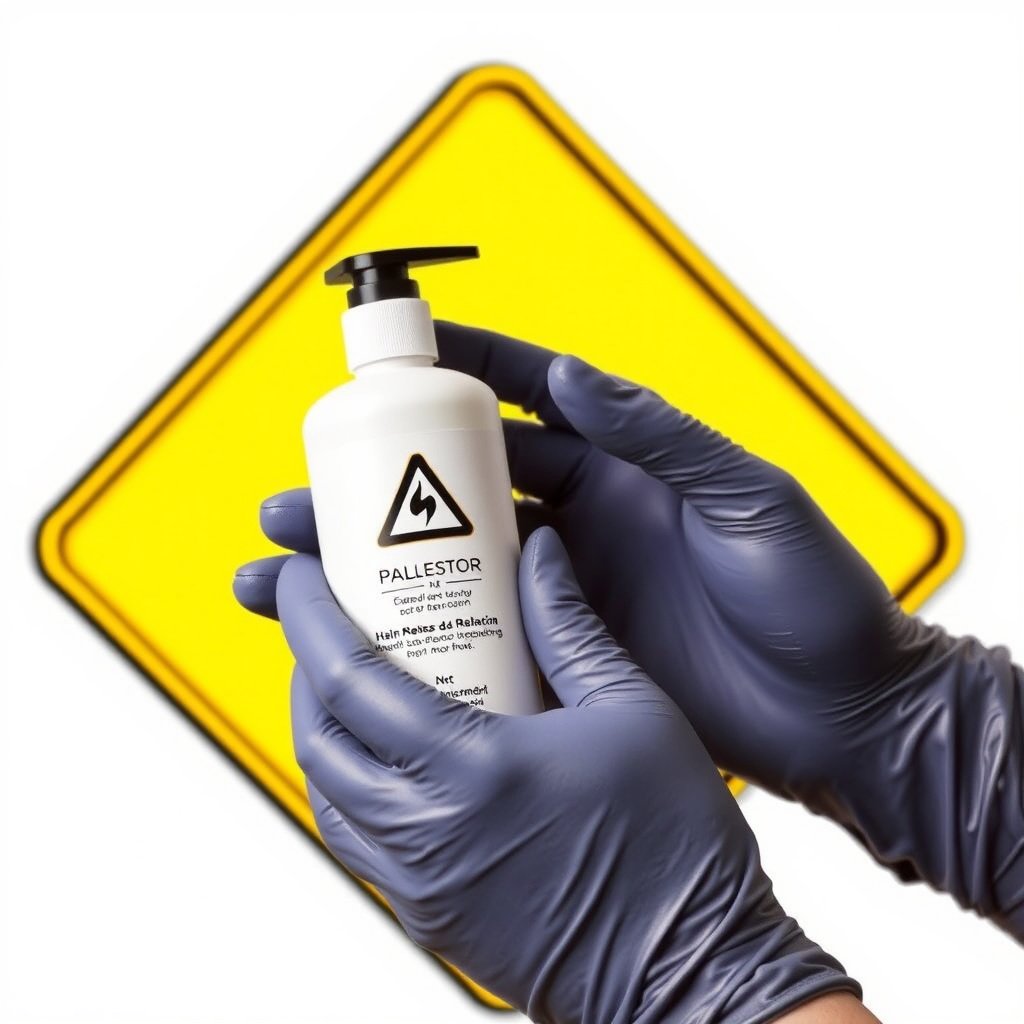
Perform a patch test 48 hours before treatment to identify allergic reactions. Use gloves and operate in a ventilated space. Avoid contact with eyes and mucous membranes. If irritation or burning occurs, rinse immediately and do not proceed.
Handling chemicals with care reduces health risks. Following safety guidelines ensures a comfortable and successful hair relaxing experience.
- Do patch test 48 hours prior
- Wear gloves and protective clothing
- Work in well-ventilated area
- Have neutralizing shampoo ready
Adjusting Hair Relaxer Use for Different Hair Types
Relaxer Use on Fine or Chemically Treated Hair
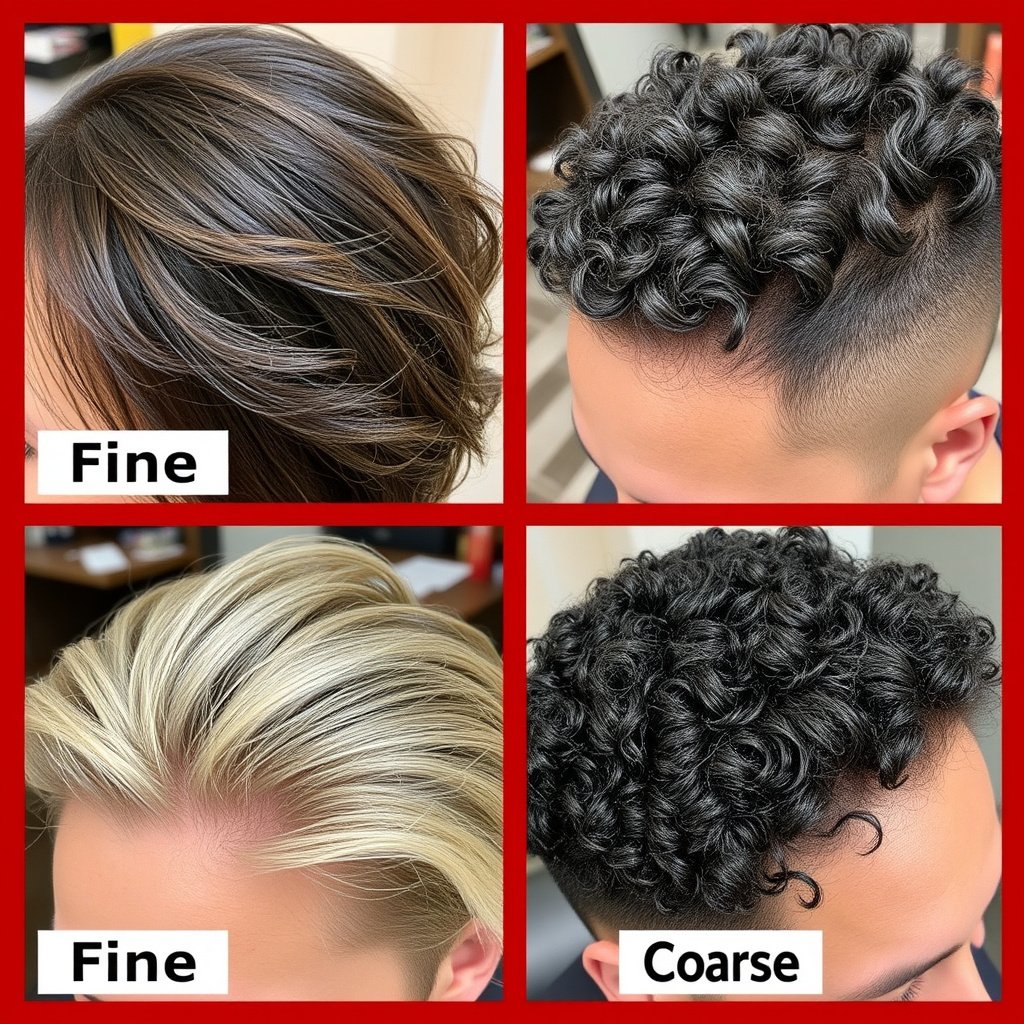
Fine or previously colored/relaxed hair is more fragile and processes faster. Use milder relaxers with reduced processing time to minimize damage. Frequent moisturizing treatments are necessary post-relaxing to maintain hair integrity.
Applying a hair relaxer gently with minimal overlap helps prevent breakage. Regular conditioning and trimming support healthy long-term wear of relaxed styles.
- Choose mild relaxer formulations
- Limit processing time
- Deep condition weekly
- Trim often to reduce split ends
For more detailed background on the chemistry and history behind hair relaxers, see Hair relaxing information on Wikipedia. Hair relaxing information on Wikipedia.
Relaxer Use on Coarse or Very Curly Hair
Coarser hair requires stronger relaxers and longer processing time to achieve adequate straightening. Application should be methodical, section by section, ensuring full coverage. Hydration post-treatment is critical due to hair’s naturally drier state.
Adjusting timing and product choice based on hair response reduces risk of overprocessing. Incorporate protective styles and nourishing treatments regularly.
- Use stronger or no-lye relaxers
- Extend processing within safe limits
- Apply heavy moisturizing products
- Use protective styling between treatments
Hair Relaxer Types Comparison
This table compares common hair relaxer categories to help you pick the best option based on your hair type and needs.
| Relaxer Type | Best For | Processing Time | Scalp Sensitivity | Maintenance |
|---|---|---|---|---|
| Lye Relaxer (Sodium Hydroxide) | Coarse, very curly hair | 10-20 minutes | Higher risk | Weekly moisturizing required |
| No-Lye Relaxer (Calcium Hydroxide + Guanidine Carbonate) | Sensitive scalps, dry hair | 15-20 minutes | Gentler | Hydration + deep conditioning |
| Thio Relaxer (Thioglycolate-based) | Fine, chemically treated hair | 8-12 minutes | Mild irritation risk | Regular protein treatments |
| Organic/Plant-based Relaxers | Mild curl loosening | Varies by product | Low risk | Frequent hydrating care needed |
Frequently Asked Questions
Can I relax my hair at home safely?
Yes, you can relax hair at home by carefully following product instructions, doing a patch test, protecting your scalp, and observing timing closely to avoid damage.
How often should I touch up my hair relaxer?
Touch ups are typically done every 6 to 8 weeks to relax new hair growth and maintain even texture without overprocessing previously relaxed hair.
What should I do if my scalp burns during relaxing?
Rinse your hair immediately with cool water to remove the relaxer, then apply a soothing product like aloe vera and avoid reapplying relaxer until the scalp fully heals.
Does relaxing damage hair permanently?
Hair relaxing alters hair structure chemically, which can cause damage if misused, but with proper care and spacing between treatments, permanent damage is avoidable.
Can I color my hair after relaxing?
It’s safest to wait at least 2 weeks after relaxing before coloring, allowing hair to recover and reducing the risk of damage from multiple chemical treatments.
Key Takeaways
- Prepare hair and scalp before applying hair relaxer for best results
- Follow processing time strictly to avoid damage
- Neutralize and deep condition hair after relaxing
- Adjust relaxer choice and care based on your hair type
Conclusion
Using a hair relaxer involves careful preparation, application, timing, and aftercare to achieve smooth, manageable hair without damage. A clear understanding of your hair’s unique texture and condition guides you in selecting the right product and application method. Respecting the relaxer’s processing limits and performing necessary protective steps like scalp protection and neutralization are fundamental to preserving hair health throughout the chemical straightening process.
For those with coarse or very curly hair, stronger relaxers such as lye relaxers applied with extended timing are suitable, paired with regular moisturizing and protective styling. People with fine, damaged, or color-treated hair should opt for milder no-lye or thio relaxers with shorter processing times and frequent conditioning to avoid breakage. Monitoring hair changes during treatment and avoiding overlapping on previously relaxed sections prevents excessive damage across all hair types.
If you're considering using a hair relaxer, start by choosing a product matched to your hair texture and follow the application steps outlined in this guide closely. Taking a patch test and prioritizing scalp protection will increase safety. Maintain your relaxed hair with hydrating products and trimmed ends, and revisit touch-up sessions no more often than every 6 to 8 weeks. Proper care makes hair relaxing a manageable method to achieve straighter hair with lasting results.