How to Make Clip-in Extensions: A Step-by-Step Guide
Making clip-in extensions involves attaching real or synthetic hair to fabric strips using clips, allowing you to add volume and length that you can easily put on or take off. The process requires gathering your hair wefts, sewing supplies, and clip-on attachments. With the right materials, sewing technique, and attention to detail, you can create quality clip-in extensions customized to your hair color and desired style.
Knowing how to make clip-in extensions matters because professionally made extensions often come at high prices, and making your own allows for personalized control over thickness, length, and color blending. Additionally, crafting your own set lets you replace or customize clips as needed and ensures better comfort and fit compared to some retail options.
This article will cover everything from selecting hair wefts and tools, proper measurement and cutting, to the sewing technique for attaching clips, and care tips. It will also compare clip-in extension types, styles, and pricing to guide whether DIY extensions fit your needs.
Choosing the Right Hair for Clip-in Extensions
Real vs Synthetic Hair Options
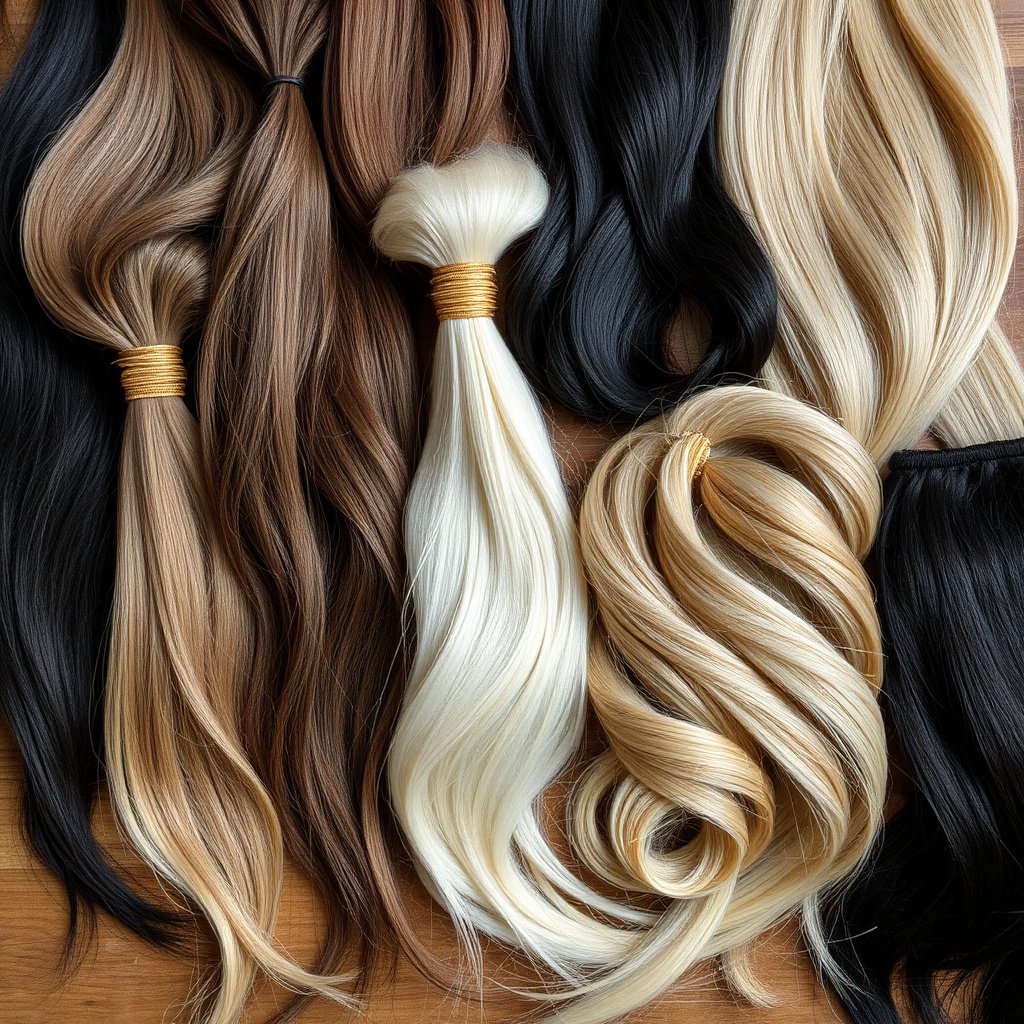
Real human hair is preferred for clip-in extensions if you want a natural look and the ability to style with heat tools. It tends to blend better and has a soft, realistic texture but is more expensive. Synthetic hair costs less but tends to tangle and cannot withstand heat styling well.
Both types come in pre-made wefts or loose bundles for custom arrangements. Match the hair texture to your natural hair — whether straight, wavy, or curly — for the best seamless result.
- Human hair: natural look, heat-friendly, longer-lasting
- Synthetic hair: affordable, limited styling, can look less natural
Selecting Hair Color and Texture
Choosing the right shade is crucial for blending. Use multiple shades if your hair has highlights or lowlights to match the multi-dimensional tones on your head. You can also dye human hair extensions to match or experiment with new colors.
Texture matching involves observing your hair’s thickness and curl pattern. If you have fine hair, consider thinner wefts and smaller clips to avoid adding too much bulk. Wavy or curly hair extensions need to have the same wave or curl pattern for a natural effect.
Preparing Materials and Tools for Stitching Clip-in Extensions

Essential Tools for Making Clip-in Extensions
Important tools include a durable sewing needle, strong thread that matches your hair color, scissors, and fabric strips (often cotton or weft tape) on which the hair will be sewn. You also need metal or plastic clip attachments designed specifically for hair extensions.
Pins or clips help hold hair bundles in place during stitching. Measuring tape is necessary for cutting fabric strips to match your head’s circumference or desired clip locations. Having a clean, organized work surface aids the process.
- Heavy-duty, curved sewing needle
- Color-matching nylon or polyester thread
- Fabric strips or weft tape
- Extension clips with comb teeth
For more on this, see our related guide: Clip in vs. Tape in Extensions: Which Is Better?.
Preparing Hair Wefts and Fabric Strips
Start by washing and drying the hair wefts to remove residues and ensure clean strands for sewing. Measure the required width of the fabric strips based on the clip size and your head measurements to ensure a perfect fit.
Cut fabric strips to length, making sure edges are neat to prevent fraying. Pin hair wefts onto the fabric strip evenly before sewing to keep strands aligned and avoid gaps.
Step-by-Step Sewing Technique for Clip-in Extensions

Attaching Hair Wefts to Fabric Strips
Use a strong backstitch or lock stitch to sew the hair wefts securely onto the fabric strip. Start from one end, stitching every few millimeters along the weft without leaving gaps. Avoid pulling the thread too tight to prevent bunching.
Sew the entire length of the weft, reinforcing the ends where future tension from clips will be highest. Keeping stitches consistent ensures durability and reduces shedding.
- Thread a heavy-duty needle with matching thread
- Use secure, tight stitches along the entire weft
- Reinforce ends for strength
Attaching Clips to the Fabric Strip
Arrange the clips evenly along the fabric strip where you want them to grip your hair. Sew each clip firmly using small stitches, looping through the clip's hole and fabric several times. Positioning clips closer at the sides and spaced in the middle prevents movement during wear.
Test clip strength by gently pulling to ensure they are well attached. Replace any clips that feel loose or inadequate for your hair thickness.
- Space clips evenly for balance
- Use multiple stitches per clip
- Check clip grip after sewing
Styling and Maintenance of Clip-in Extensions
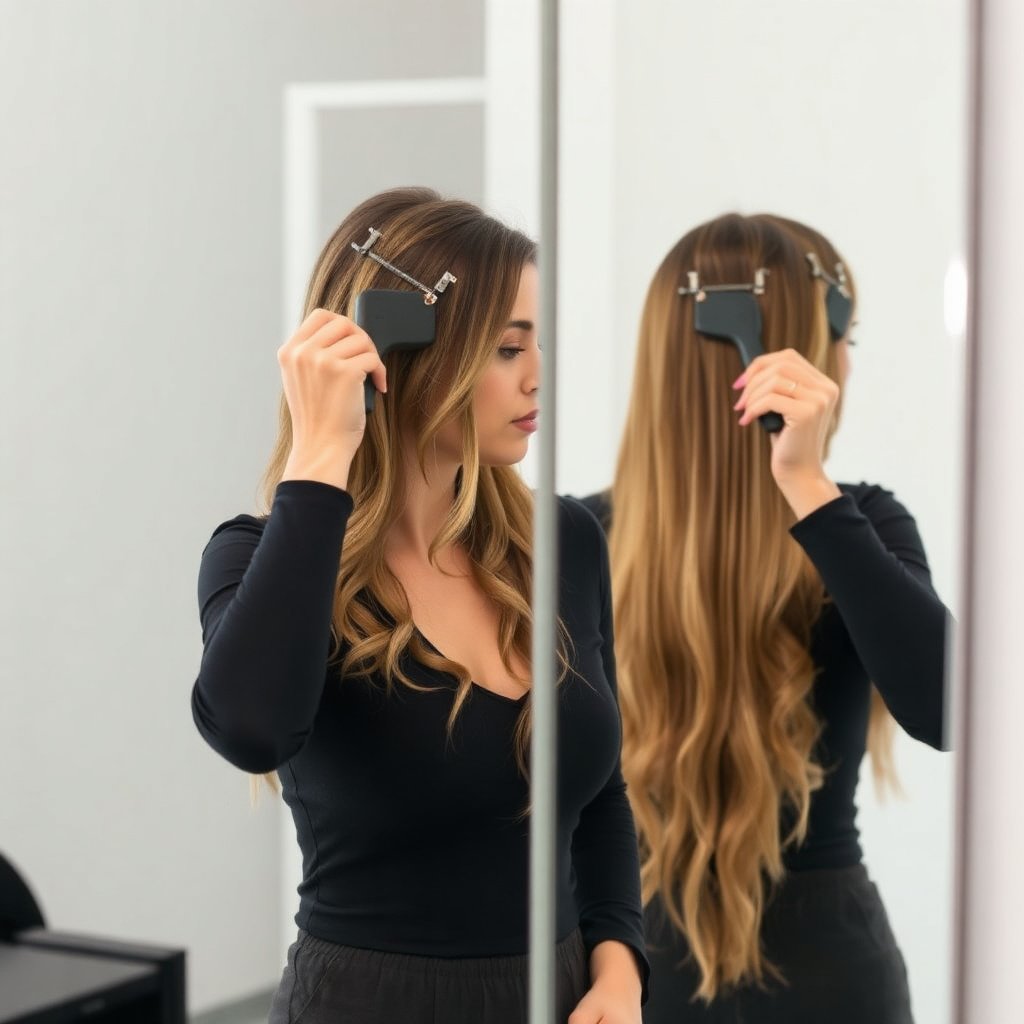
How to Apply and Style Clip-in Extensions
Partition your hair horizontally and clip the extensions close to your scalp to ensure a natural blend. Brush gently to integrate your natural hair with the extensions, avoiding tangling. Style with heat tools only if the hair is real and heat-safe.
Regularly reposition clips to avoid strain on the same scalp areas and prolong clip lifespan. Use a lightweight hairspray or serum on extensions for shine without weighing them down.
For more on this, see our related guide: Best Clip in Extensions: Top Picks and Buying Tips.
Cleaning and Storing Clip-in Extensions
Wash extensions in lukewarm water with sulfate-free shampoo when they start to look dull or dirty. Avoid soaking clips; remove extensions carefully to prevent snagging during cleaning. Allow extensions to air dry fully on a flat surface or a hanger.
Store extensions in a breathable bag or box, avoiding tangling by smoothing hair before storing. Protect them from humidity and dust for longer life.
Comparing Clip-in Extension Types and Costs

Pre-made vs Custom DIY Clip-in Extensions
Pre-made clip-in extensions offer convenience and variety but may lack perfect color matching or desired thickness. Custom DIY extensions let you choose specific hair, length, and clip placement, though they require time and sewing skills.
People who desire unique colors and precise blends often prefer making their own extensions for a tailored look while saving money over salon-quality brands.
For additional background on different hair extension types and history, visit the Hair extensions Wikipedia article. Hair extensions Wikipedia article.
Cost Factors in Clip-in Extensions
Human hair clip-in extensions generally cost more upfront — ranging from $100 to $300 depending on length and quality. Synthetic options are less costly but wear out faster, costing $30 to $80 for a set.
DIY making expenses involve buying raw hair wefts, clips, needles, and thread, which can be budget-friendly over time, especially if you plan to reuse clips or sew multiple sets.
Clip-in Extension Types Comparison
Below is a comparison of common clip-in extension types to help you decide which suits your needs best.
| Type | Hair Material | Average Cost | Durability | Styling Options |
|---|---|---|---|---|
| Human Hair Pre-made | 100% Human Hair | $150 – $300 | High – 6 to 12 months | Can use heat tools, dye, bleach |
| Synthetic Pre-made | Synthetic Fibers | $30 – $80 | Medium – 2 to 4 months | Limited heat styling, no dyeing |
| DIY Human Hair | 100% Human Hair | Varies ($100+ for raw hair) | High – depends on care | Full styling flexibility |
| DIY Synthetic | Synthetic Fibers | Varies ($40+) | Medium | Limited styling |
Frequently Asked Questions
Can I reuse clip-in extensions multiple times?
Yes, clip-in extensions can be reused many times with proper care, especially those made from human hair, which can last up to a year if maintained well.
How do I choose the right size clips for my hair?
Select clips based on your hair thickness; fine hair generally benefits from smaller, lighter clips, while thicker hair may require larger clips with stronger grip.
Is it necessary to wash hair extensions before sewing them?
Washing hair wefts before sewing removes residues and helps ensure better adhesion and longevity of your clip-in extensions.
Can I dye human hair extensions after making clip-ins?
Yes, human hair extensions can be dyed to match your hair or try new colors, though it’s best to do this before sewing the clips for easier handling.
Are clip-in extensions safe for daily use?
Clip-in extensions are generally safe for daily use when applied properly, but it’s best to give your scalp breaks to prevent tension or damage.
Key Takeaways
- Choose hair type and color that best matches your natural hair for seamless extensions.
- Use proper sewing techniques to securely attach wefts and clips for durability.
- Maintain and style clip-in extensions carefully to prolong their lifespan.
- DIY clip-in extensions allow custom options and can save money compared to pre-made sets.
Conclusion
Learning how to make clip-in extensions yourself offers flexibility in style, color, and fit that pre-packaged options often cannot provide. Careful selection of hair materials combined with precise sewing ensures the extensions look natural and last longer. Balancing initial investment against long-term use helps guide whether DIY or pre-made options are better for your lifestyle and budget.
For those with sewing skills and a good eye for matching colors, making DIY human hair clip-in extensions can save money while producing excellent results tailored to individual needs. Synthetic clip-ins might appeal to beginners due to lower cost and ease but limit styling options. Regardless of choice, understanding the materials, tools, and method improves satisfaction with your clip-in extensions.
If you want to try making your own clip-in extensions, start by sourcing high-quality hair wefts and the right clip attachments. Follow step-by-step sewing instructions carefully and always test clip security. With practice, you can create multiple sets for different looks. Remember to maintain your extensions regularly by cleaning and storing them properly to extend their usability.