How to Do a Sew-In with Closure: Step-by-Step Guide for a Flawless Install
A sew-in with closure is a protective hairstyling technique where hair extensions are sewn onto braided natural hair, incorporating a lace or silk closure to create a natural-looking finish. This method allows you to protect your hair while achieving volume and length without damaging your roots.
This style matters because it offers versatility and longevity while shielding your natural hair from heat and environmental damage. By using a closure, you can mimic a natural scalp appearance at the hairline, which enhances the style’s realism and minimizes the need for frequent manipulation.
In this article, you’ll find a detailed walkthrough on how to do a sew-in with closure, including preparation tips, braiding techniques, sewing methods, and aftercare advice. We’ll also compare different closure types and provide solutions for common issues faced during the install.
Preparing Your Hair for a Sew-In with Closure

Cleansing and Conditioning Your Hair
Before installing a sew-in with closure, thoroughly wash and deep condition your hair. This ensures your scalp is clean and your hair is moisturized, which promotes healthy growth while protected under extensions.
Use gentle, sulfate-free shampoos to avoid scalp irritation. After cleansing, apply a hydrating deep conditioner, focusing on strands and roots. Rinse thoroughly and make sure your hair is completely dry before braiding.
- Use clarifying shampoo if buildup exists
- Apply leave-in conditioner for added moisture
- Ensure hair is fully dry to prevent mildew under the closure
Braiding Techniques for a Secure Base
The braid pattern sets the foundation for your sew-in and affects comfort, durability, and final appearance. Commonly, a cornrow pattern with a circular center part is created to accommodate the closure placement.
Braids should be firm but not too tight to prevent scalp tension and hair breakage. The outer rows may be thicker to support weave weight, while inner rows closer to the closure remain smaller and flatter for a seamless blend.
- Cornrows with a rounded shape at the top for closure fitting
- Avoid overly tight braids to reduce scalp pain
- Secure braid ends with thread or small rubber bands
Choosing and Preparing the Closure

Types of Closures and Their Benefits
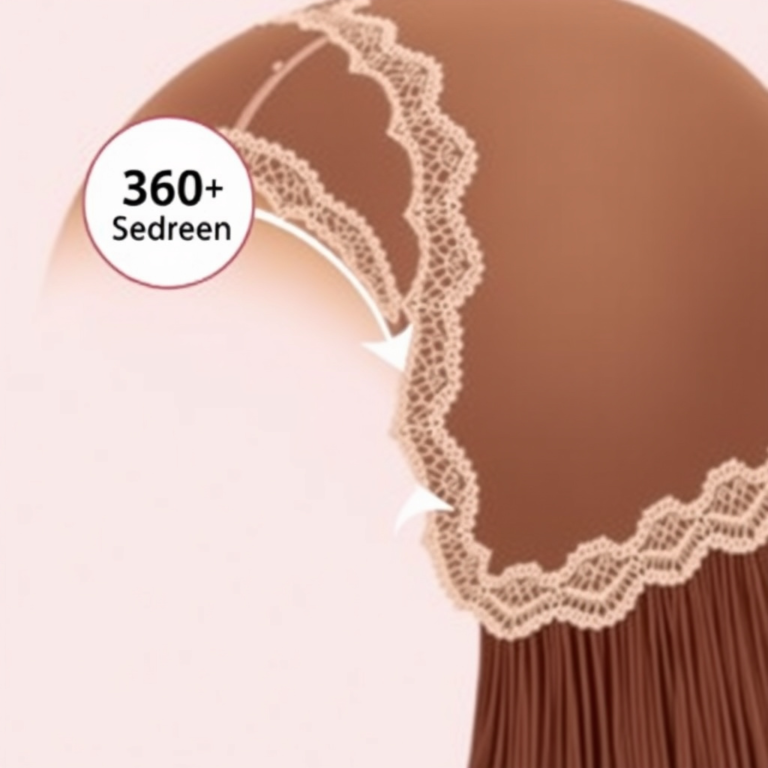
Closures come in lace, silk, and poly closures. Lace closures offer natural scalp visibility but can be fragile. Silk closures create an illusion of scalp beneath the hair, making them ideal for a realistic parting but require more skill to install.
Poly closures are more durable and water-resistant but less natural-looking. Your choice depends on climate, desired style, and how much maintenance you are willing to commit to.
- Lace closure – breathable, delicate
- Silk closure – realistic scalp appearance
- Poly closure – durable, less natural
For more on this, see our related guide: Transparent Lace Closure Guide: What to Know Before You Buy.
Preparing and Customizing Your Closure
Before sewing the closure, customize it by bleaching knots to reduce visible tracks and tinting the lace to match your scalp tone for a more natural look.
Pluck any excess hair from the closure’s hairline to mimic natural density. Trim excess lace carefully close to the hairline to avoid bulky edges while ensuring the closure fully covers your braids.
- Bleach knots cautiously to avoid hair shedding
- Match lace tint to your skin tone using makeup or tint spray
- Pluck slowly and evenly for a natural hairline
Sewing in the Extensions and Closure
Sewing Techniques for a Secure Install
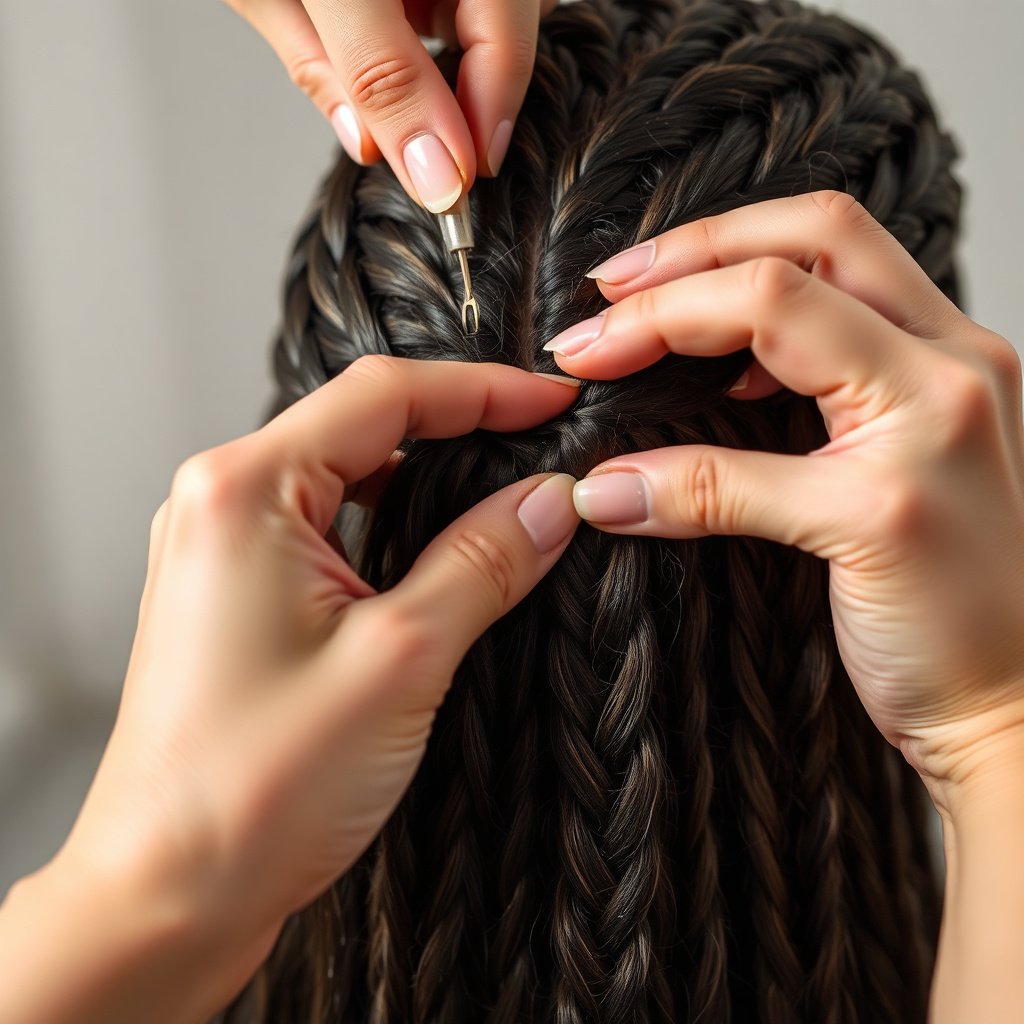
Begin sewing the closure along the front circular braid using a curved needle and strong weaving thread. Keep stitches tight but not too close to avoid puckering the lace.
After securing the closure, sew the bundles starting from the back cornrows, layering the wefts smoothly around the head and maintaining consistent tension.
- Use weaving thread matching your bundle color
- Avoid overlapping closure stitches with weft stitches
- Tie secure knots to prevent unraveling
Tips to Prevent Bulkiness and Discomfort
Spread out bundles evenly and avoid piling too many wefts in one area to prevent a heavy, bulky feel. Position the closure carefully to avoid gaps between it and your natural scalp.
Use minimal thread tension near the closure hairline to keep the lace flat against your skin. Additionally, avoid sewing too close to the scalp which can cause irritation or tightness.
- Layer wefts with spacing for flexibility
- Check scalp comfort during sewing
- Use smaller braids beneath closure for smooth lay
Styling and Blending Your Sew-In with Closure

Blending Closure with Natural Hair
To blend your closure with natural hair seamlessly, gently comb out your edges and baby hairs around the closure area. Using a light edge control or gel can help smooth down flyaways for a polished look.
Adjust the parting on the closure with heat if the texture allows, matching it to your natural hair pattern. This blend makes the install look more realistic and reduces the chance of reveal.
- Use a soft brush or toothbrush for edges
- Apply minimal gel or mousse for hold
- Steam or iron closure part gently if needed
For more on this, see our related guide: 3 Bundles With Closure: a Complete Buying Guide.
Choosing Hairstyles for Sew-In with Closure
Sew-ins with closures can accommodate various styles including straight, wavy, curly, or updos since the closure mimics your scalp. Avoid excessive pulling on the closure hairline to prevent loosening.
Popular styles include middle or side parts, ponytails, and protective styles such as buns. Refrain from heavy heat styling to prolong the life of your extensions and closure.
- Middle or side parts for natural look
- Low ponytails to show closure’s hairline
- Use heat protectant sprays when styling
Aftercare and Maintenance Tips
Daily and Weekly Care Routines
Maintain your sew-in with closure by gently moisturizing the weave with light oils or leave-in spritzes to prevent dryness. Avoid heavy products which can cause build-up and weigh down the extensions.
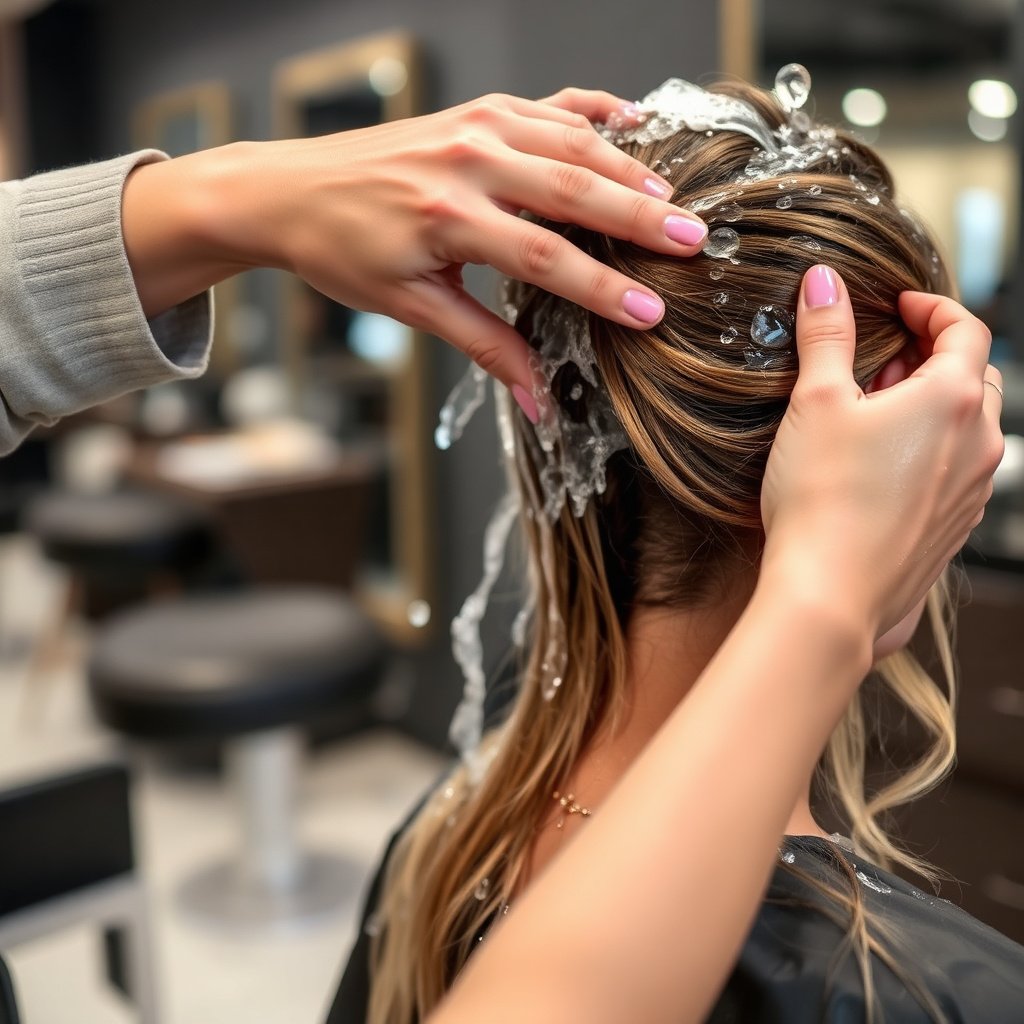
Wrap your hair at night with a silk or satin scarf to minimize friction and frizz. Wash the sew-in every 1-2 weeks with a clarifying shampoo diluted in water, massaging the scalp gently under the closure.
- Apply light oils sparingly
- Use satin bonnet or pillowcase sleep protection
- Dilute shampoo to preserve installation
For more on different hair protection styles, see this detailed overview of protective hairstyle techniques on Wikipedia. Protective hairstyle techniques on Wikipedia.
When and How to Remove Your Sew-In
Typically, a sew-in with closure lasts 6-8 weeks before needing removal. Remove it carefully to avoid damaging your natural hair, starting with cutting the thread and gently detangling the weave.
After removal, give your natural hair a break with deep conditioning treatments and scalp massages to restore moisture and promote hair growth before the next install.
- Cut sewing thread carefully
- Avoid pulling extensions out
- Schedule hair treatments post-removal
Sew-In with Closure Types Comparison
Here’s a quick comparison of common closure types used in sew-ins to help you choose the right one for your styling needs.
| Closure Type | Appearance | Durability | Maintenance Level | Price Range |
|---|---|---|---|---|
| Lace Closure | Natural scalp view | Moderate | Medium | $20-$40 |
| Silk Closure | Realistic scalp illusion | Moderate-High | High | $35-$60 |
| Poly Closure | Less natural, shinier | High | Low | $15-$35 |
| HD Lace Closure | Very natural, thin lace | Moderate | High | $40-$70 |
Frequently Asked Questions
Can I sew in a closure myself at home?
Yes, sewing in a closure is possible at home, but it requires practice, proper tools, and patience. Beginners might consider watching tutorials and starting with simple braiding patterns before tackling closure installs.
How long does a sew-in with closure last?
A sew-in with closure typically lasts between 6 to 8 weeks, depending on maintenance and hair growth. Leaving it longer can cause matting and scalp discomfort.
Do I need to bleach the knots on my closure?
Bleaching knots is optional but helps create a more natural scalp appearance by lightening the dark knots where hair is tied to the closure’s lace. It must be done carefully to avoid damage.
What’s the difference between a lace closure and a silk closure?
Lace closures offer a breathable base with visible knots, while silk closures have a solid silk layer that conceals knots, giving a more realistic scalp look but often requiring more skill to install.
How should I care for my sew-in with closure at night?
At night, wrap your hair with a satin or silk scarf or use a bonnet to reduce friction and maintain moisture, helping your sew-in and closure last longer without frizz or dryness.
Key Takeaways
- Clean and braid natural hair properly before installing a sew-in with closure
- Choose the right closure type based on desired look, durability, and upkeep
- Sew extensions carefully around the closure to prevent bulk and irritation
- Maintain your sew-in with light products and nightly protection for longevity
Conclusion
When deciding how to do a sew-in with closure, focusing on thorough preparation, careful braid patterns, and the correct closure type will produce the best results. Your natural hair’s health must guide your process, balancing protective styling with scalp comfort. Taking the time to customize and install your closure precisely creates a natural, seamless look that complements any style.
For those prioritizing realism, silk closures paired with neat, circular cornrow braids help mimic natural scalp patterns well and suit various hair textures. If durability and simpler maintenance are your goals, poly closures or traditional lace might be preferable. Consistent aftercare, including gentle washing and nightly silk wraps, is essential for extending the life of your sew-in and closure while protecting your hair.
Your next step should be to gather the right tools, select quality hair bundles and a closure matching your preferences, and practice sewing techniques on simpler installs if you’re new. Watching detailed video tutorials can supplement this guide well. With patience and proper care, a sew-in with closure can become a comfortable, stylish staple in your hair routine.