
How to Apply Lash Extensions Safely and Professionally at Home
Applying lash extensions involves delicate steps that require precision and care. To start, you need clean, oil-free natural lashes, a quality adhesive, and synthetic or mink lashes suited to your desired look. The process includes isolating each lash, dipping the extension in glue, and attaching it away from the skin to prevent irritation.
This matters because improperly applied extensions can damage your natural lashes or cause eye infections. Correct application ensures lashes remain comfortable and last longer. Knowing exactly how to apply lash extensions lets you save salon visits and customize your lash style at home.
In this guide, we’ll cover everything from choosing the right tools and lash types to detailed application techniques, aftercare advice, and troubleshooting common issues. Whether you’re a beginner or looking to improve your skills, you’ll find clear, practical steps to achieve professional-looking lash extensions.
Preparing for Lash Extension Application
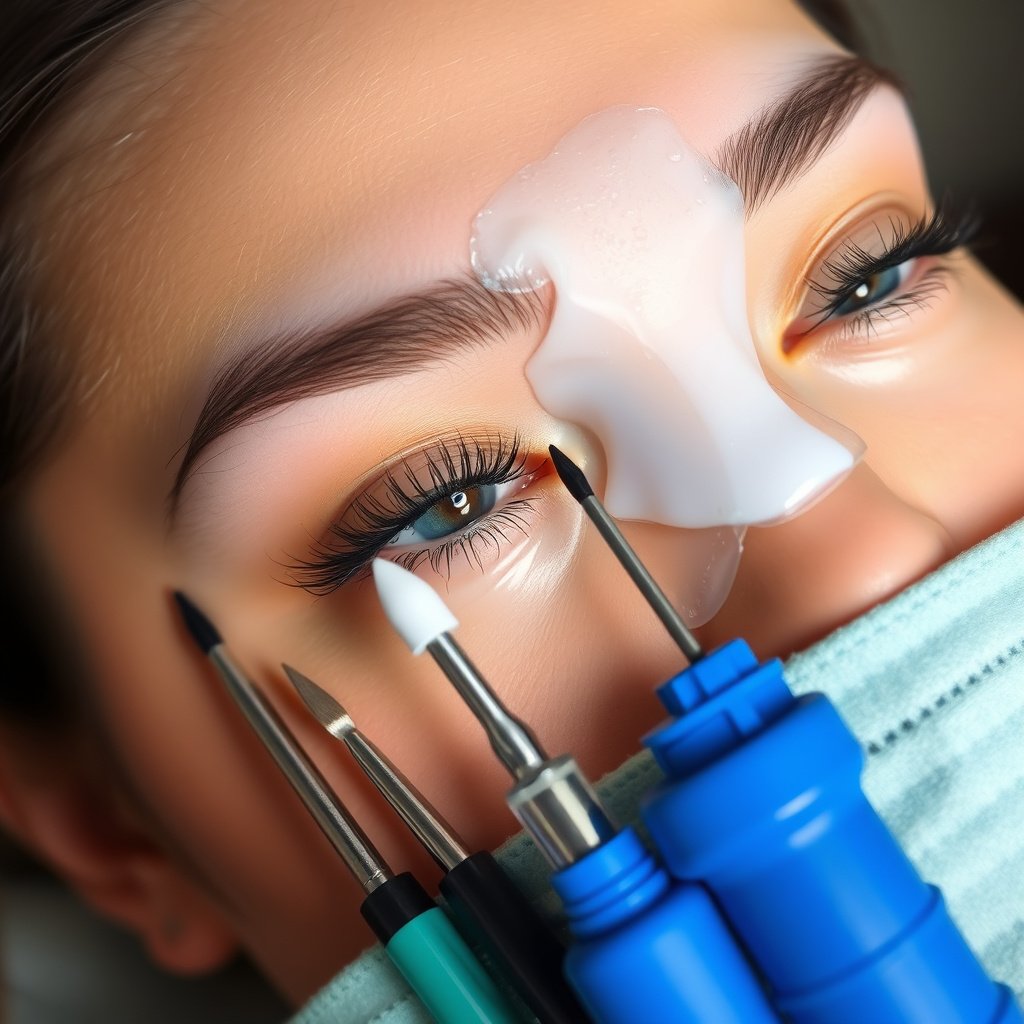
Choosing the Right Lash Extensions
Selecting lash extensions depends on your natural lash health and the style you want. Synthetic lashes are thicker and provide dramatic volume, while mink lashes offer a more natural, lightweight finish. Consider length and curl type to complement your eye shape.
Avoid overly heavy or long extensions that can strain your natural lashes. Start with shorter lengths if you’re new, gradually experimenting as you gain confidence.
- Synthetic: bold, dramatic look
- Mink: soft, natural appearance
- Lengths from 6mm to 15mm
- Curl types: J, B, C, D for different lifts
Preparing Your Natural Lashes and Workspace
Ensure your eyelashes are free of oils, makeup, and moisture before application. Use a gentle oil-free cleanser and avoid moisturizers on the eyelid on application day. This helps the adhesive bond more effectively.
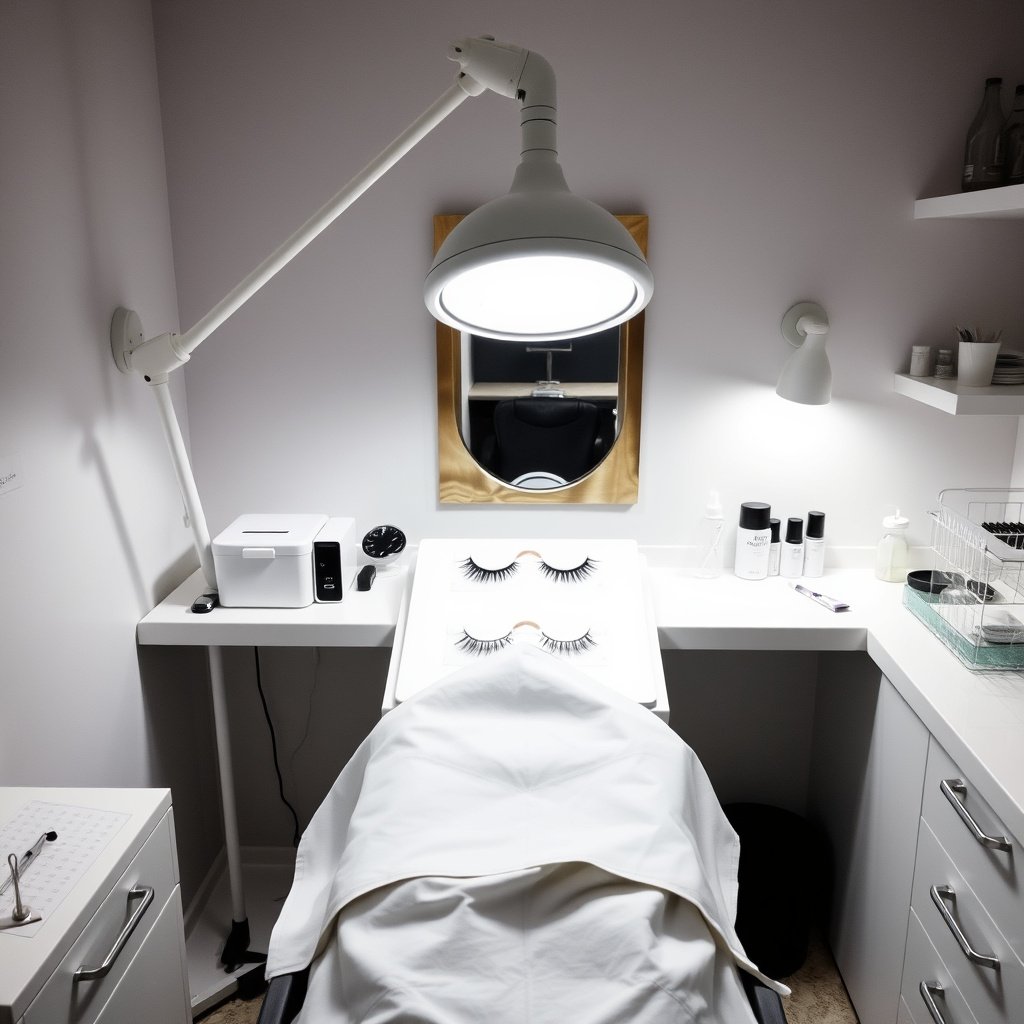
Set up a clean, well-lit workspace with all tools arranged neatly: tweezers, adhesive, lash trays, and under-eye pads. Good hygiene reduces risks of infection or irritation during the process.
- Use disposable under-eye gel pads
- Sterilize tweezers with alcohol
- Maintain clean hands and tools
- Work in a dust-free environment
Step-by-Step Lash Extension Application
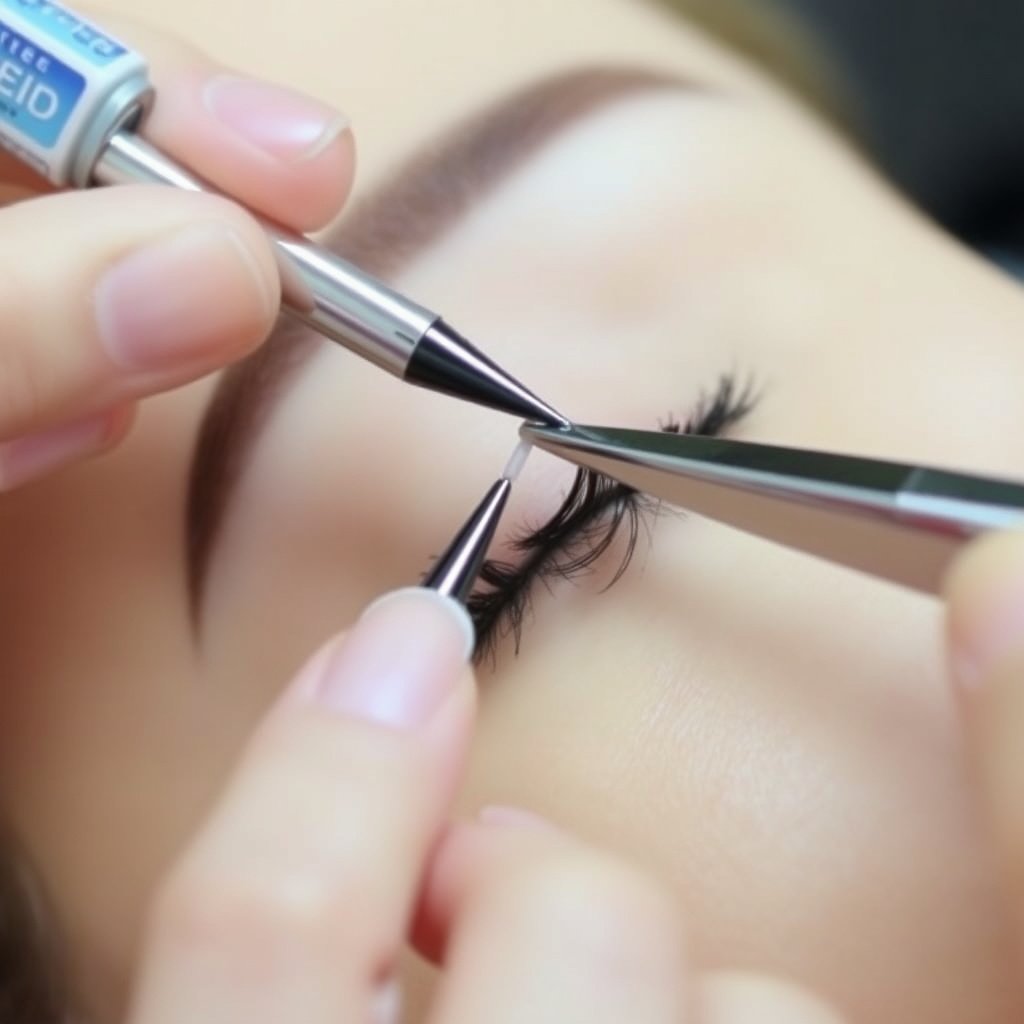
Isolating and Attaching Each Extension
Use fine tweezers to isolate a single natural lash carefully, keeping nearby lashes separated. Dip the base of the extension into a small amount of lash extension glue—choose the best lash extension glue for your sensitivity level and drying time preferences.
Attach the extension about 1mm from the eyelid to avoid skin contact. Hold it in place a few seconds until the adhesive bonds. Repeat this process lash by lash for a full set.
- Work from outer to inner corner
- Use minimal glue to prevent clumping
- Apply thin extensions last to maintain balance
Handling Common Application Challenges
Avoid glue drying too fast or too slow by adjusting room humidity or using a fan to accelerate setting. If lashes stick together accidentally, gently separate them with the tweezers before the glue hardens.
Be cautious about lash placement to prevent poking the eye or causing discomfort. If irritation occurs, remove any problematic extension immediately and assess your adhesive choice.
- Test adhesive on skin beforehand
- Use lower-fume glue for sensitive eyes
- Ensure proper ventilation during application
Aftercare for Long-Lasting Lash Extensions
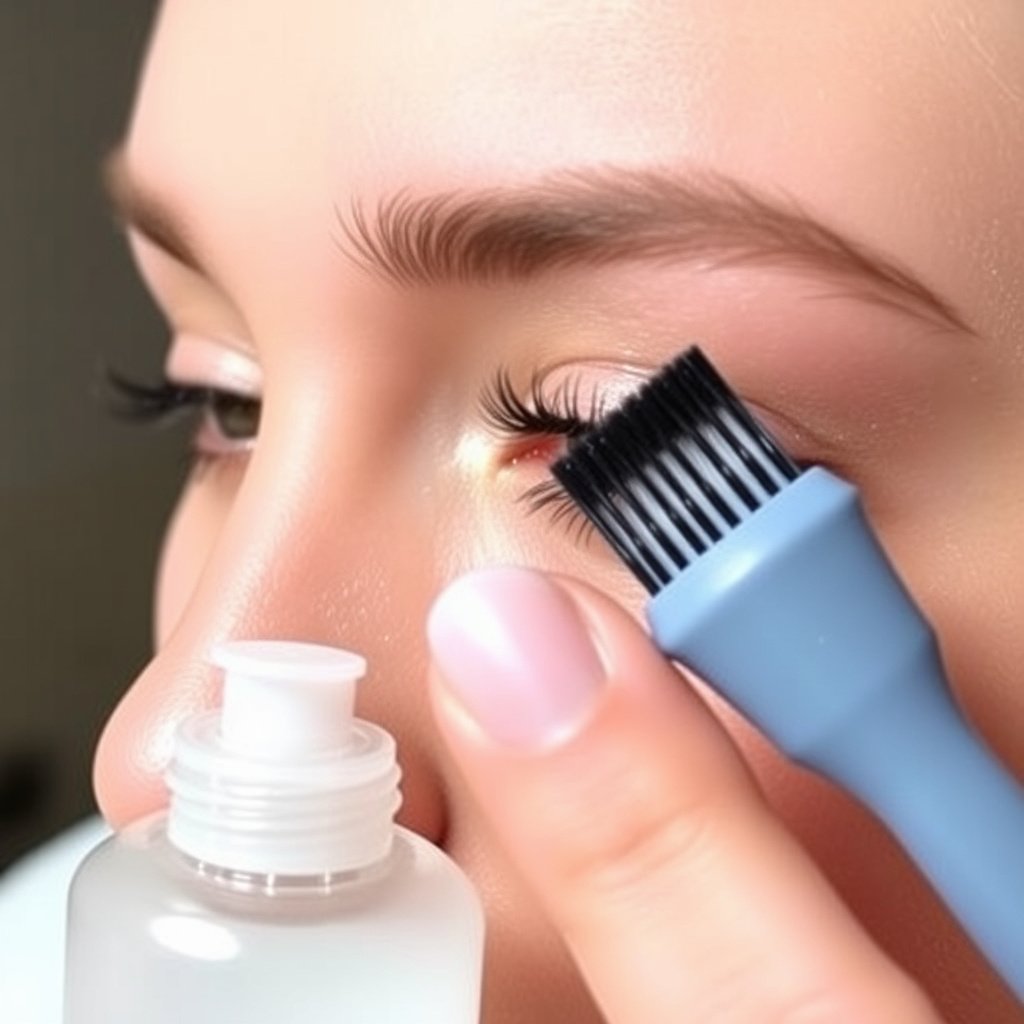
Daily Care Tips to Extend Lash Life
Avoid oil-based makeup removers and creams near your eyes to preserve glue integrity. Gently brush your lash extensions with a clean spoolie daily and refrain from rubbing your eyes.
Sleep on your back as much as possible to prevent lashes from getting crushed and falling out prematurely. Proper aftercare maintains lash fullness and prevents irritation.
- Avoid steam and saunas for 24 hours post-application
- Pat lashes dry gently after washing your face
- Schedule regular fills every 2-3 weeks
Recognizing When to Remove or Replace
Lash extensions naturally shed as your natural lashes grow out. If extensions become sparse, uncomfortable, or damaged, it’s best to remove or replace them professionally or with safe at-home removal techniques.
Never pull or forcibly remove extensions, as this can harm your natural lashes. Proper removal protects the health of your lashes and skin.
- Use lash extension remover recommended by professionals
- Avoid DIY removal methods involving excessive force
- Monitor lash condition closely to prevent damage
Tools and Materials Needed for a Successful Application
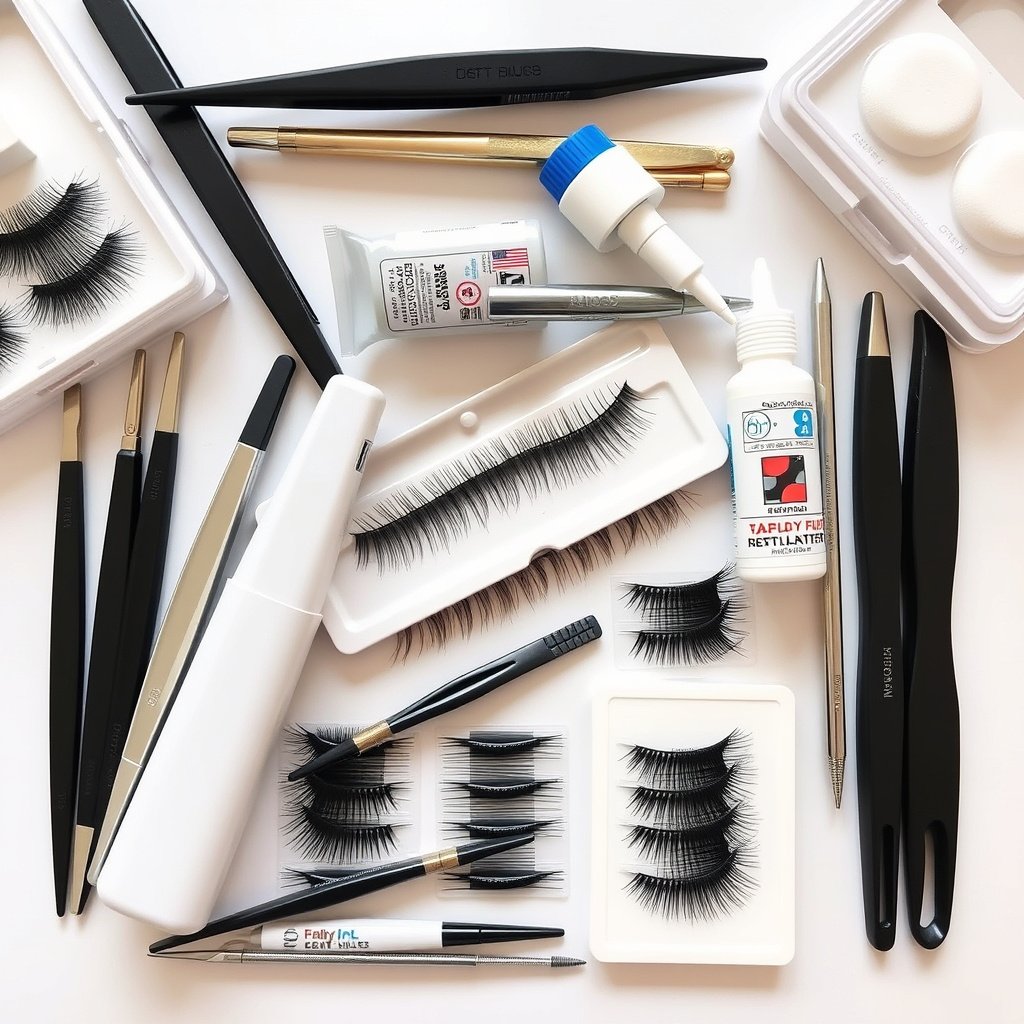
Essential Tools List
High-quality tweezers with tapered tips are crucial for isolating natural lashes precisely. Choose straight and curved varieties for different angles. Lash trays containing various lengths and curls allow customization.
Under-eye gel pads protect the delicate lower lashes and skin during application. Using disposable items reduces contamination risk.
- Straight and curved precision tweezers
- Lash extension trays with mixed lengths
- Under-eye gel or foam pads
- Microfiber brushes for lash separation
Selecting the Ideal Adhesive
The best lash extension glue depends on drying time and sensitivity. Fast-drying adhesives shorten application time but require steady hands; slower adhesives offer more working time but extend procedure length.
Hypoallergenic formulas benefit sensitive eyes but may have different bonding strengths. Always test glue before full application to avoid adverse reactions.
- Consider humidity and temperature for glue selection
- Use medical-grade or professional lash adhesives
- Keep adhesive tightly sealed to prolong shelf life
Safety and Hygiene Practices During Application
Preventing Eye Infections and Irritations
Sanitize hands and tools before starting to avoid transferring bacteria to the eye area. Use disposable items where possible and discard single-use products after each client or personal session.
Avoid applying extensions on irritated or infected eyes. If any redness or discomfort occurs during or after application, remove extensions and consult a healthcare professional if necessary.
- Regularly clean tweezers with alcohol wipes
- Avoid glue contact with skin and eyes
- Work in a clean environment free from dust
For official guidelines on the safety of applying and maintaining eyelash extensions, refer to these eyelash extension safety guidelines. eyelash extension safety guidelines.
Maintaining Lash Health Over Time
Alternate lash extension use with breaks to let natural lashes breathe and regenerate. Overuse or excessive weight can cause thinning or premature lash loss. Monitor lash condition frequently and prioritize gentle handling.
Consult a professional if you experience ongoing lash problems or suspect an allergy to products.
- Use nourishing lash serums during non-extension periods
- Avoid excessive eye rubbing or pulling
- Schedule professional checkups for maintenance
Lash Extension Glue Types Comparison
This table compares main lash extension glue types by drying time, fumes, sensitivity, and ideal use to help you pick the best option for your needs.
| Glue Type | Drying Time | Fumes Level | Sensitivity | Best Use |
|---|---|---|---|---|
| Standard | 2-4 seconds | Moderate | Medium | Experienced users, most lash types |
| Sensitive (Hypoallergenic) | 4-6 seconds | Low | Low | Sensitive eyes, beginners |
| Ultra-Fast | 1-2 seconds | High | Medium-High | Quick applications, strong hold |
| Flexible | 3-5 seconds | Low | Low | Comfort-focused, flexible lash movement |
Frequently Asked Questions
How long do lash extensions usually last after application?
Lash extensions typically last between 4 to 6 weeks, depending on your natural lash growth cycle and how well you care for them. Regular fills every 2-3 weeks help keep the look full and fresh.
Can I apply lash extensions myself without professional training?
While self-application is possible with practice and patience, professional training or tutorials are recommended to avoid common mistakes that can damage your natural lashes or cause irritation.
What should I avoid immediately after applying lash extensions?
Avoid water, steam, oil-based products, and rubbing your eyes for the first 24-48 hours to allow the adhesive to cure properly and ensure longer-lasting extensions.
How can I remove lash extensions safely at home?
Use a lash extension remover specifically designed for adhesives and follow instructions carefully. Avoid pulling or forcibly removing extensions to prevent damage to your natural lashes.
Is it normal to experience some eye irritation after lash application?
Minor irritation can occur, especially if you have sensitive eyes or allergies. If irritation persists or worsens, remove the extensions and consult a healthcare professional promptly.
Key Takeaways
- Clean, oil-free lashes ensure better glue adhesion.
- Isolate each natural lash before attaching extensions carefully.
- Use adhesive suited to your sensitivity and drying preference.
- Practice gentle aftercare to prolong extension lifespan.
Conclusion
Applying lash extensions requires focus on proper technique, suitable materials, and hygiene to achieve stunning results without compromising natural lash health. Following step-by-step procedures helps avoid risks of irritation or damage while creating the look you desire. Taking time to prepare and work methodically makes all the difference.
For beginners, starting with synthetic lashes and a sensitive or standard adhesive offers easier handling and comfort. Those seeking dramatic lashes might prefer synthetic extensions with ultra-fast glue but must have a steady hand. Maintaining your lashes with gentle daily care and regular fills will prolong your lash-enhanced look and keep natural lashes strong.
If you’re new to lash extensions, consider practicing on a lash training strip or consulting online tutorials before applying them to your own eyes. Once confident, assemble quality tools and an organized workspace and slowly build up your skills, always prioritizing safety. Your eyelashes will thank you for the care and attention.
One Comment