How to Seal Wefts: A Step-by-Step Guide for Lasting Hair Extensions
To seal wefts effectively, you need to apply a sealing product, such as a glue or adhesive tape, around the edges of the hair weft to keep the strands intact and prevent shedding. This process strengthens the bond between the weft and your natural hair or attachment method, making your extensions durable and longer-lasting. Sealing can be done using various products including bonding glue, silicone-based sealers, or keratin adhesives depending on your extension type.
Properly sealed wefts reduce tangling and loosened strands which often cause premature damage to expensive hair extensions. This step improves the overall appearance of your extensions by giving them a smooth, neat finish while also minimizing maintenance effort. Whether you’re installing professional extensions or DIY wefts, understanding how to seal wefts is essential for preserving hair quality and appearance.
This article covers the different sealing techniques, the tools and products required, how to apply sealant safely, and tips to maintain your sealed wefts. Additionally, we'll compare popular sealing methods and address common questions to help you choose the best approach for your hair type and styling needs.
Understanding Wefts and Why Sealing is Important
What Are Hair Wefts?
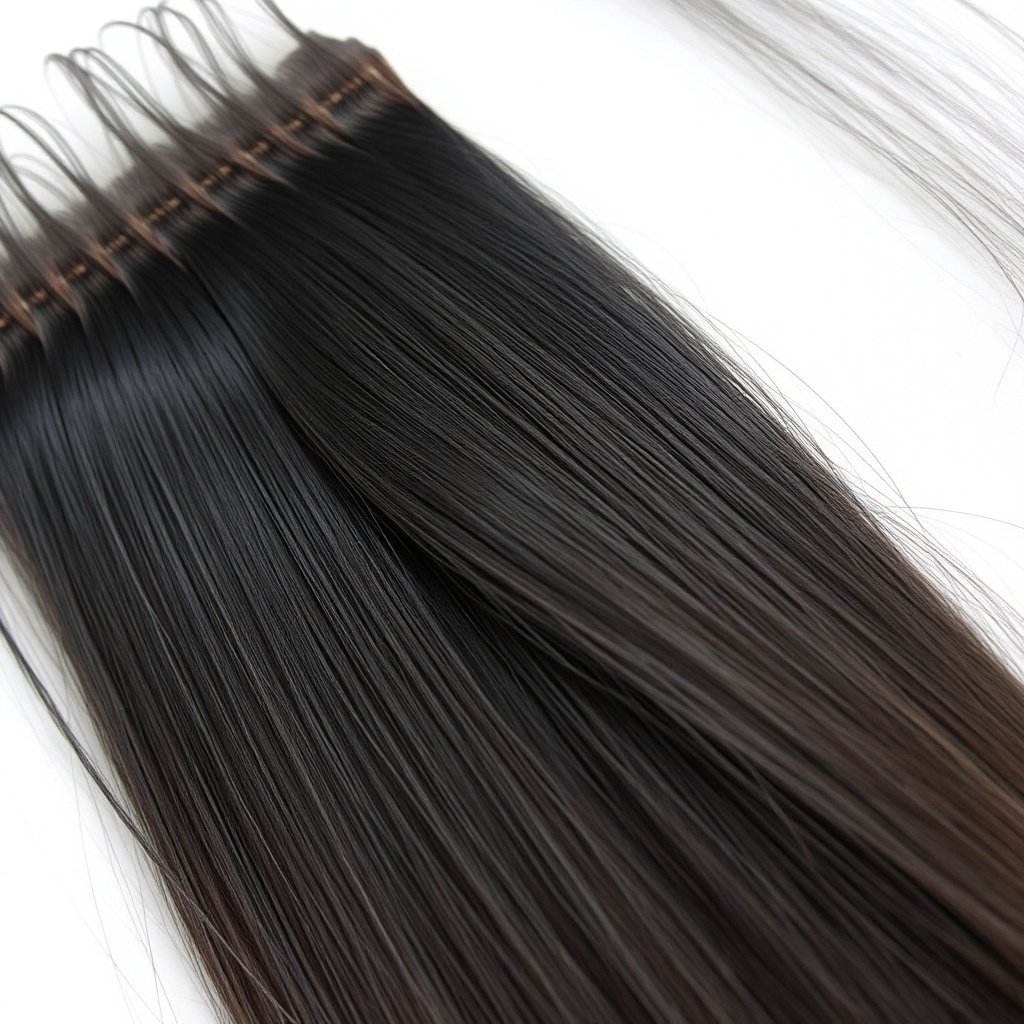
Hair wefts are bundles of hair sewn or glued together at the top, designed to be attached to natural hair for added volume or length. They come in various forms such as machine wefts, hand-tied wefts, and tape-in extensions, each with specific characteristics and application methods.
Understanding the structure of wefts helps in selecting the right sealing technique because weaker edges or poorly treated bundles tend to shed more quickly, leading to frayed or thinning extensions.
The Role of Sealing in Maintaining Wefts
Sealing locks the hair strands in place along the weft by applying a protective barrier that prevents slippage and shedding. Without sealing, the wefts might shed hair with everyday washing or styling, reducing their lifespan.
Sealing also shields the connection area from moisture and dirt, helping to keep the adhesive intact and maintain the natural look of the hair extensions.
Common Methods on How to Seal Wefts
Using Bonding Glue to Seal Wefts
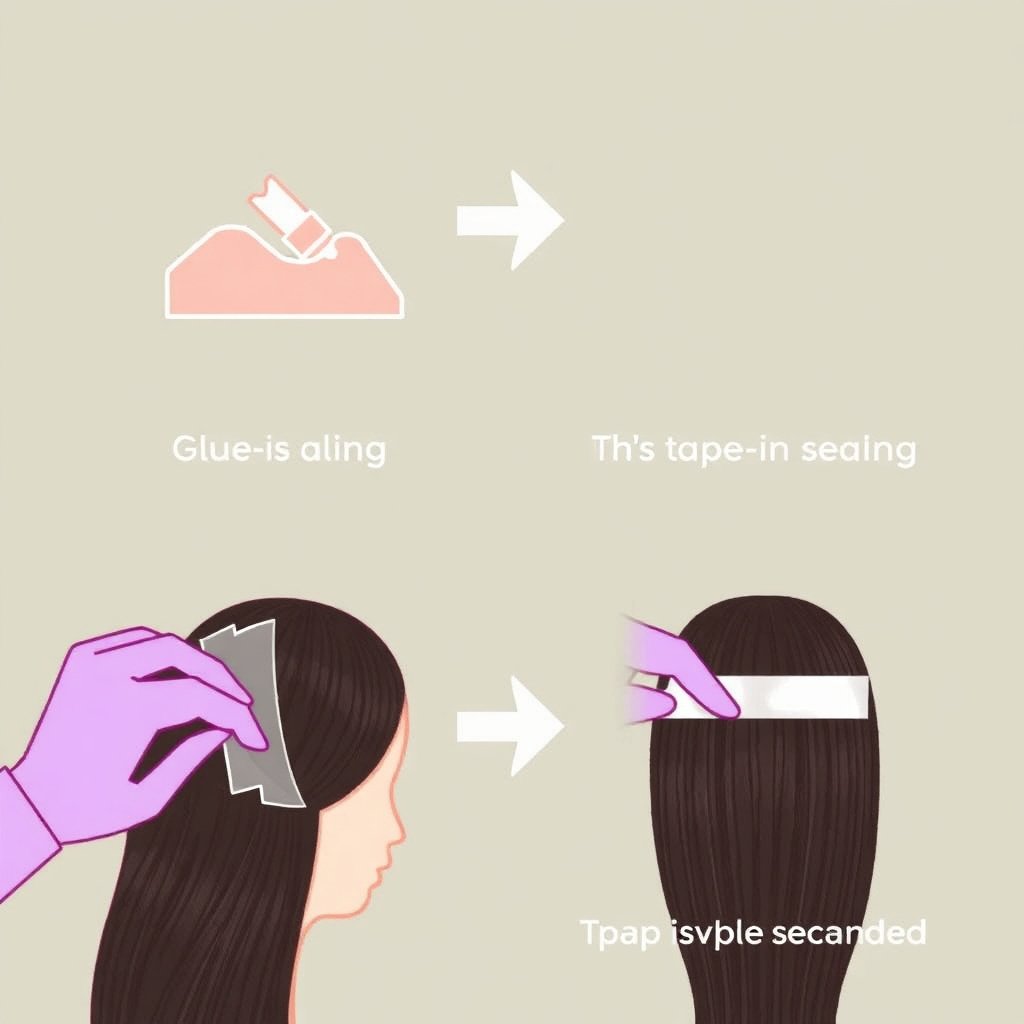
Bonding glue is a liquid adhesive applied along the weft edges to firmly attach strands and prevent shedding. It typically dries clear and flexible, allowing natural movement without becoming stiff or brittle.
This method is popular because it’s relatively easy to apply at home and provides a durable hold suitable for sew-in or clip-in extensions. Excess glue can be removed with solvent to keep the weft clean.
- Apply thin even layer on edges
- Allow to dry completely before installation
- Use solvent for removal
Tape-In Sealing for Quick Installation
Tape-in wefts come pre-sealed with an adhesive tape backing, which sticks directly to clean natural hair. The tape acts as a sealed bond that holds hair firmly without additional glue.
This method is favored for its speed and less heat or chemicals involved, making it gentler on hair. However, reapplication of tape backing every few weeks is necessary for continued security.
- Peel off backing before application
- Press firmly to secure
- Replace tape every 4-6 weeks
Tools and Products for Sealing Wefts
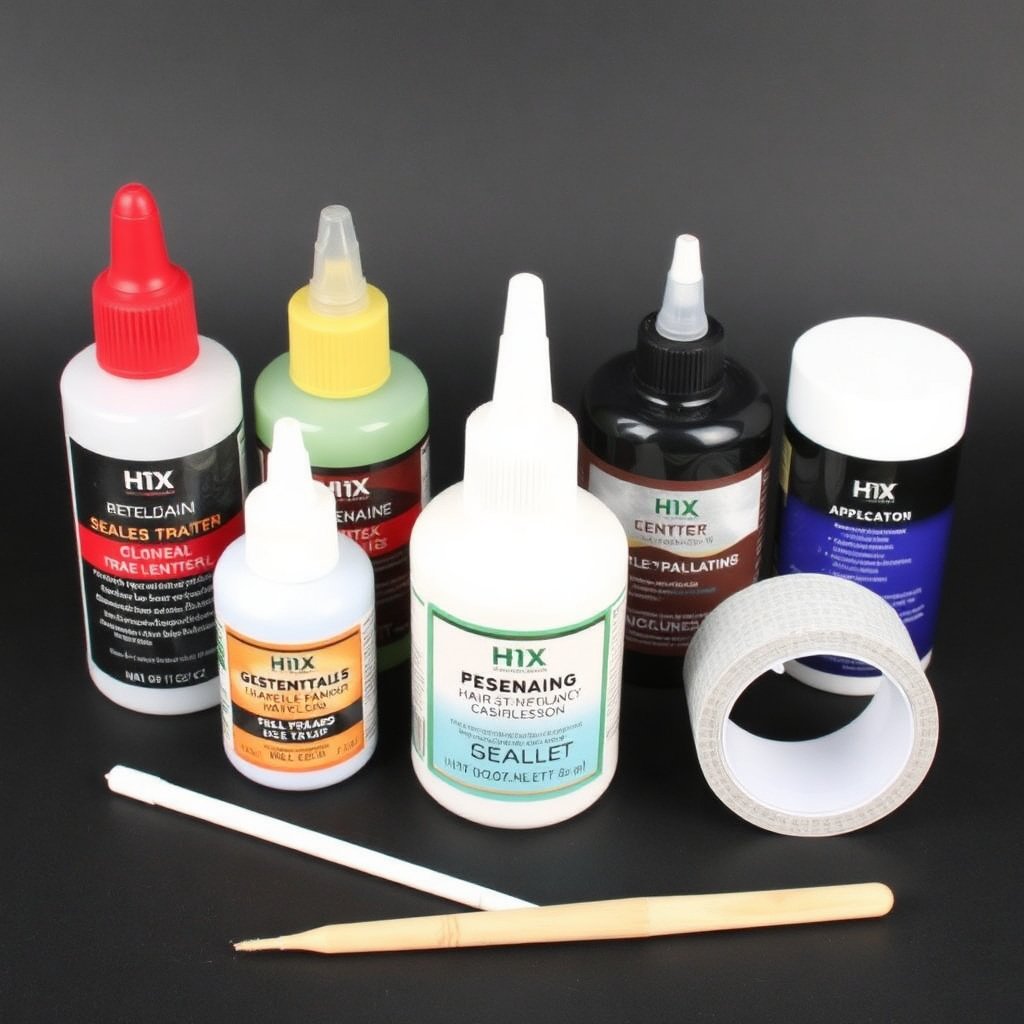
Choosing the Right Sealing Glue
Select vinyl or polyurethane-based bonding glues designed specifically for hair extensions as they provide strong hold and flexibility. Avoid ordinary craft glues that can damage hair or scalp.
Look for adhesives that dry transparent, are water-resistant, and safe for sensitive skin to get long-lasting results without irritation.
- Vinyl-based glue for flexibility
- Waterproof formulas
- Non-toxic and hypoallergenic options
For more on this, see our related guide: Your Guide to Bohemian Curl Weave: Choosing With Confidence.
Other Useful Tools for Sealing Wefts
In addition to glue or tape, you’ll need tools like fine applicator brushes for precision application, heat tools for activating certain adhesives, and solvent removers for cleanup. These help make the sealing process neater and more effective.
Proper tools reduce waste and uneven application that can compromise the integrity of the hair weft bond.
- Fine-tip glue applicator brush
- Heat sealers (for keratin bonds)
- Adhesive remover solvents
Step-by-Step Process on How to Seal Wefts
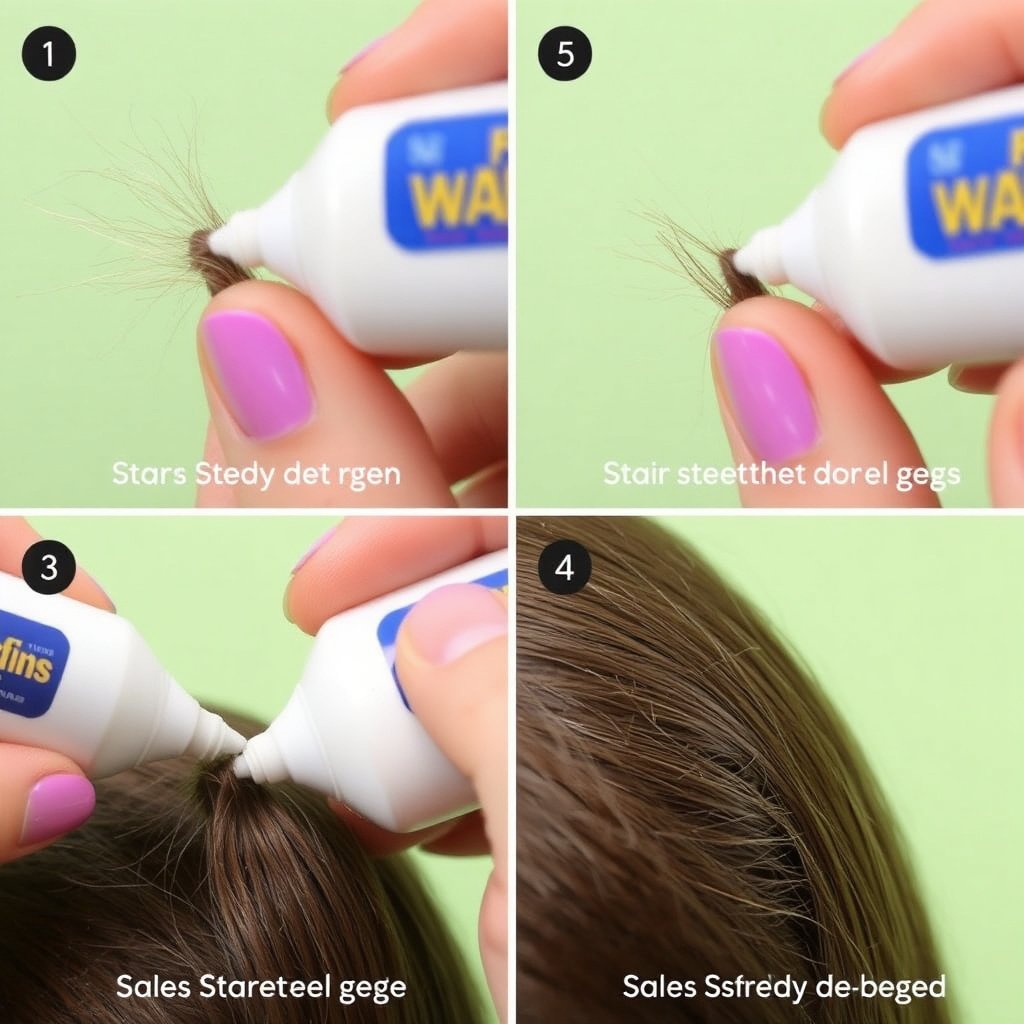
Preparing the Wefts
Start by ensuring the wefts are clean and dry, removing any oils or residue. This makes the adhesive bond stronger and extends the life of the sealing.
Lay the weft flat on a clean surface and gently separate the strands along the edges that you plan to seal.
Applying Sealant and Drying
Use a fine brush to apply a thin, even layer of sealing glue along the bottom edge of the weft. Avoid overloading to prevent stiffness or clumping.
Allow the glue to air dry for at least 15 to 30 minutes. Some adhesives may require gentle heat activation depending on the product instructions.
Maintenance and Care After Sealing Wefts
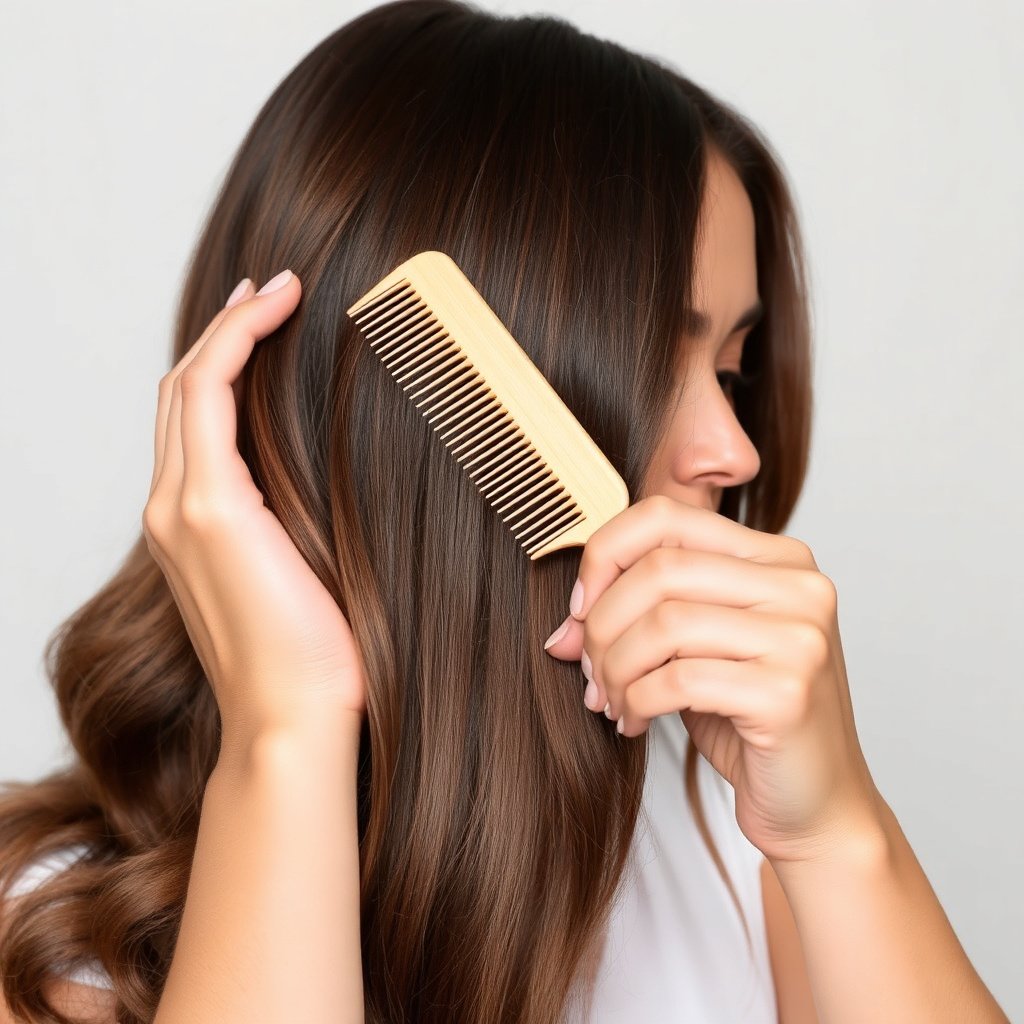
Daily Care Tips for Sealed Wefts
Treat sealed wefts gently by detangling with a wide-tooth comb and avoiding heavy pulling during styling. Use sulfate-free, extension-friendly shampoos and conditioners to maintain adhesive strength.
Avoid excessive water exposure and oils close to the sealed edge to prevent loosening.
- Comb hair gently from ends upward
- Use mild hair care products
- Limit water exposure near bonds
For more on this, see our related guide: Kinky Curly Weave: A Complete Buying Guide.
When and How to Re-Seal Wefts
Over time, sealed wefts may need re-sealing due to wear from washing or styling. Signs include increased shedding or visible weakening at the edges.
Repeat the sealing process using the same adhesive product and follow the original application steps to restore the bond’s durability.
Health and Safety Considerations When Sealing Wefts

Avoiding Allergic Reactions
Patch test any new sealing glue or tape on a small skin area before full use to check for allergies. Stop use if irritation, redness, or itching occurs.
Choose hypoallergenic or natural-based sealants when possible to minimize risk, especially for sensitive scalps.
For more detailed information on hair wefts and common extension techniques, you can explore this comprehensive overview of hair extensions sealing methods. hair extensions sealing methods.
Protecting Hair and Scalp
Use minimal heat and chemical products near sealed wefts to avoid damage to natural hair and adhesive breakdown. Maintain scalp hygiene to prevent buildup under extensions.
Work in well-ventilated areas when applying adhesives and avoid inhaling fumes.
Comparison of Popular Weft Sealing Methods
Here is a comparison table showing various sealing methods based on durability, ease of application, cost, and impact on hair health.
| Sealing Method | Durability | Ease of Application | Cost | Hair Health Impact |
|---|---|---|---|---|
| Bonding Glue | High (4-6 weeks) | Moderate | Medium | Low to Moderate |
| Tape-In | Medium (4-6 weeks) | Easy | Medium | Low |
| Keratin or Heat Seal | Very High (6-8 weeks) | Complex | High | Moderate to High |
| Silicone Sealant | Medium (3-5 weeks) | Easy | Low | Low |
| No Sealant (Unsealed) | Low (1-2 weeks) | N/A | None | High damage risk |
Frequently Asked Questions
How often should I reseal my hair wefts?
You should reseal your hair wefts roughly every 4 to 6 weeks or when you notice increased shedding or loose strands along the edges.
Can I seal my wefts at home safely?
Yes, sealing wefts at home is safe when using the right products and following application instructions carefully, including patch testing for allergies.
Is sealing necessary for all types of hair extensions?
Sealing is important for sew-in and clip-in wefts to reduce shedding but may not be needed for tape-in extensions that come pre-sealed.
What are the signs that my sealed wefts need attention?
Signs include increased hair fallout from the weft edges, fraying, visible adhesive cracking, or loosening of the attachment.
Does sealing damage natural hair?
When done correctly with the right adhesive and proper care, sealing does not damage natural hair; improper use or overuse can lead to damage.
Key Takeaways
- Sealing wefts prevents shedding and extends the life of hair extensions.
- Choose sealing methods based on hair type and extension style.
- Regular maintenance and careful product selection protect hair and scalp health.
- Re-seal wefts every 4 to 6 weeks for best durability.
Conclusion
Choosing how to seal wefts involves balancing longevity, ease of use, and hair health. Bonding glue provides a strong, flexible hold perfect for many wefts, while tape-in sealing offers a gentle, quick alternative for those prioritizing convenience. Knowing the characteristics of each method and matching them to your hair texture and lifestyle simplifies the decision and yields lasting, natural-looking results.
For example, if you prefer a semi-permanent solution with minimal maintenance, tape-in wefts sealed with professional adhesive tapes suit you well. On the other hand, bonding glue sealing is great for sew-in extensions that require high durability. Silicone-based sealants work well when you want a less aggressive hold but must reseal more frequently. Paying attention to the tools and techniques will help keep the wefts secure and healthy over time.
Start by selecting a high-quality sealing product that matches your extension type, prepare your wefts carefully, and apply the sealant in a well-ventilated space. Monitor your wefts regularly for signs of wear and reseal as needed to maintain strength and appearance. Following these steps will keep your hair extensions looking beautiful and lasting longer, giving you greater confidence in your hair styling choices.