Sew in Hair Extensions Guide: What to Know Before You Buy
Struggling to add length and volume to your hair without damaging it? You’re not alone. Many people want that natural, fuller look but worry about the hassle or damage extensions can cause. Sew-in hair extensions might just be the solution you’ve been searching for.
If you’re considering sew-in hair extensions, know they add natural-looking length and volume by sewing wefts onto braided cornrows. Choose human hair for styling flexibility and match texture and color to your natural hair for a seamless look.
Proper installation by a skilled stylist is key, followed by gentle care to maintain longevity, which lasts about 6-8 weeks.
Understanding maintenance, how to avoid common mistakes, and when to replace them can help you get the best results. Keep exploring to get the full scoop on making your sew-in extensions flawless.
Key Takeaways
- Sew-in extensions involve braiding natural hair and sewing wefts for secure, long-lasting volume and length.
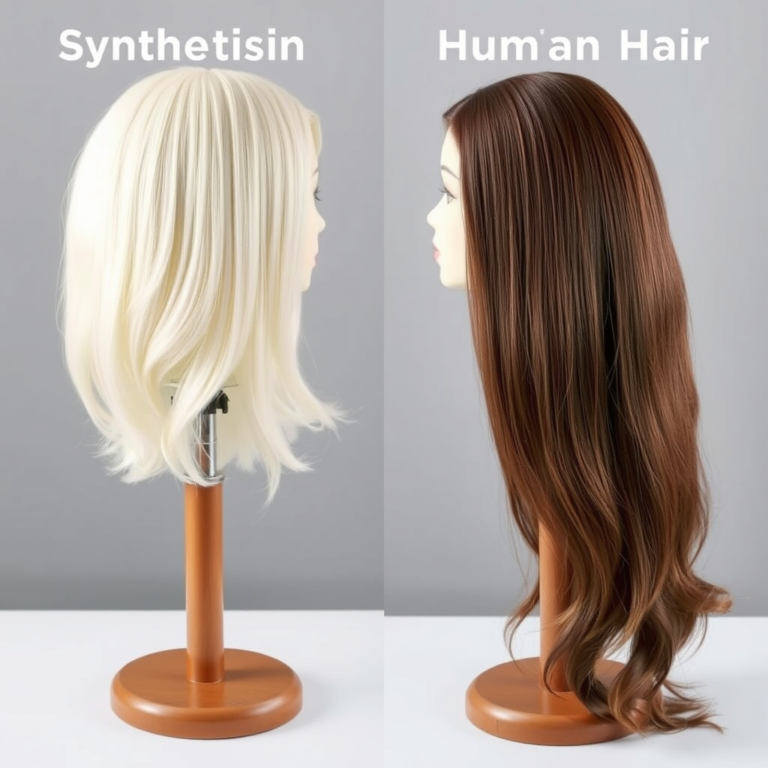
- Choose human hair for a natural look and styling freedom, or synthetic for budget-friendly options that have some limitations.
- Match extension texture and color closely to your natural hair for seamless blending and easier maintenance.
- Find experienced stylists by checking reviews and having consultations to ensure proper installation and care guidance.
- Replace extensions every 6-8 weeks to prevent damage, matting, and to keep your scalp healthy.
What Are Sew-in Hair Extensions?
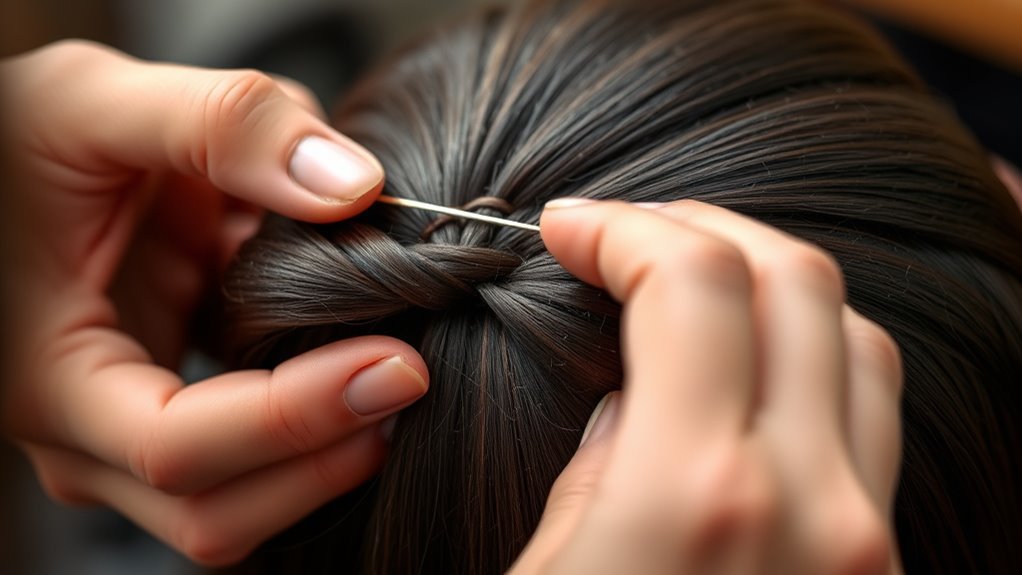
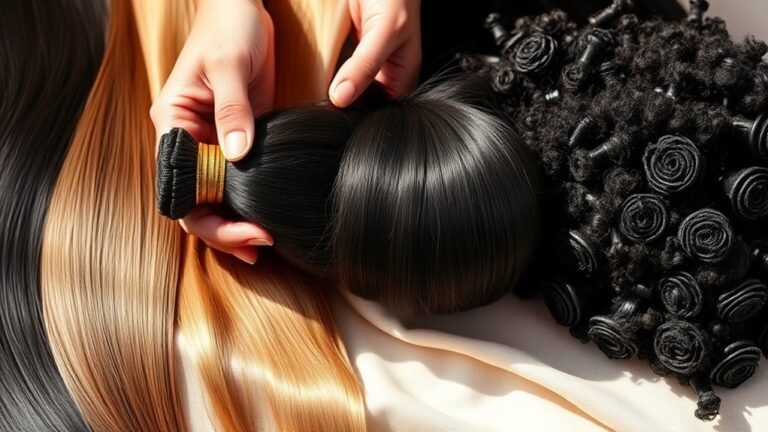
Sew-in hair extensions are a popular method for adding length and volume by braiding your natural hair into cornrows and then sewing wefts of hair onto the braids. This technique is part of the hair extension basics you should understand before getting started. It offers a secure and long-lasting way to change your look without daily fuss.
When you get sew-in extensions, you can enjoy a natural appearance while protecting your own hair underneath. To keep your extensions looking fresh and healthy, follow maintenance tips like gentle washing, avoiding heavy oils near the roots, and sleeping with a silk scarf to reduce friction.
Regularly check that the braids and wefts are secure to prevent damage or slippage. Mastering these hair extension basics and maintenance tips will help you enjoy the benefits of sew-in extensions safely and stylishly.
How to Choose the Right Hair Type for Sew-in Extensions
When selecting hair extensions, you’ll want to evaluate the texture and quality that best matches your natural hair to achieve a seamless blend. Human hair extensions offer the most natural look and feel, allowing you to use your regular styling techniques without damage.
Choose extensions with texture and quality that match your hair for a flawless, natural appearance and styling freedom.
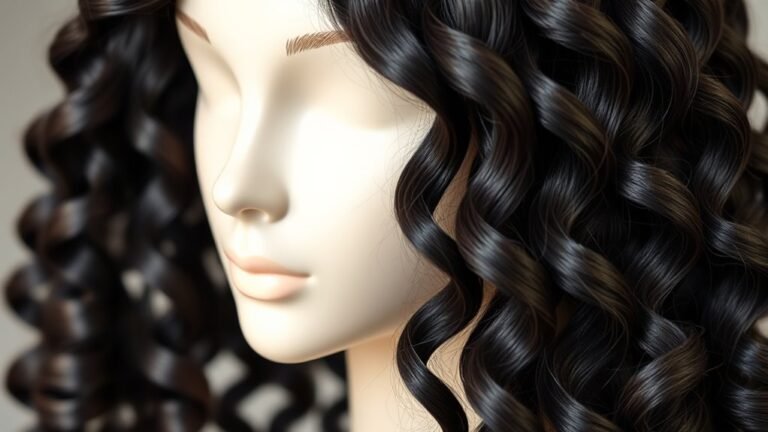
Synthetic options are budget-friendly but may limit your styling choices and don’t last as long. Consider your hair texture carefully, whether it’s straight, wavy, or curly, to guarantee the extensions blend effortlessly.
Color matching is vital. Pick a shade that complements your natural hair to avoid obvious contrasts. Also, think about maintenance tips like washing frequency and heat styling limits to keep your extensions looking fresh.
Choosing the right hair type sets the foundation for beautiful sew-in extensions that improve your style while fitting your lifestyle.
Choosing Hair Length and Volume for Your Sew-in Extensions
When you’re choosing your sew-in extensions, it’s good to think about the length that fits your style and daily routine. You want something that feels comfortable and looks natural for you. And don’t forget about volume—that’s a game-changer. The right amount can really enhance your natural hair or help you go for a bold, new look. So, let’s dive into how these choices can totally change your overall appearance.
Ideal Length Options
Although choosing the right length and volume for your extensions might seem overwhelming, focusing on your lifestyle and desired look can simplify the process. When selecting the ideal length, consider how often you wear your hair down versus up, as longer extensions may require more upkeep.
Unlike clip-in comparisons, sew-in extensions offer a more secure, long-lasting option but demand consistent maintenance. If you prefer low maintenance, opt for a length that blends naturally with your hair to avoid frequent trims.
Also, think about your daily activities. Longer extensions can be stunning but might get in the way during workouts or busy days. By balancing style goals with practical maintenance tips, you’ll choose a length that improves your look without adding unnecessary hassle.
Volume Impact Choices
Anyone considering sew-in extensions knows that volume plays a crucial role in achieving your desired hairstyle. When choosing your extensions, think about how much volume improvement you want.
If you prefer a fuller look, opt for thicker bundles or multiple wefts. For a more natural appearance, choose lighter volume options that blend seamlessly with your hair.
Your volume choice directly affects your styling options. Thicker hair allows for bolder styles like curls and updos, while lighter volume suits sleek, straight looks.
Step-by-Step Sew-in Extension Installation Process
Before you start sewing in your extensions, make sure your natural hair is clean and properly prepped. It’s super important to have a good foundation. Next, you’ll learn the best braiding techniques to create a strong base for the wefts. This step really helps your extensions stay put. Then, you’ll sew the extensions securely so they stay in place and look natural. Easy, right? Just follow along, and you’ll have beautiful sew-in extensions in no time!
Preparing Natural Hair
Start by thoroughly washing and conditioning your natural hair to confirm it’s clean and moisturized before beginning the sew-in extension process. Understanding your hair type and natural texture helps you choose the right products that maintain moisture balance and promote scalp health.
Prioritize a maintenance routine that supports hair growth while preventing dryness or breakage. Use lightweight, hydrating products that won’t weigh your hair down or cause buildup under the extensions.
Before installation, gently detangle and blow-dry your hair to prepare it for braiding and sewing. Protective styling is essential to shield your strands and scalp during wear.
Taking these steps guarantees your natural hair stays healthy, strong, and ready for a flawless sew-in extension application.
Braiding Techniques Explained
With your natural hair clean, moisturized, and properly prepared, you can now focus on the braiding techniques that form the foundation of a secure sew-in extension. Choosing the right braid types and mastering knotting techniques are essential for both the look and durability of your extensions.
You’ll want to maintain proper tension control to protect scalp health and avoid discomfort. Here are key points to keep in mind:
- Opt for cornrows or feed-in braids for a flat, neat base
- Use consistent tension to prevent hair breakage
- Secure ends with small knots or braids to anchor extensions
- Maintain scalp health by avoiding overly tight braids
- Select braiding patterns that support your preferred styling options
Following these steps guarantees longevity and ease in extension maintenance.
Sewing Extensions Securely
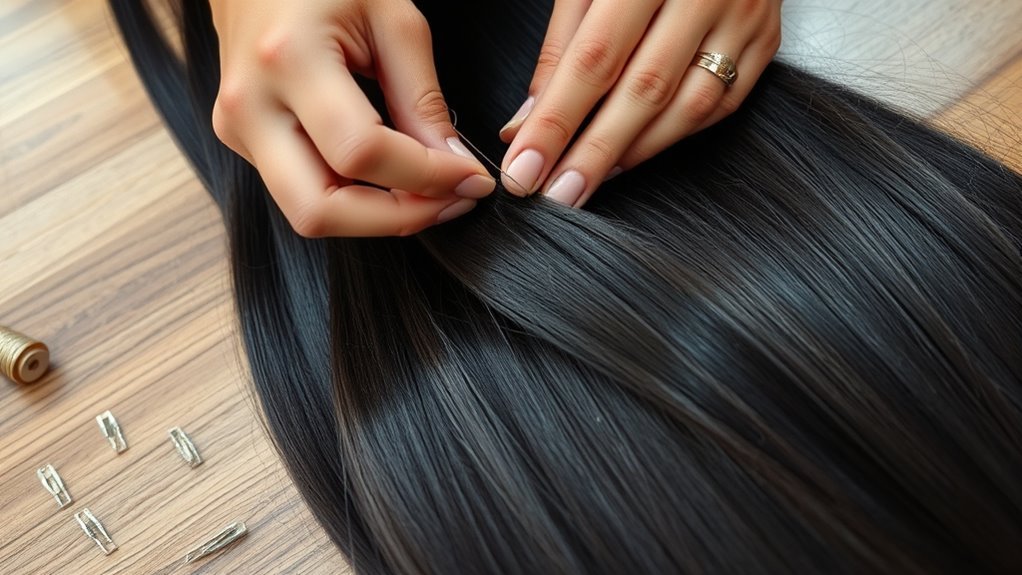
Once you’ve mastered your braiding base, you’ll sew the extensions onto the cornrows or feed-in braids using a curved needle and weaving thread. Begin by threading the needle and knotting the end securely.
Place the weft against the braid and sew through the weft’s edge and the braid, using tight, even stitches. Maintain consistent tension to guarantee the wefts lay flat without puckering.
When you reach the end of the weft, tie a secure knot to prevent unraveling. Repeat this process for each weft, working methodically along the braid.
Using proper sewing techniques not only keeps the extensions firmly attached but also improves extension longevity. Take your time, and you’ll achieve a natural look that lasts longer and feels comfortable.
How to Find a Skilled Stylist for Sew-in Installation
Although finding the right stylist might seem overwhelming, focusing on experience and client reviews will guide you toward a professional who excels in sew-in installations. Start by reviewing the stylist portfolio to see their previous work and verify their style matches your expectations. Client reviews offer insights into customer satisfaction and the stylist’s reliability.
To find a skilled stylist, consider these steps:
- Check online platforms for client reviews and ratings
- Ask for recommendations from friends or social media groups
- Examine the stylist portfolio for recent sew-in extension work
- Confirm the stylist’s certification or training in sew-in techniques
- Schedule a consultation to discuss your hair type and desired look
How to Care for Sew-in Extensions Without Damaging Your Hair
Maintaining your sew-in extensions takes a gentle but consistent routine to keep both your natural hair and the extensions healthy. Start with a proper maintenance routine that includes regular hair washing using sulfate-free shampoos and lightweight conditioners to avoid buildup and keep your scalp health in check.
When choosing products, opt for those specifically formulated for extensions to prevent dryness and tangling. Be mindful with heat styling. Limit the use of flat irons or curling irons, and always apply a heat protectant to shield both your natural hair and extensions from damage.
Incorporate protective styles like loose braids or buns to reduce tension and protect your hair overnight. Also, avoid excessive manipulation to prevent stress on your roots. Consistency in these steps guarantees your sew-ins stay fresh while preserving your natural hair’s strength and scalp health, giving you a beautiful, long-lasting look without harm.
Avoid These Common Mistakes to Keep Sew-in Extensions Fresh
If you want your sew-in extensions to look fresh and last longer, you need to steer clear of a few common mistakes. Many people fall into misconceptions about hair care and extension styles that can shorten the lifespan of their sew-ins. To keep your extensions in top shape, follow these essential maintenance tips:
Avoid applying heavy oils or products near the roots to prevent loosening the braids. Don’t neglect regular gentle washing; buildup can cause matting and odor. Also, steer clear of tight hairstyles that put unnecessary tension on your scalp and extensions.
Make sure you protect your extensions while sleeping by using a silk or satin scarf or bonnet. And don’t skip professional touch-ups because loose tracks can lead to tangling and damage.
How Long Do Sew-in Hair Extensions Last?
Wondering how long your sew-in hair extensions will last? Typically, sew-in extensions can stay in place for 6 to 8 weeks, depending on how well you care for them. Extension longevity largely hinges on following proper maintenance tips.
Keeping your scalp clean and moisturized, gently detangling your hair, and avoiding excessive heat styling will help prolong their life. Also, don’t forget to protect your extensions at night by wrapping your hair with a silk scarf or using a satin pillowcase. These steps reduce friction and prevent tangling.
Maintain clean, moisturized scalp, gentle detangling, and night protection to extend your sew-in extensions’ lifespan.
Remember, regular professional check-ups can spot any issues early and keep your sew-in looking fresh. By sticking to these maintenance tips, you’ll maximize how long your extensions stay beautiful and secure.
Ultimately, your attention to care plays an essential role in getting the most out of your sew-in hair extensions without compromising your natural hair’s health.
When to Remove or Replace Sew-in Extensions
You’ll want to take out your sew-in extensions if you start noticing a lot of shedding, or if they feel too tight or uncomfortable. It’s really important to replace them regularly—not just to keep your hair healthy but also to keep your style looking fresh. Knowing when to remove or switch them out helps prevent damage and makes sure your look stays on point.
Signs Extensions Need Removal
How can you tell when it’s time to remove your sew-in extensions? Paying attention to removal signs helps protect your hair health and scalp. Ignoring extension discomfort or scalp irritation can lead to long-term damage.
You’ll want to remove your extensions if you notice persistent extension tangling that styling options can’t fix, increasing hair breakage around the wefts, or uncomfortable pulling or tightness causing scalp irritation.
Also, if you have difficulty managing maintenance tips due to matting or buildup, or if you see noticeable thinning or stress on your natural hair, it’s time to take them out.
Acting on these signs guarantees your hair stays healthy and ready for your next style. Don’t wait for serious damage. Removing extensions promptly keeps your scalp comfortable and hair strong.
Timing for Replacement
Knowing the right timing for replacing your sew-in extensions is key to maintaining both the look and health of your hair. Typically, the recommended replacement frequency is every 6 to 8 weeks, depending on your hair growth and care routine.
Ignoring this can shorten your extension lifespan and cause damage. Regular removal allows your scalp to breathe and prevents matting.
| Time Worn | Signs to Replace |
|---|---|
| 0-4 weeks | Fresh, secure install |
| 4-6 weeks | Slight loosening |
| 6-8 weeks | Noticeable lifting, tangling |
| 8+ weeks | Damage risk, discomfort |
Stick to this schedule to keep your extensions looking great and your natural hair healthy.
Avoid These Common Sew-in Extension Mistakes
Many people make simple mistakes when installing sew-in extensions that can lead to discomfort or damage. To avoid these, you need to focus on proper care tips and establish a consistent maintenance routine. Neglecting these can cause tangling, breakage, or even hair loss.
Also, don’t overlook your styling options. Using excessive heat or unsuitable products can shorten your extensions’ lifespan. Choosing the right extension colors and considering your budget carefully will prevent mismatches and financial strain.
Watch out for these common mistakes:
- Installing too tightly, causing scalp pain
- Ignoring recommended care tips and maintenance routine
- Using harsh products instead of product recommendations made for extensions
- Choosing extension colors that don’t blend naturally
- Overstyling or applying heat without protection
Frequently Asked Questions
Can Sew-In Extensions Be Reused After Removal?
Yes, you can reuse sew-in extensions after removal if you handle them carefully. When you take them out, avoid pulling or damaging the hair wefts.
Following proper maintenance tips like gentle washing and storing them in a cool, dry place will help keep them in good condition. Also, using the right application techniques during reinstallation guarantees they last longer and stay secure without causing damage to your natural hair.
Are Sew-In Extensions Safe for All Hair Types?
Like fitting puzzle pieces, sew-in extensions can work for many hair types, but they’re not one-size-fits-all. You’ll need to take into account your hair’s strength and texture because improper application techniques can cause damage.
If your hair is fine or fragile, you should be extra cautious. Following maintenance tips like gentle washing and avoiding heavy tension will help keep your natural hair healthy while enjoying your sew-ins safely.
How Much Do Sew-In Hair Extensions Typically Cost?
Sew-in hair extensions typically cost between $100 and $400, depending on factors like hair quality and salon expertise. When budgeting, you’ll want to take into account color matching services to guarantee your extensions blend seamlessly.
Can I Swim or Exercise With Sew-In Extensions?
You can swim and exercise with sew-in extensions, but you need swimming tips and exercise precautions just like you’d protect a delicate flower in the rain. Before swimming, wet your hair and apply a leave-in conditioner to minimize chlorine or salt damage.
When exercising, tie your hair loosely to avoid tension on the wefts. Rinse and condition your extensions afterward to keep them looking fresh and lasting longer.
Do Sew-In Extensions Cause Hair Loss or Damage?
Sew-in extensions won’t cause hair loss or damage if you follow proper hair care and choose skilled installation techniques. You need to avoid installing them too tightly because that can stress your scalp and natural hair.
Regularly moisturizing and gently detangling your hair helps maintain its health. If you notice discomfort or excessive shedding, talk to your stylist to adjust the method. Taking care of your scalp and extensions keeps your hair strong and damage-free.
Conclusion
Choosing the right sew-in extensions is like weaving a delicate tapestry; each strand matters. With the right hair type, length, and a skilled stylist, you’ll transform your look effortlessly.
But rushing or neglecting care is like leaving a masterpiece in the rain—frizzy, tangled, and worn. Stay mindful, follow the steps, and your sew-ins will last beautifully, turning heads instead of falling flat.
Your hair’s future is in your hands. Choose wisely and care deeply to enjoy the best results with your sew-in extensions.